Almost every Tanzer 22 in existence has bent chainplates. The culprit is
the boat's geometry. If the mast is lowered by hand, then all the
shrouds must be disconnected, or they will bend the chainplates
aft when the mast is almost down. Mine were both bent, which was the
impetus to replace them.
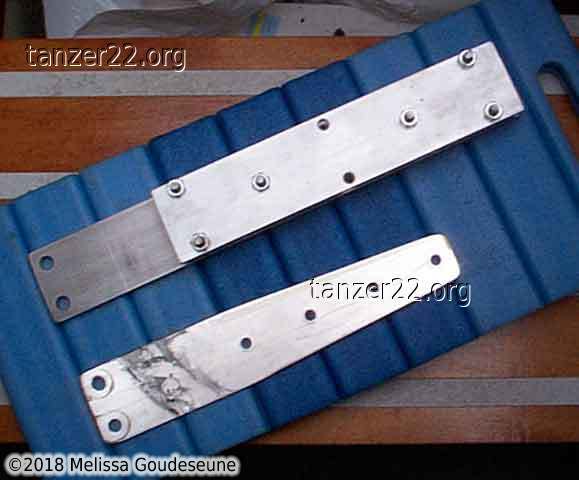
Here you can see the difference in size of old vs. new. The new
chainplates are 1/4" thick stainless steel, about 4" longer than the old
ones. As well, the holes are drilled in an X pattern, to distribute the
stress over a greater area of the bulkhead. If these chainplates look
familiar, it's because they were provided by Owen Schneider (T22 #2043)
who has a similar set on his boat. Many thanks to Owen's Dad Willi for
doing the stainless work!
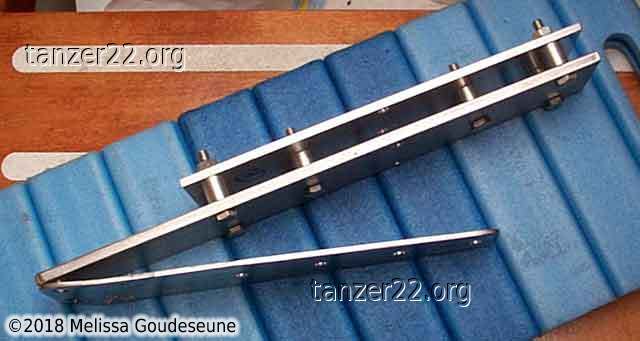
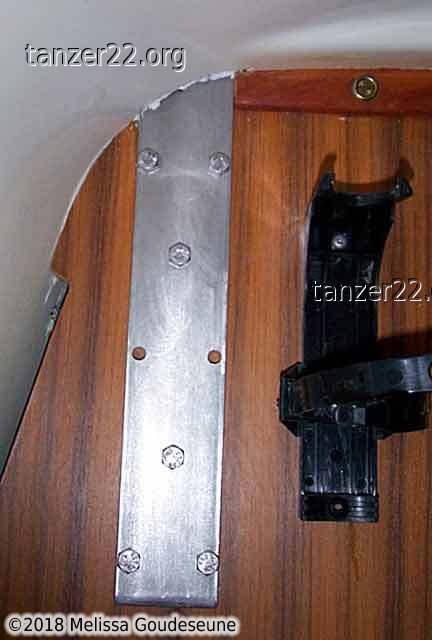
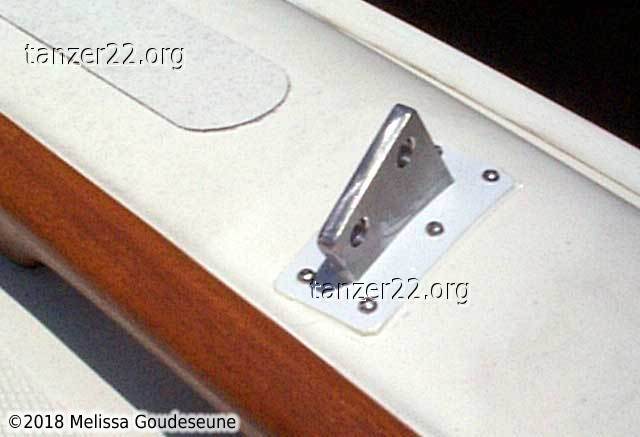
As compared to Owen's installation, mine are installed with aluminum
bushings in the bulkhead. You can see these in the third photo, which
shows the profile of the chainplate and backing plate. The logic is
that six 1/4" SS bolts will have a shear strength in the neighbourhood
of 11,000 pounds. However, they will tend to pull through the wood. To
prevent that, aluminum bushings (1/4" ID, 1/2" OD) is inserted into
the bulkhead to distribute the load of the bolt onto a much greater
area.
I really should have used stainless bushings and backing plates, but
corrosion is not a huge concern on Lake Ontario. Salt-water sailors may
wish to go with an all-stainless option.
For those who think that this is way above their skills, consider:
- stainless bar is commonly available in 1/4" x 2" section, custom
lengths. One supplier is Metal Supermarkets. They
will cut to length for you.
- once you have the pieces, you just need to drill a number of holes.
A drill press is handy, but not required. Just drill slow and press
hard, or the stainless will "work harden".
- bushings are nice to have, but not required. You can always go up
to 5/16" bolts and skip the bushings. I went with bushings to ensure
that the chainplates will not creep upwards at all.
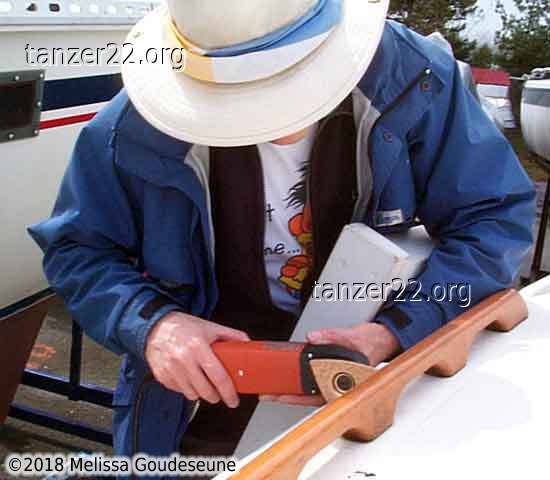
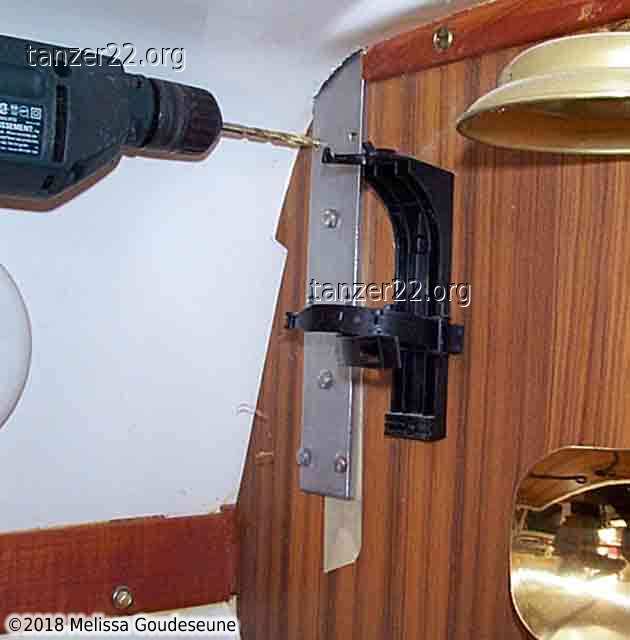
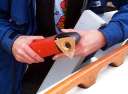
Once the old chainplates have been removed, the first task is to widen
the slot in the deck to accomodate the new chainplates. Here I'm using
my new favourite boat tool, the
Fein
Multimaster. This is the best detail sander made, bar none. The
head oscillates 21000 times per minute instead of rotating like a
Dremel. The result is it cuts very quickly without jumping out of your
hands. It's also able to cut in places that a Dremel can only dream of.
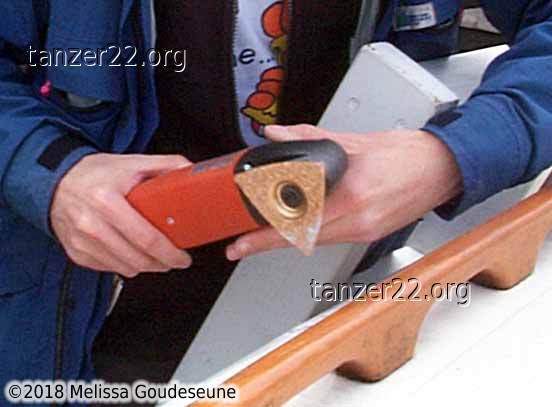
Here I'm using a carbide abrasive disk to widen the slot. As there's
no rotation of the cutting bit, there also isn't dust flying everywhere.
Before removing the old chainplates, I had made a template on deck of
the correct position. Holding the template against the new chainplate,
I was then able to have my Dad mark the holes for the new one below
deck. After drilling one hole in the bulkhead, a bolt was inserted in
the chainplate and the rest were drilled in situ. All holes were
drilled from the main cabin, as the curvature of the hull makes this
impossible from the v-berth.
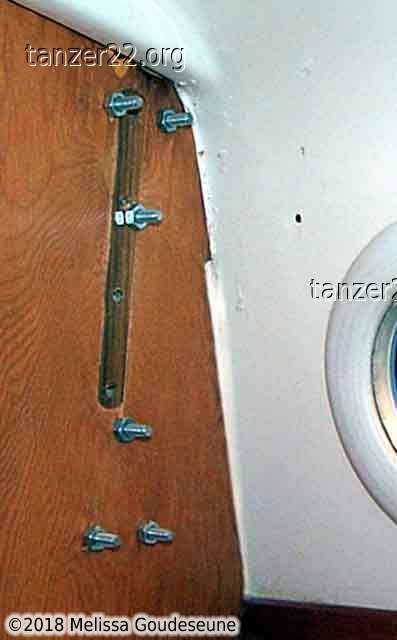
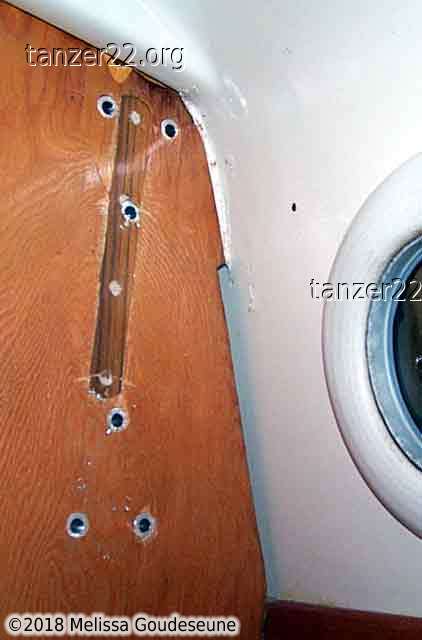
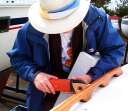
The fourth photo shows the v-berth view of the port chainplate. This is
just prior to fitting the backing plate.
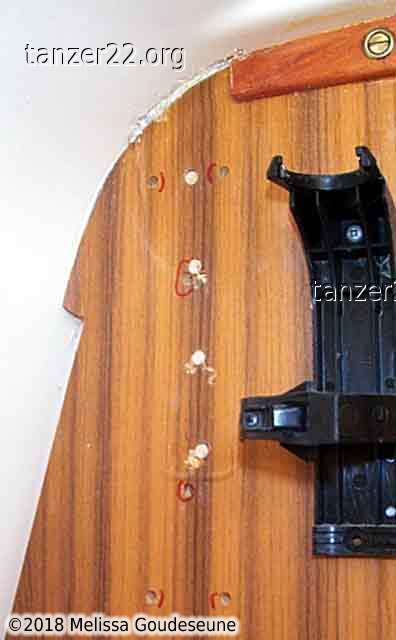
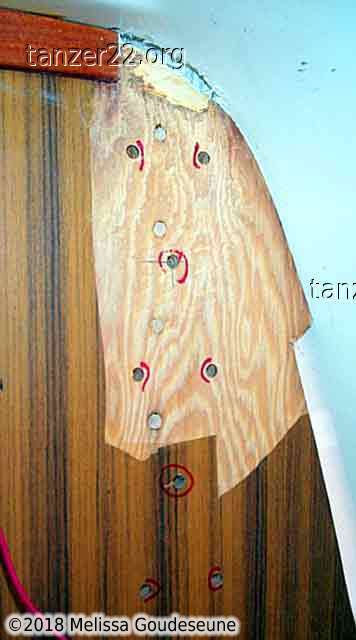
To maximize the strength of my bulkheads, I decided to plug the old bolt
holes. I used 1/4" fluted dowels (used for general woodworking,
available from Home Depot) and glued them in with regular wood glue. As
the bulkheads will be replaced next winter, there was no point to
installing them with epoxy.
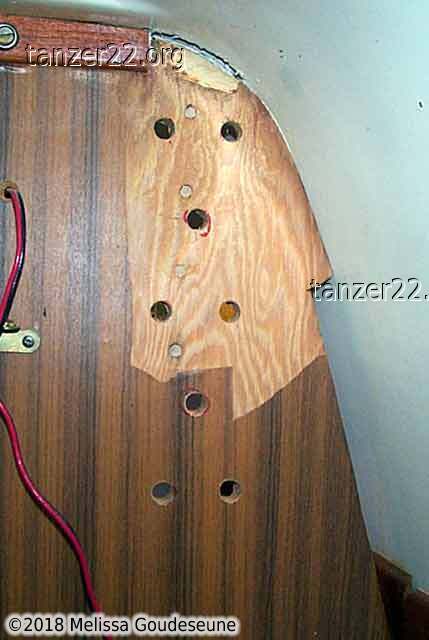
In the two right photos, you can see some water damage on the starboard
bulkhead. Shortly after purchase in 2000, I removed the vinyl "veneer"
from the v-berth side of both bulkheads to inspect for water damage.
None was evident from there. Well, shame on me, as the cabin side of
the starboard bulkhead has definitely seen water. However, I figure
that with the new extended chainplate, and with eight bolts on
starboard, it should be OK for one more season.
The difference between the middle and right photos is the hole size --
the right one has the holes drilled to 15/32", to make sure the 1/2" bushings
are very snug.
With a difference in size of 1/32", there was no way I could knock in
the bushings. The solution was to use the backing plate in the v-berth,
insert a bolt from the v-berth, and then put the bushing and a nut on
the cabin side of the bulkhead. As you tighten the nut, the bushing is
slowly pressed into the bulkhead. The first photo shows a few of the
bushings not fully installed yet; the other two show the completed
port-side bushings.
This is test-fitting the port side chainplate just before final install.
One of the holes didn't quite line up through the chainplate, bushing
and backing plate, and needed to be reamed slightly with a 1/4" drill.
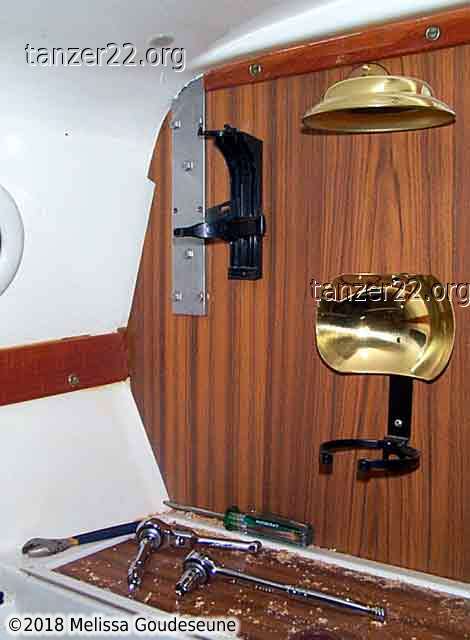
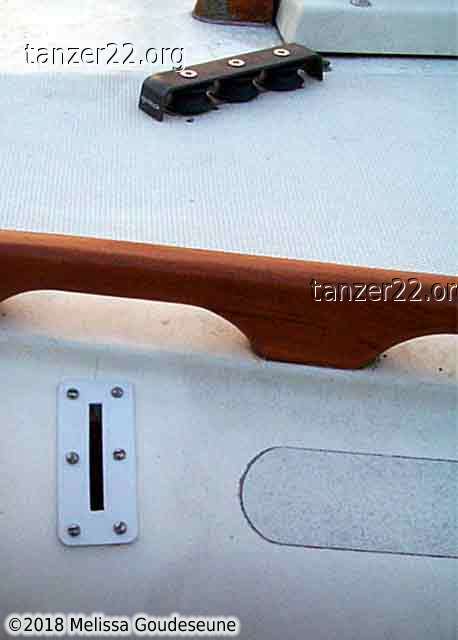
The existing chainplate covers were stainless steel, almost 1mm thick.
I quickly decided that widening the slot from 1/8" to 1/4" was No Fun,
and went looking for a better solution. The result is new covers made
from white plastic. Much easier to work, and durable enough considering
that they only need to protect the sealant from abrasion.
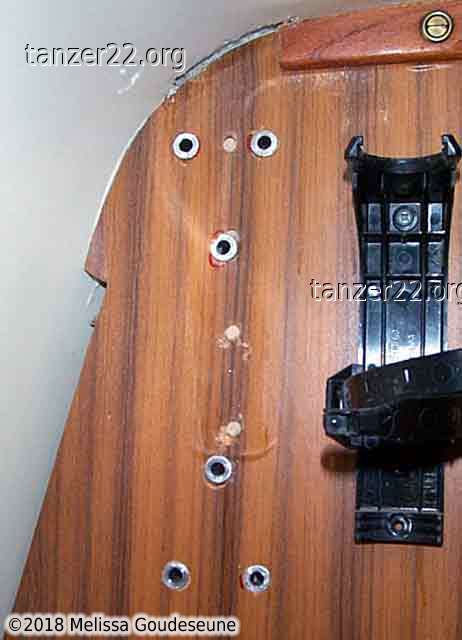
The second photo shows the starboard chainplate held up by one of the
center bolts inserted in the wrong hole in the bulkhead. The three red
dots mark the bottom of the deck when the chainplate is fully installed.
This was done to make it easier to fill the gap with sealant. It's much
easier to apply 3M 4200 to an open chainplate than to squeeze it into a
1mm wide gap! More sealant was added after the chainplate was lowered.
And the final result -- serious overkill, but something I won't ever
have to worry about breaking!
© 2018 Melissa Goudeseune