Brave and Crazy came from the factory with genoa tracks, but no other
genoa gear (lead cars, cheek blocks or winches). At the time of
purchase, I considered this a drawback. Now, I think it was a
blessing in disguise.
What this meant is that I could install the hardware *I* wanted,
instead of what was typically on the market 20 years ago.
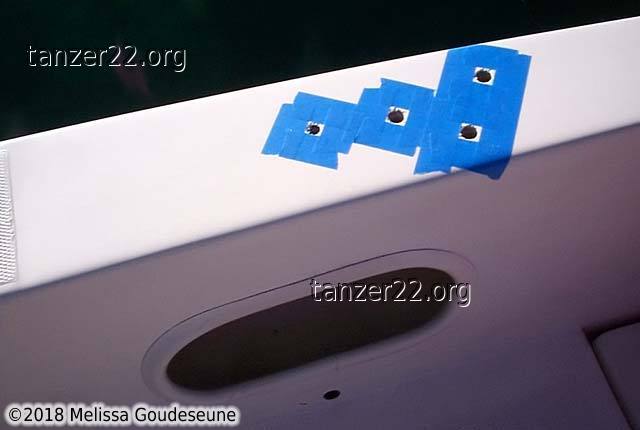
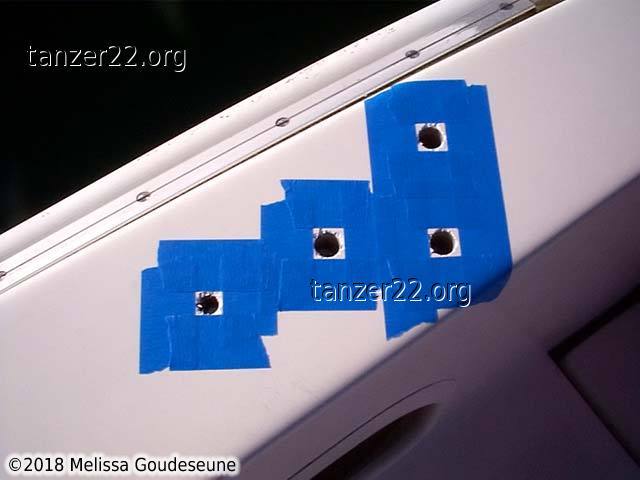
The first problem to solve was where to install the winches. They're
most easily through-bolted on the cockpit coaming. However, the
coaming is over an inch thick with a core, and is impossible to see
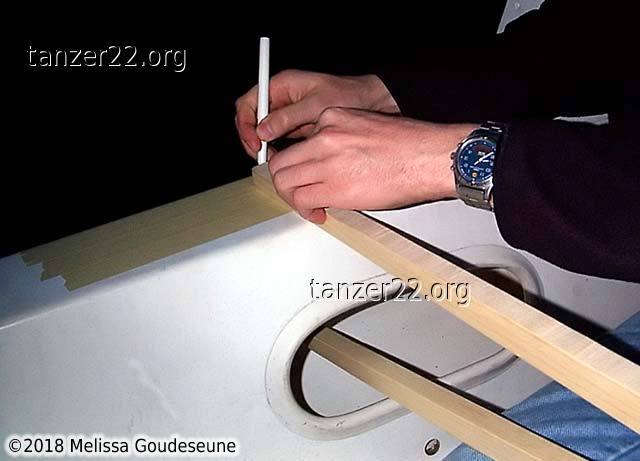
through. I needed to figure out a way to transfer markings from
inside to outside, without simply drilling test holes.
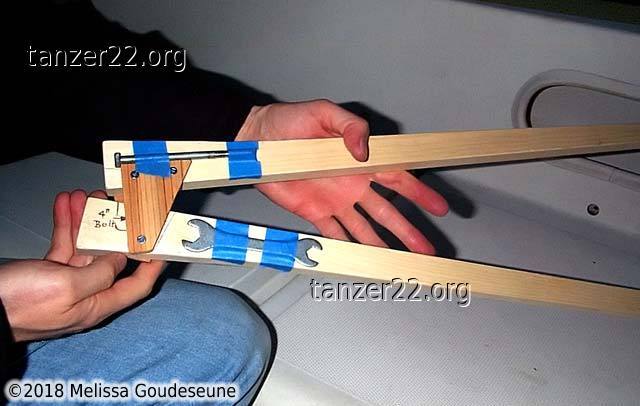
This bizarre wooden caliper was the answer. It's not a precision
instrument, but I only needed accuracy of 1/4" or so, so this gave me
the positional limits of the through-bolts. One side of the caliper
is flat, to prevent a problem with parallax.
Having made my markings, it was readily apparent that the winches
I'd chosen (#13 single-speed from
Setamar)
would not fit. The bolt spacing was wider than the available space
underneath the coaming.
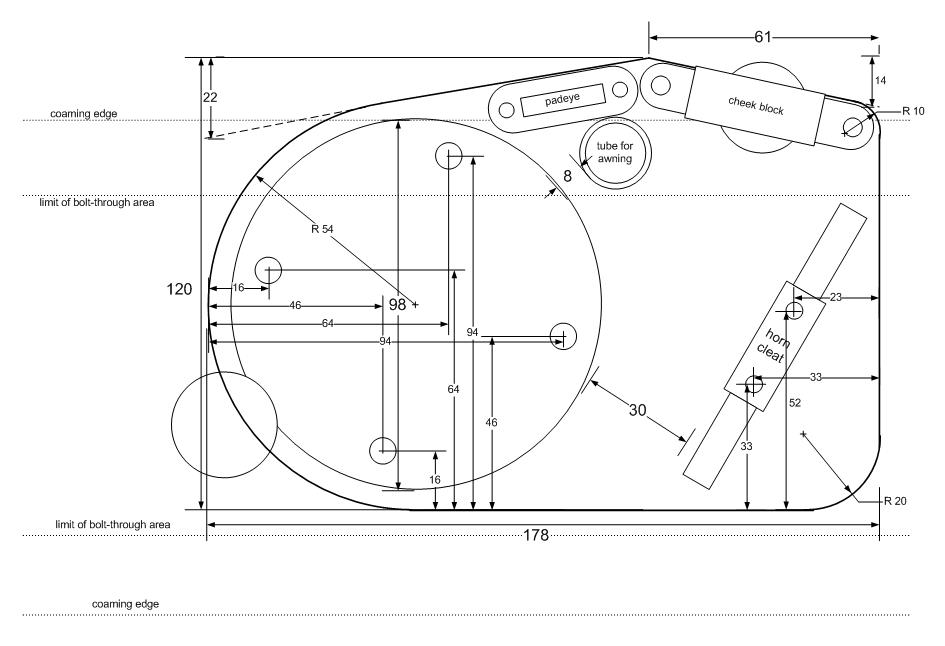
My solution was to mount the winches to a baseplate, which would then
be bolted to the coaming. You can see the layout in this diagram.
Rest assured that it went through many revisions before
reaching this stage!
An aside about Setamar: they (used to) make great winches. The two
winches I have are counter-rotating. The port winch turns clockwise
to bring the sheet in; the starboard winch turns counterclockwise.
This means a fair lead for both winches. Also, they have an internal
braking mechanism. To let the sheet out, simply turn the winch handle
in the opposite direction. When you stop, the brake engages again.
Unfortunately, these winches were too expensive to manufacture in
Germany, and the operation has been sold to an un-named firm, probably
in the far east. This is unfortunate, as the winches really are top
quality.
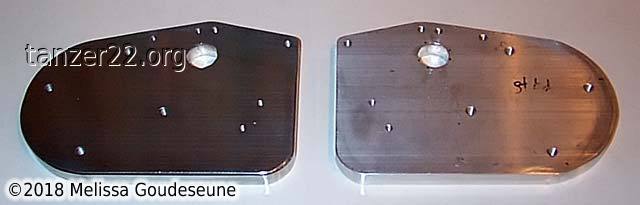
Here are two photos of the baseplates cut to size, before drilling the
mounting holes. The metal is 1/2" thick aluminum.
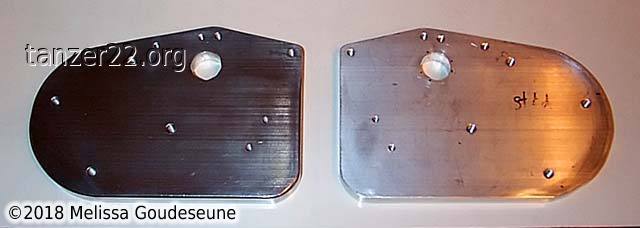
Test fitting the winches to the baseplates. There are three bolts
that hold the winch and baseplate to the coaming. The fourth bolt
is over a blind part of the coaming, and does not protrude from the
baseplate.
In photo 3, you can also see the jaw design of the winch, which
shows why there is no traditional drum or self-tailing mechanism.
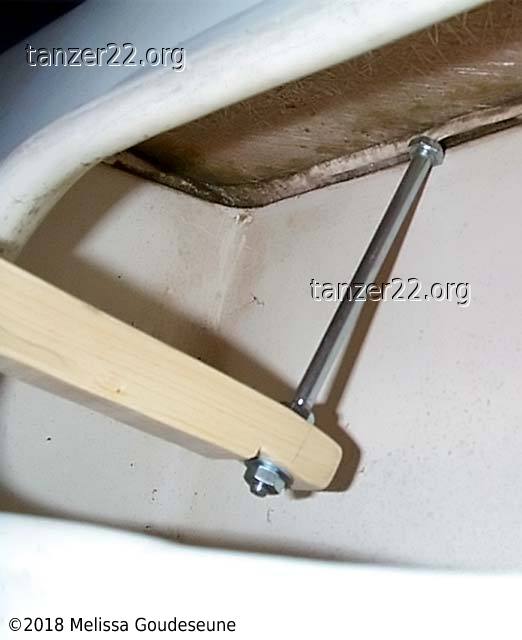
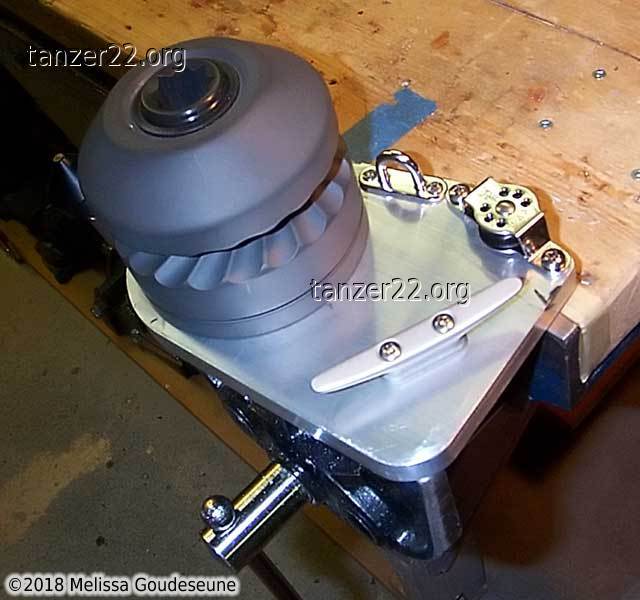
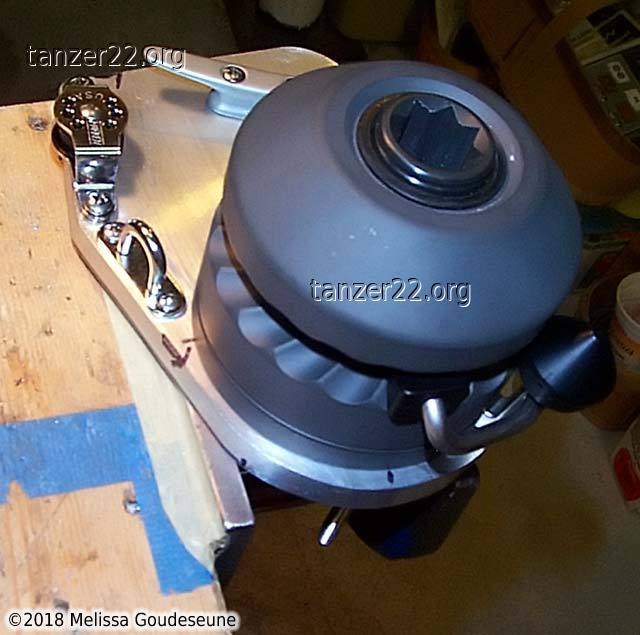
Test fitting the winches on the boat. The 1/4" line is a safety line
attached to a padeye on the baseplate. The last thing I needed was to
drop the whole assembly into the lake accidentally. This way, I could
at least fish it out if that happened.
Once the test fitting was completed, I overdrilled the mounting holes
to fill them with epoxy, as a precaution against water ingress into
the core. Three of the holes hold the winch down. The fourth is for
one of the bolts of the horn cleat, at the far end of the baseplate.
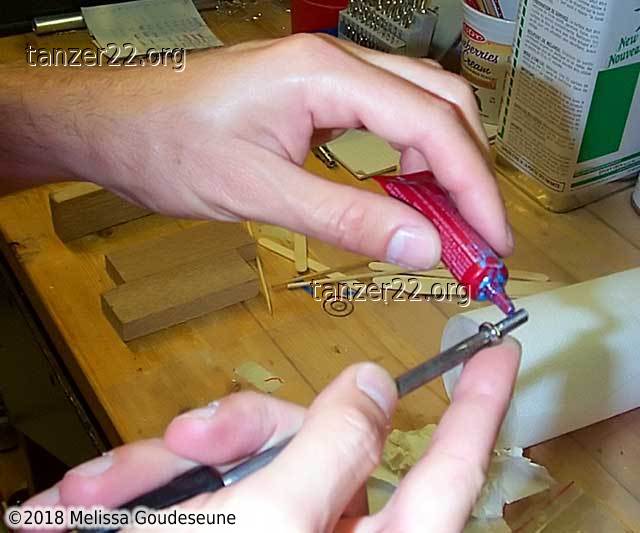
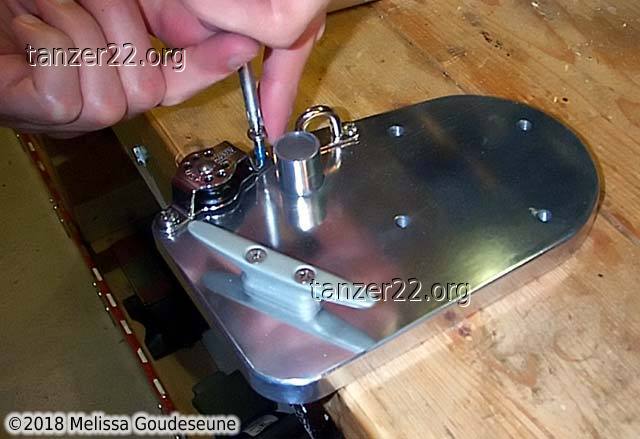
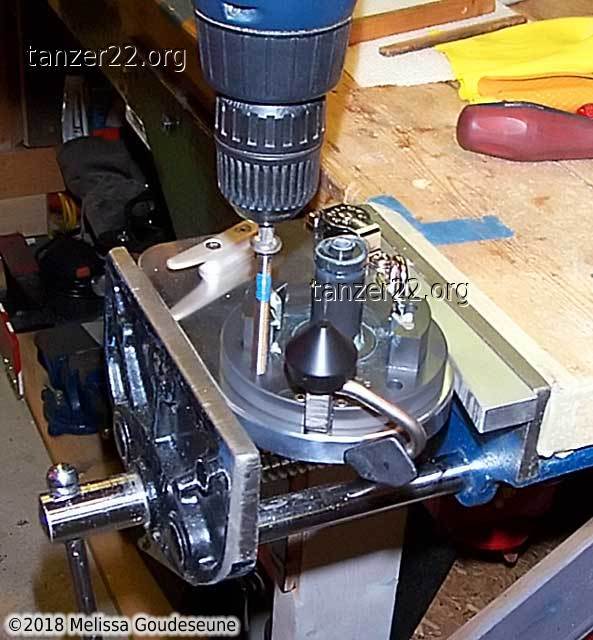
Final assembly of the hardware onto the baseplates. Photos 1 and 2
show me installing one of the padeye screws with loctite.
Photo 3 shows me using a drill to install one of the winch
bolts, also with blue loctite on the threads where they engage the
baseplate. The last photo shows the winch disassembled for mounting.
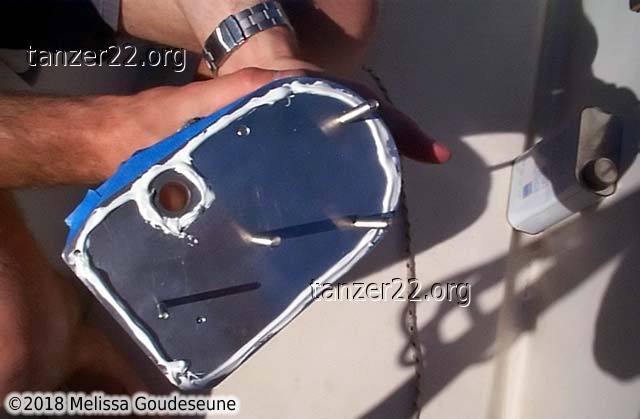
Installing the winches. Notice that the sealant is only applied
around the perimeter of the baseplate. Its only purpose is to
keep dirt out from between the baseplate and the coaming. Covering
the whole area with sealant would only make removal VERY difficult.
Photo 3 shows the plastic backing plate, cut from a piece of
IKEA cutting board.
Also note the safety line still attached to the assembly.
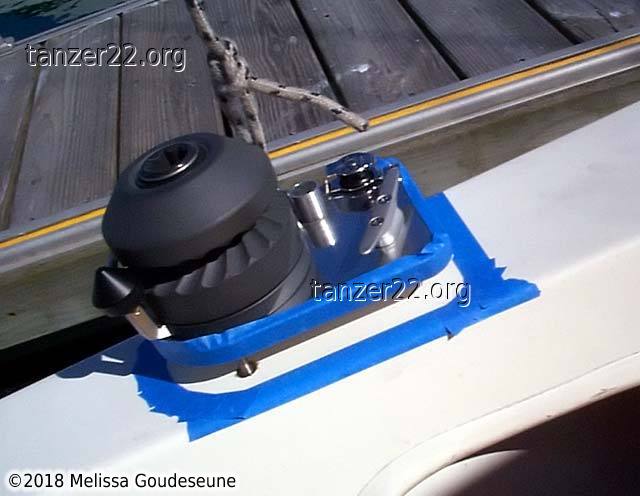
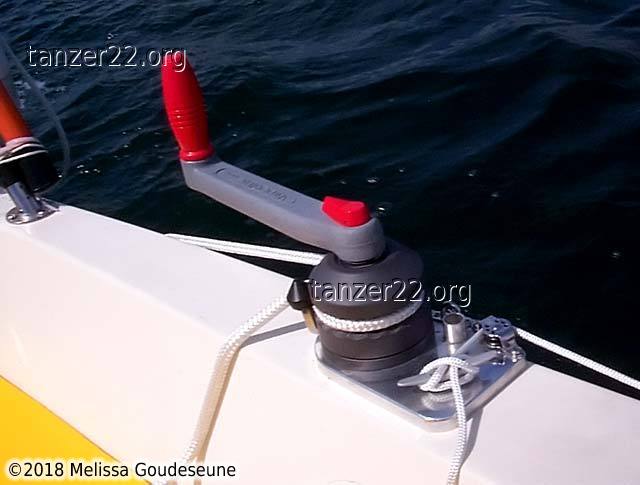
The winches installed. The vertical view shows all the hardware. The
small tube and the padeye are used as anchors for an awning across the
cockpit, using fiberglass tent poles. The cheek block and horn cleat
are used to control the position of the line-control lead car. There
is no purchase on the lead cars: they can't be moved under load.
Rather, the purpose of the line is to make it easy to move the car on
the lazy sheet.
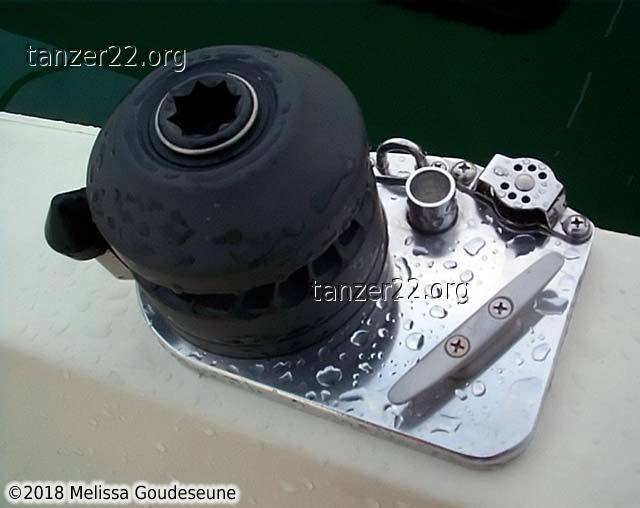
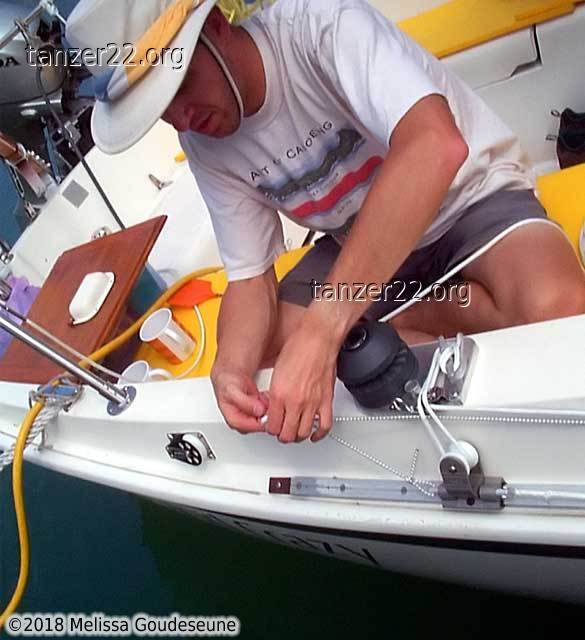
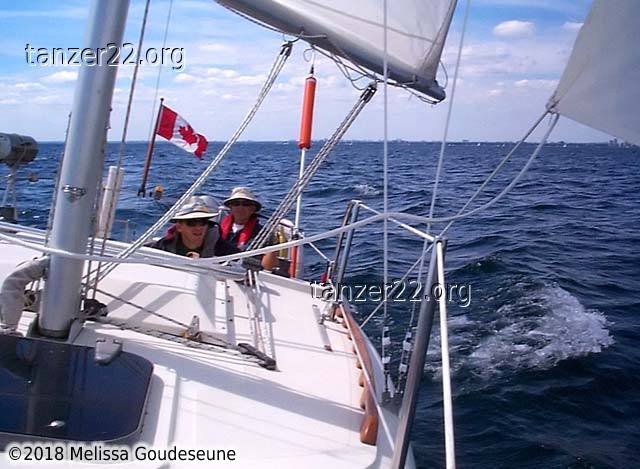
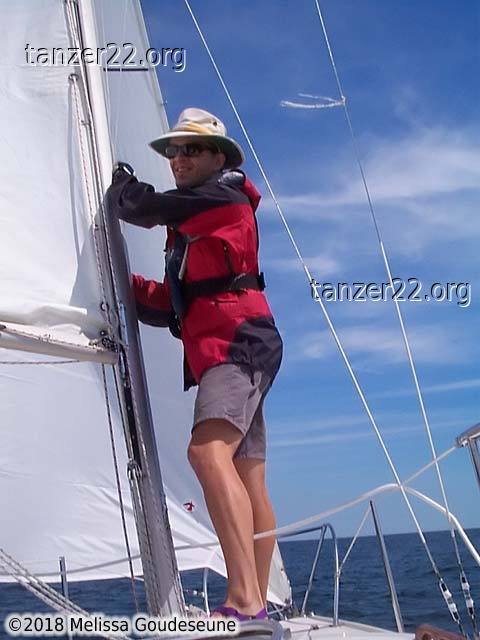
And the winches in use. Photo 1 is me tailing the starboard
winch, preparing for a tack. Photo 2 shows the port lead car.
The control line pulls the car forward, and a bungee cord maintains
tension when the sheet is slack. Photo 3 shows the port winch
in use with the control line cleated. There is no cleat for the genoa
sheet, as it isn't necessary.
Two overview photos of the whole system: me
repairing a cheek block that got removed by the genoa sheet (photo 1) and the
temporary repair (photo 2) which I still haven't properly fixed :-(.
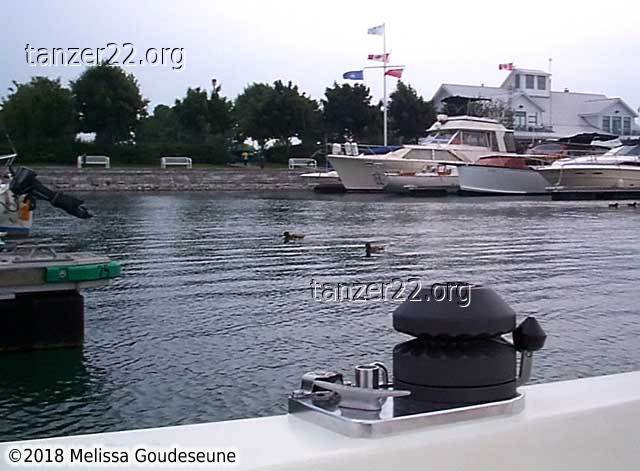
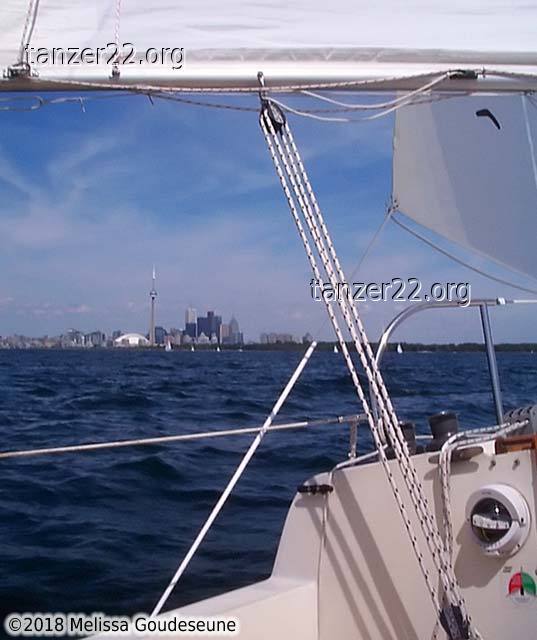
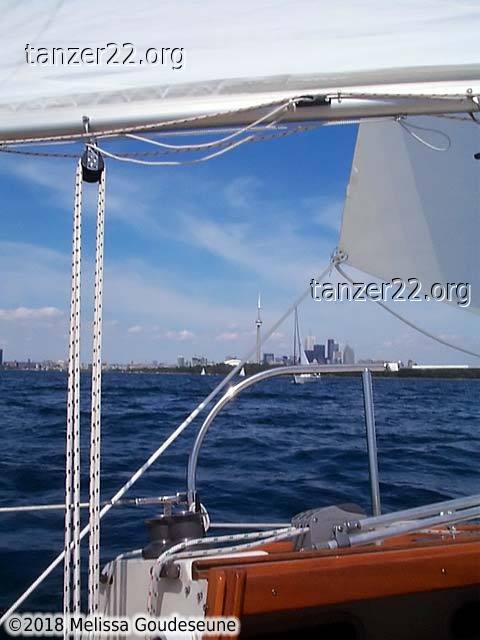
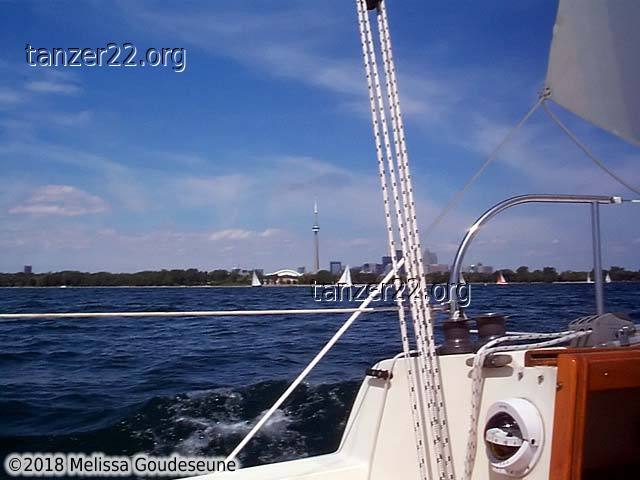
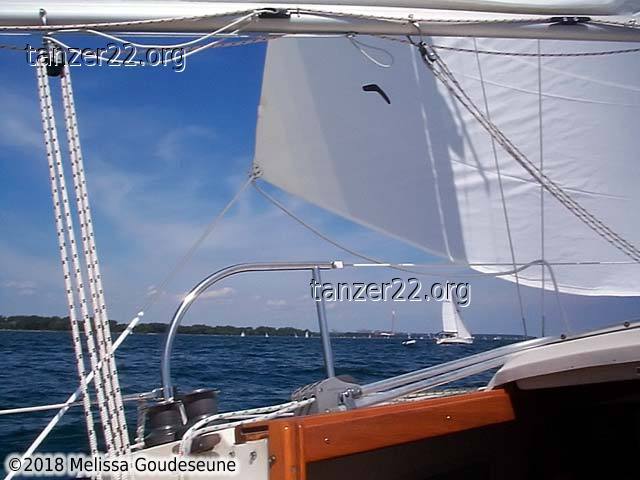
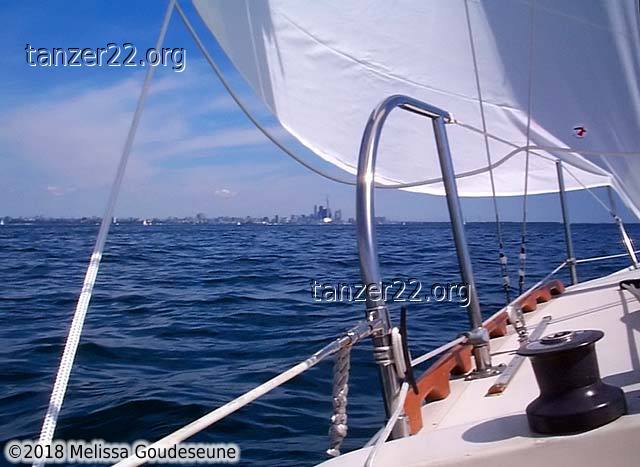
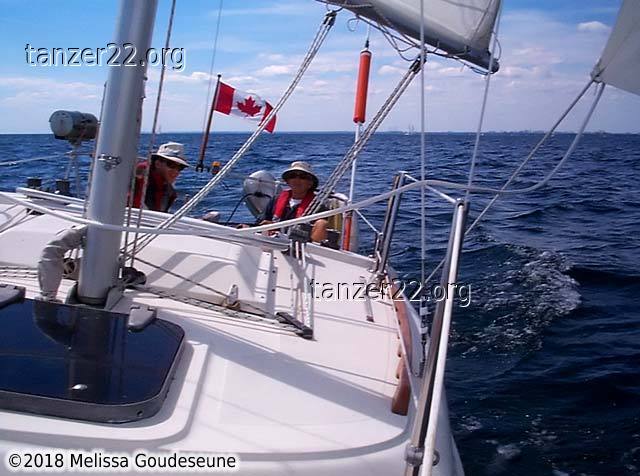
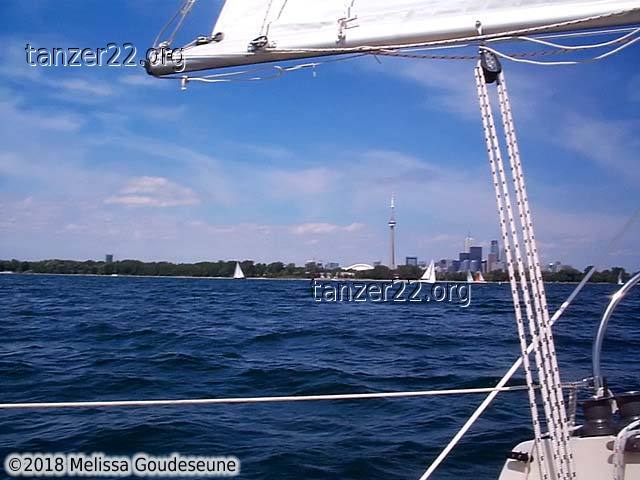
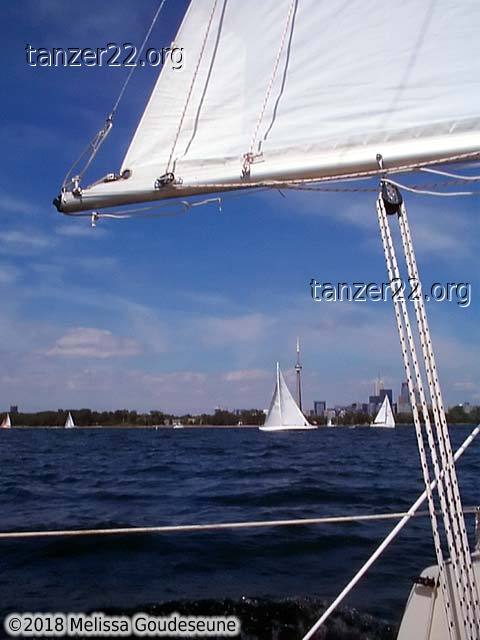
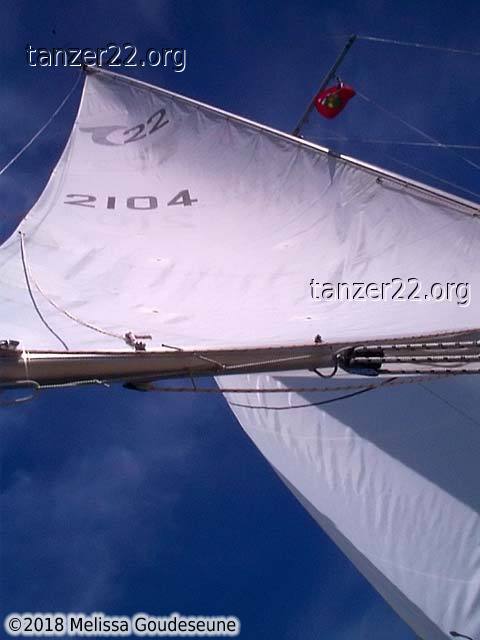
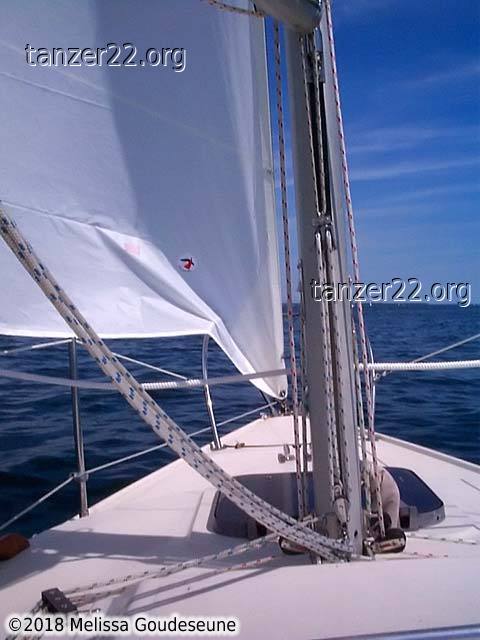
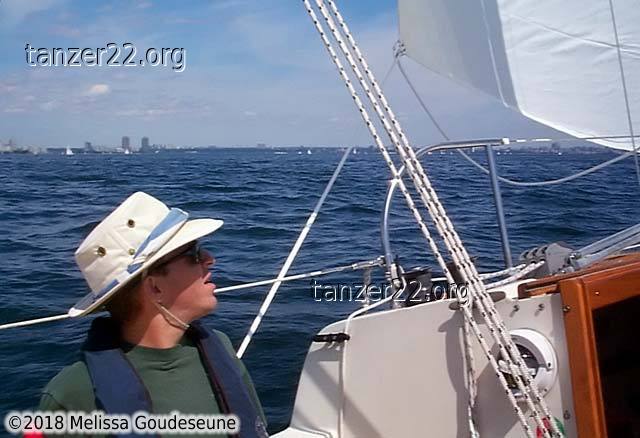
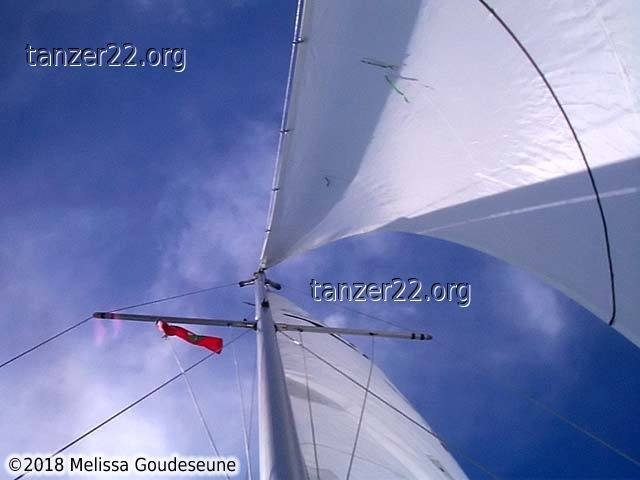
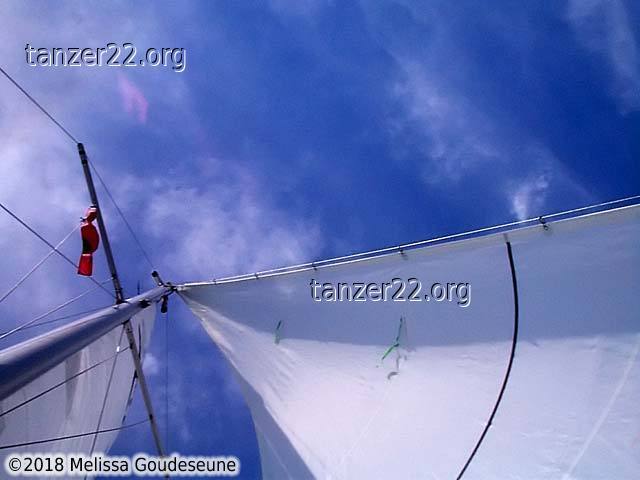
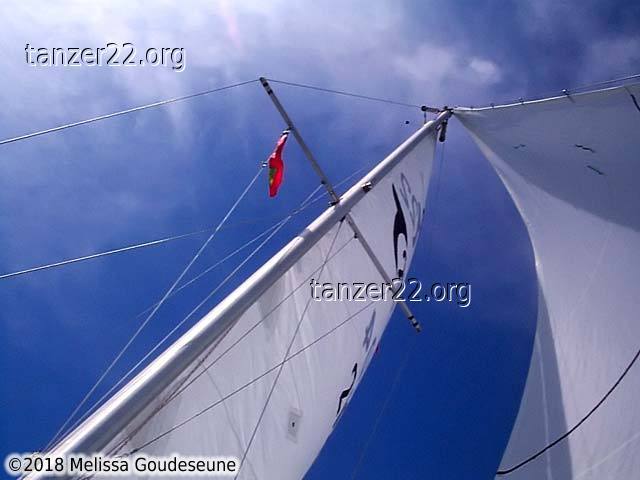
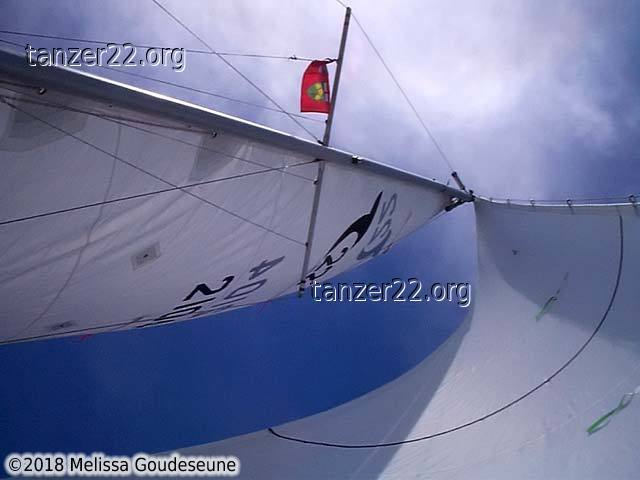
The rest of the photos are various shots of the genoa in use.
© 2018 Melissa Goudeseune