When I started the mainsail, I knew the logo would prove to be a challenge.
My original plan was to graph the logo and use that to create the new
one from self-adhesive insignia material. To that end, I made a
complete plot of the logo and created a digital version, which you see
in the first photo. I've also put my original
Microsoft Visio version
online as well.
In the end, that was way too complicated, and more accurate than I
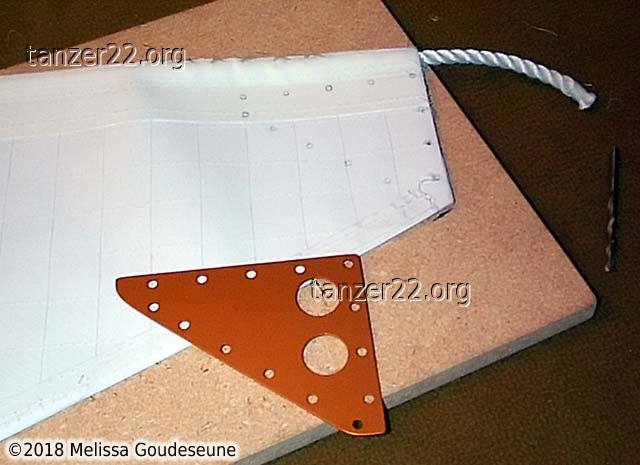
require. I ended up tracing the old logo onto bristol board, and
using that template to trace the outline onto the back of the insignia
material:
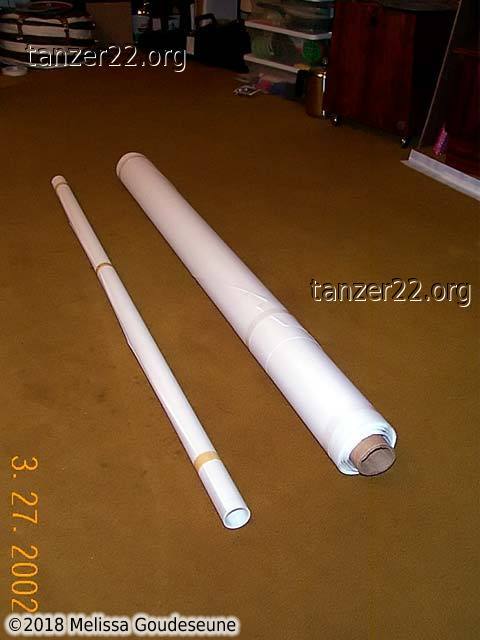
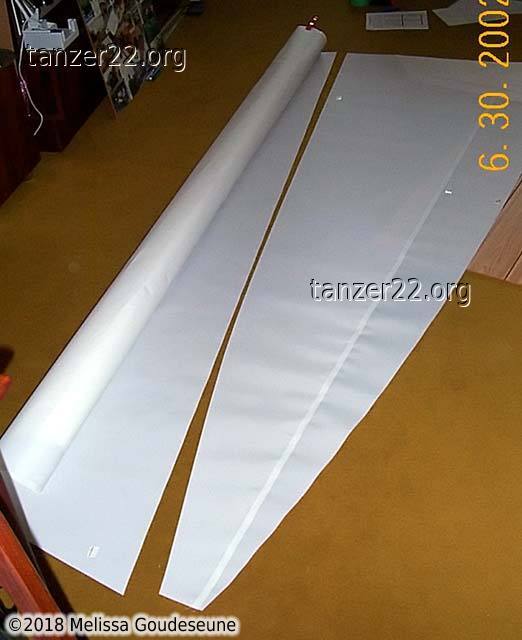
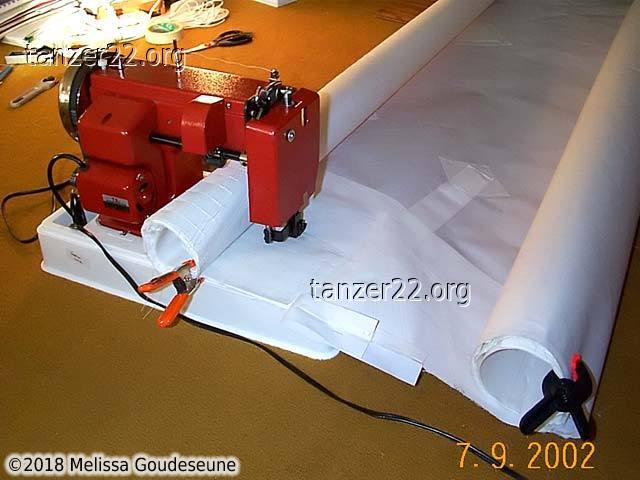
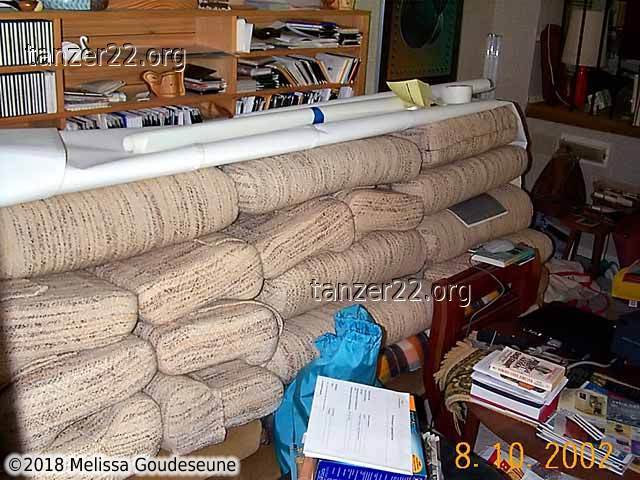
On to the sail itself: two rather innocuous-looking rolls of
sailcloth.
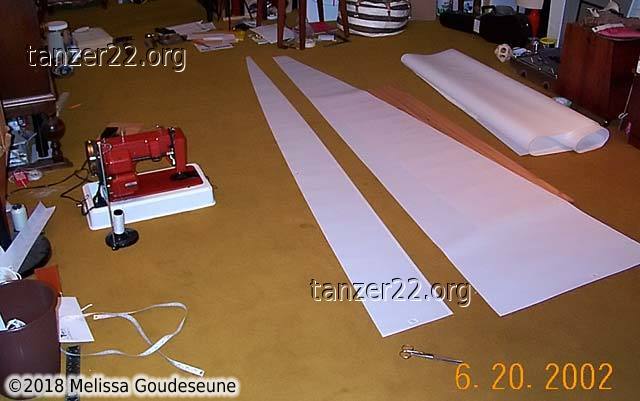
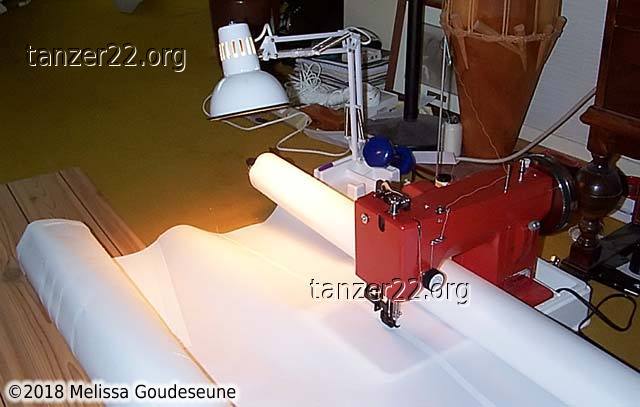
The first step was to apply the reefing patches to the sail, as this
required sewing in all four directions.
In retrospect, I never use the reefing patches, and should have just
left them out. This sail isn't large enough to require the excess
cloth to be bundled when tucking in a reef.
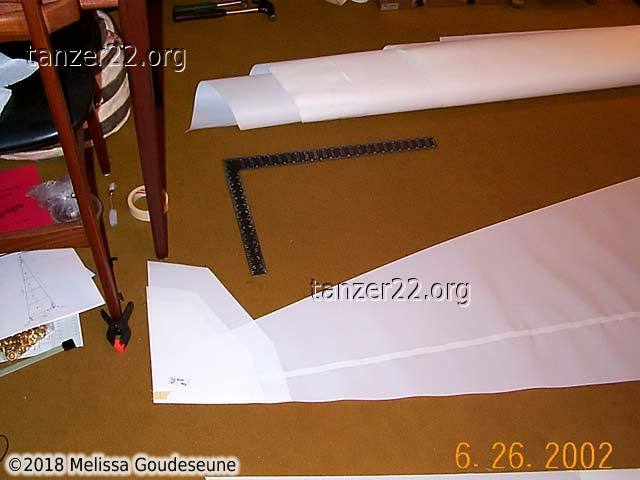
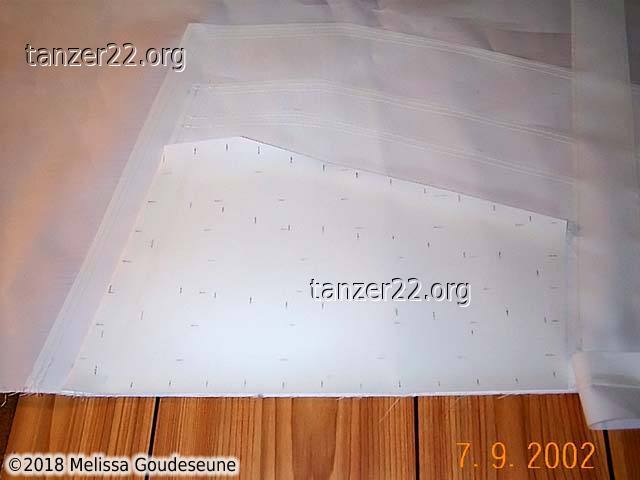
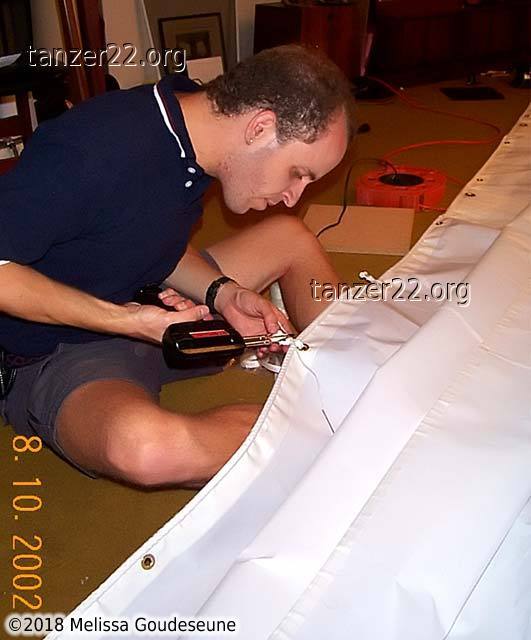
As with the jib, I started with the patches on all corners of the
sail. First the two bottom panels are stitched, then the clew patch
is attached. The head is fairly simple, with the patch sewn to one
panel of sailcloth. The tack (last photo) is most difficult, as it
joins three panels of the sail.
With a sail this large, I now found that spring clamps were required
to keep the sail under control when sewing the center panels.
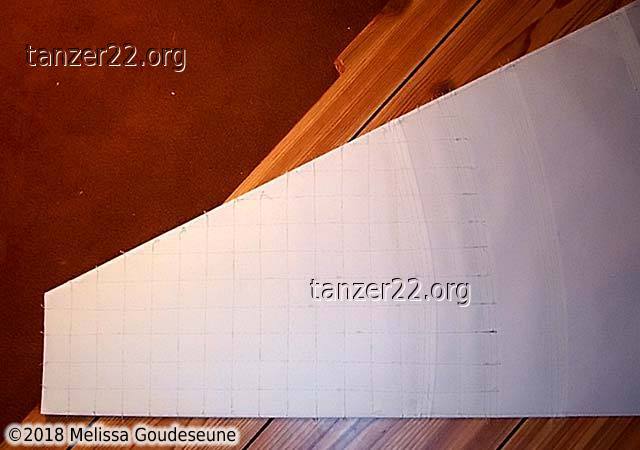
All patches on the mainsail were given an added feature: additional
stitching on a 1" square pattern. This helps to lock all layers of
the sail together and distribute the forces from the cringles to the
main body of the sail.
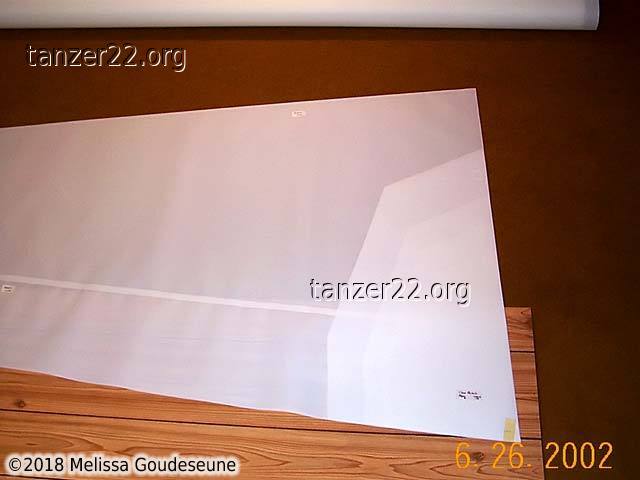
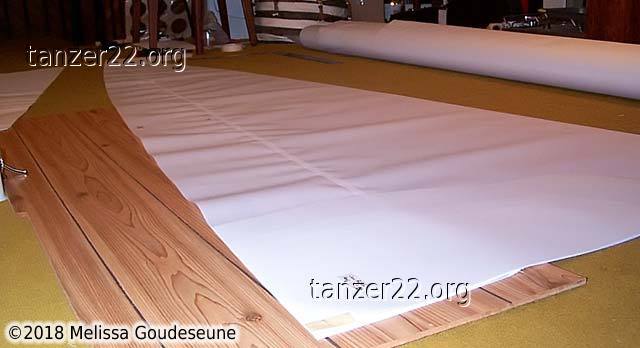
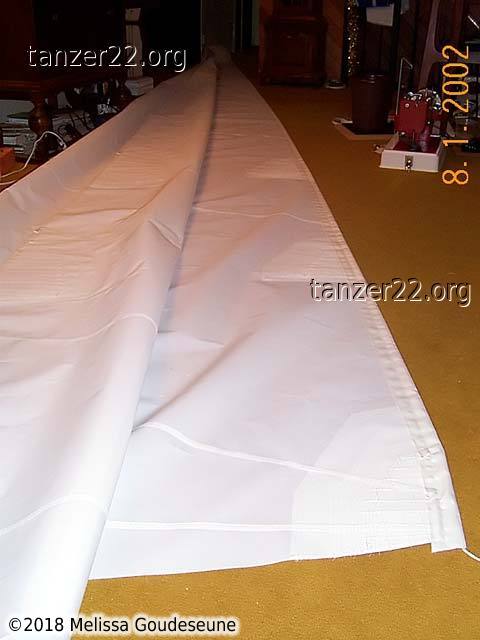
Two photos of the mainsail, occupying a similar area as the jib down the
hallway.
The headboard was installed with rivets (not pictured) which hold the
two pieces to either side of the sail.
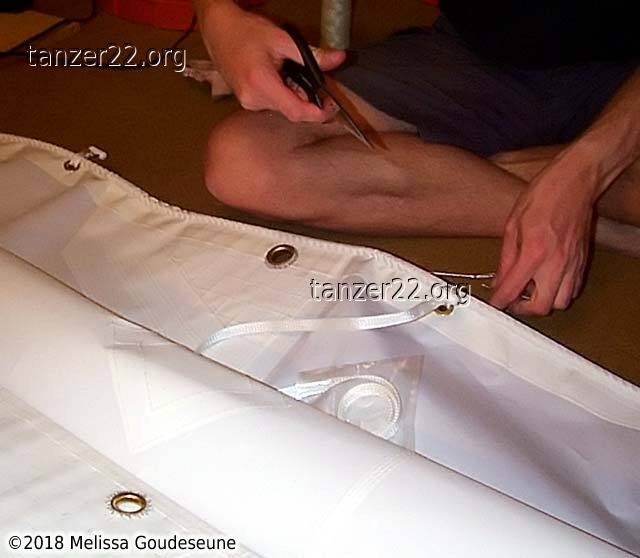
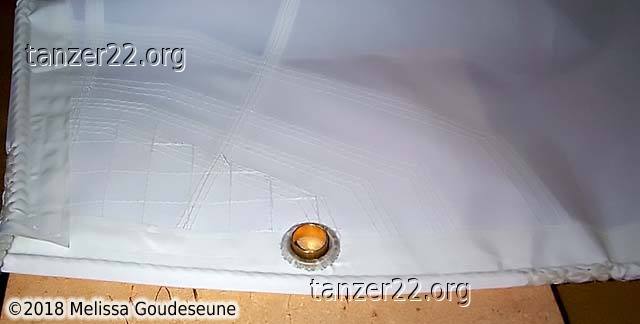
After installation, the holes are cut out with a razor knife (not a
hot knife). It is important that the layers of cloth are not melted
together. This goes for all the other holes for the reefing and
clew/tack rings as well.
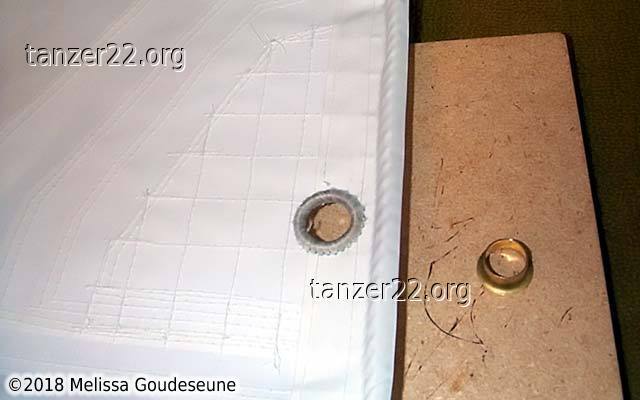
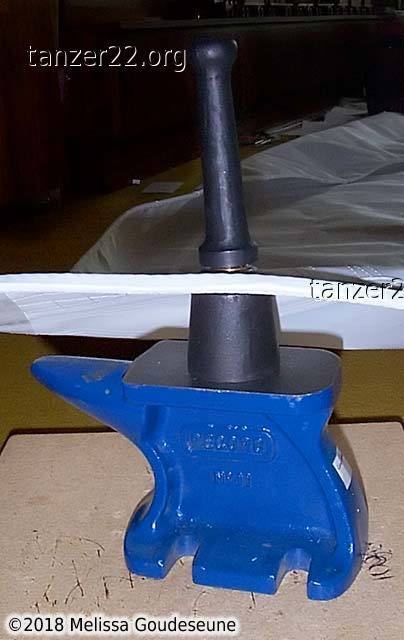
Installing one of the reef cringles. After sewing the ring into the
sail, a sleeve is inserted, and is then rounded over with a special
tool.
More domestic chaos that resulted from needing to clear a large area
of floor space to act as a sail loft.
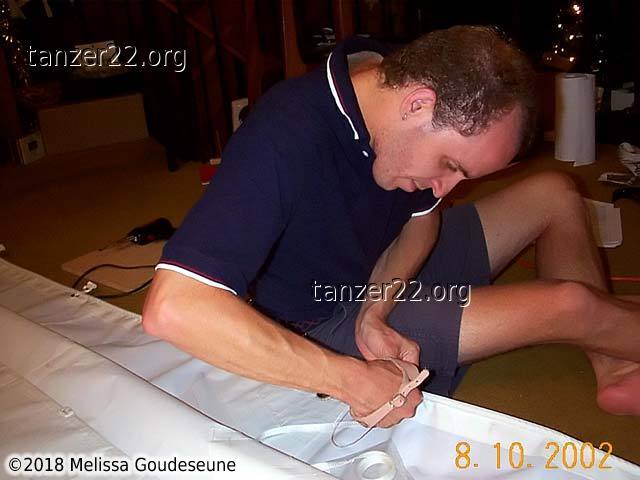
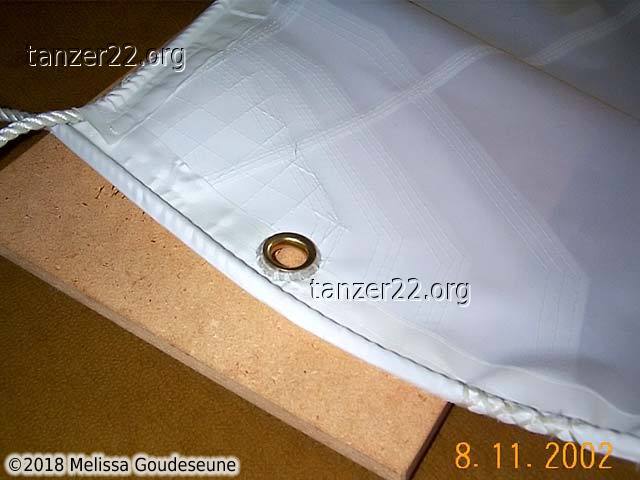
The sail slides were installed with webbing led through grommets,
which were located just behind the luff rope. The webbing was then
held in place with waxed twine, which was melted to lock it.
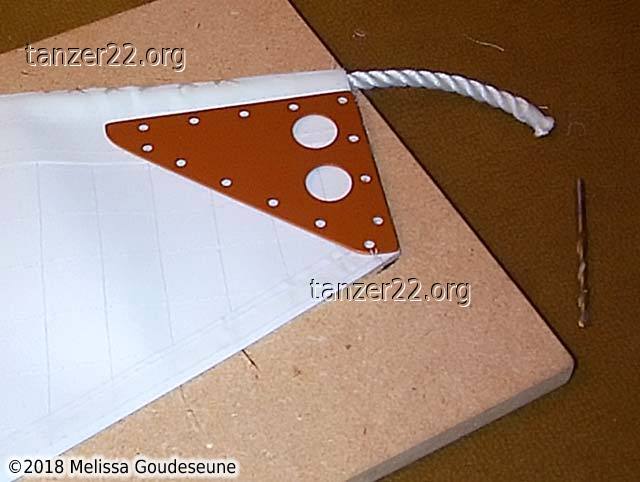
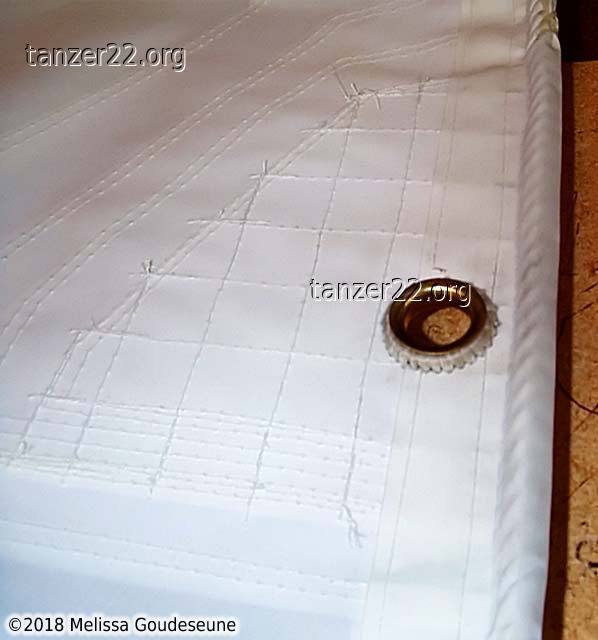
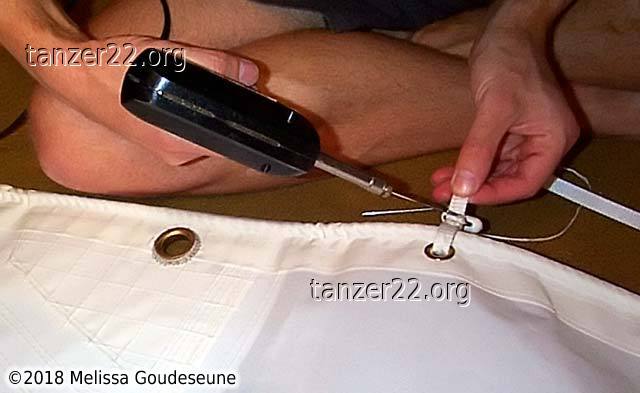
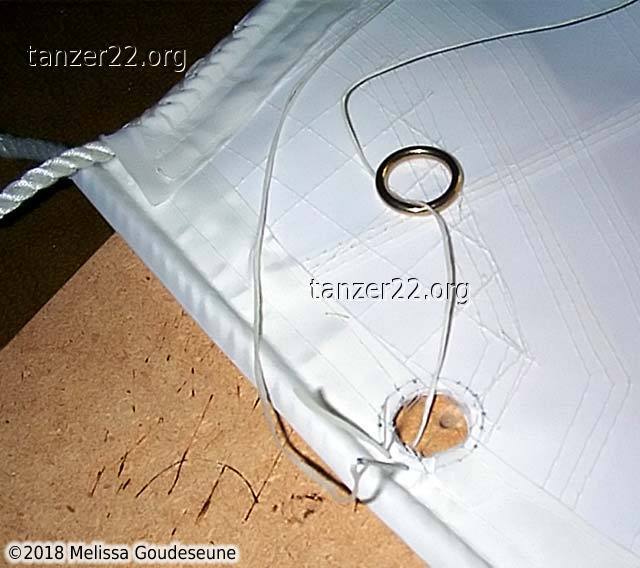
A detailed view of installing the cunningham cringle. First, a hole
is cut at the correct location. Next, middle a length of waxed twine
on a heavy needle. Work around the ring, leaving gaps in the
stitching.
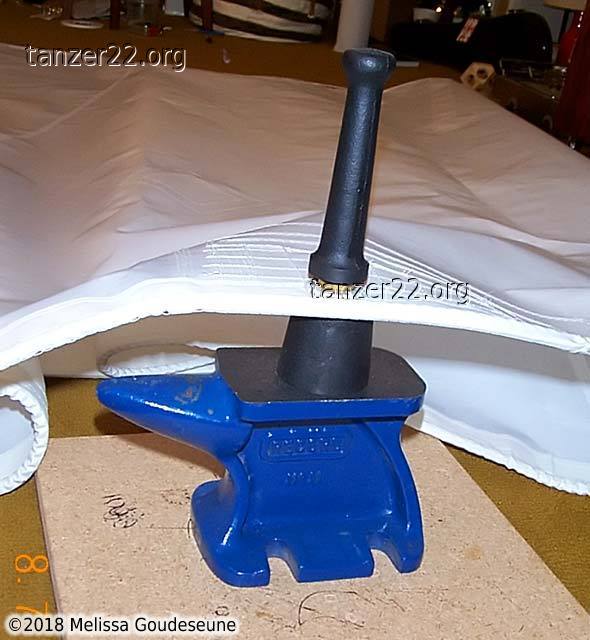
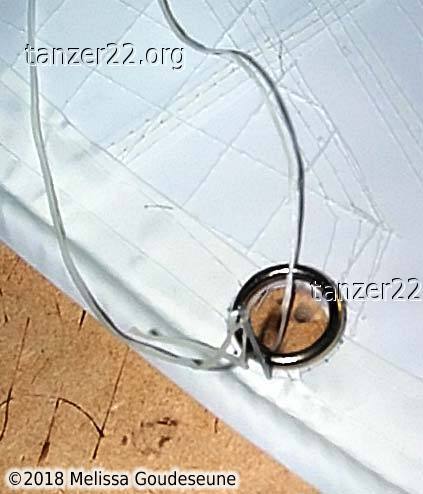
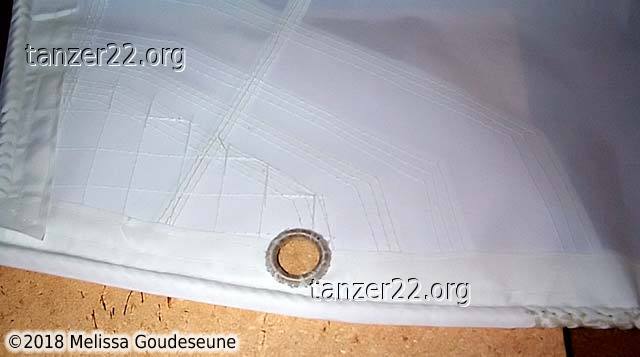
After going around a second time in the "odd" spaces, the ring is now
stitched in place. The tail is pulled under some of the stitches to
lock it in place. Then, insert the sleeve and round it over.
My brother Camille was having fun with the camera, so here's a photo of
us driving to the marina to test-fit the main. The car is a 1979
Volvo 242dl, currently with 405,000 km. The pod atop the
dashboard is my tachometer.
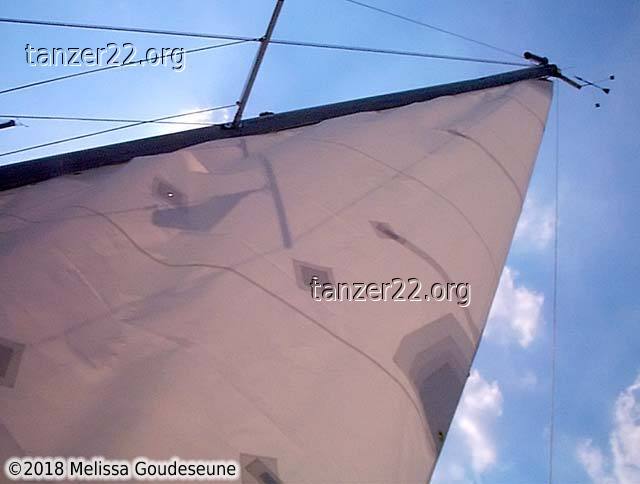
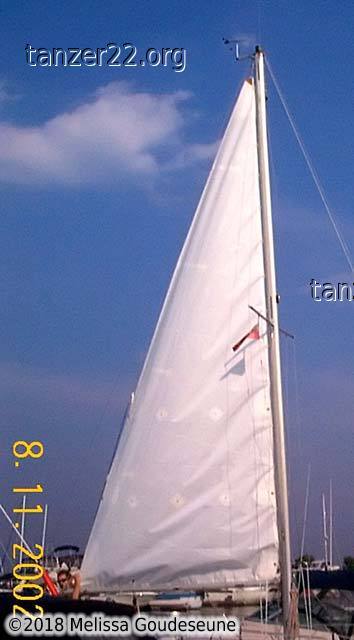
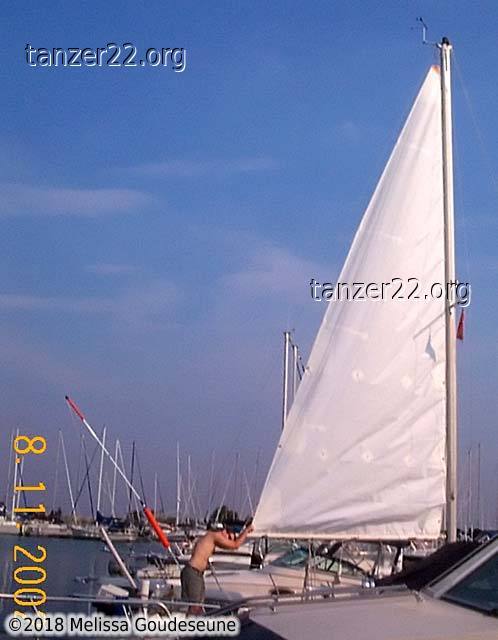
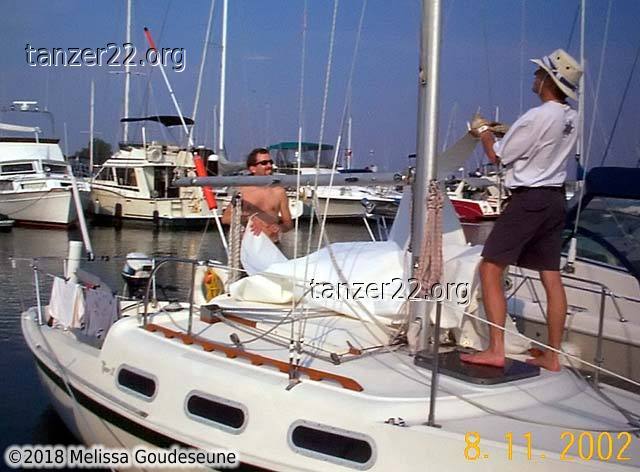
Test-fitting the mainsail. The insignia has not yet been attached.
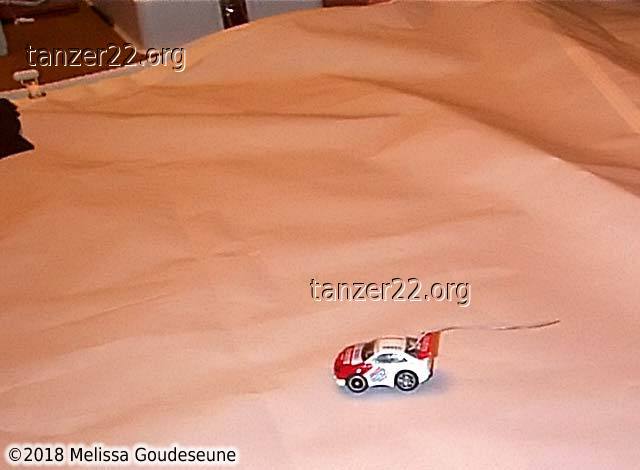
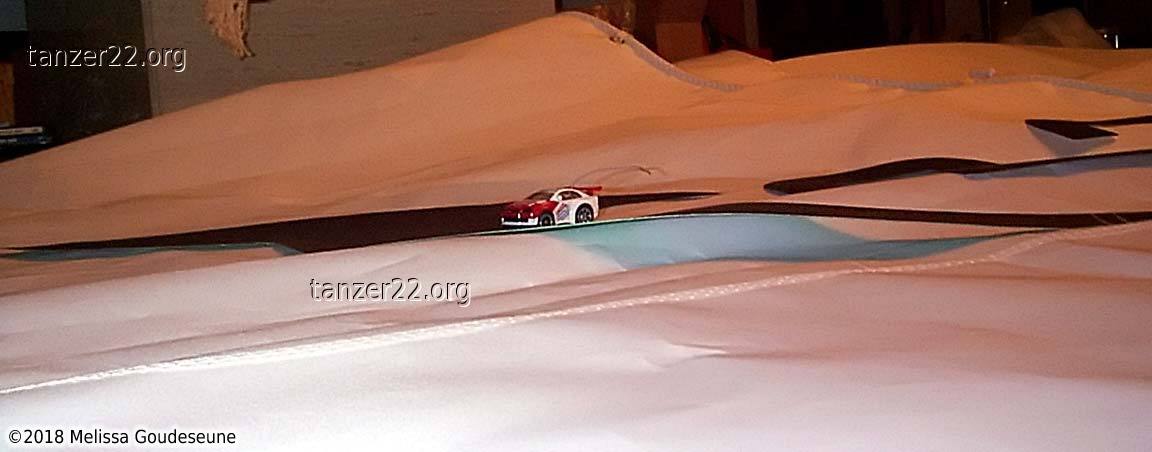
A bit of silliness amidst the work: racing radio-control cars on the
sailcloth, about the only clear open space in the house.
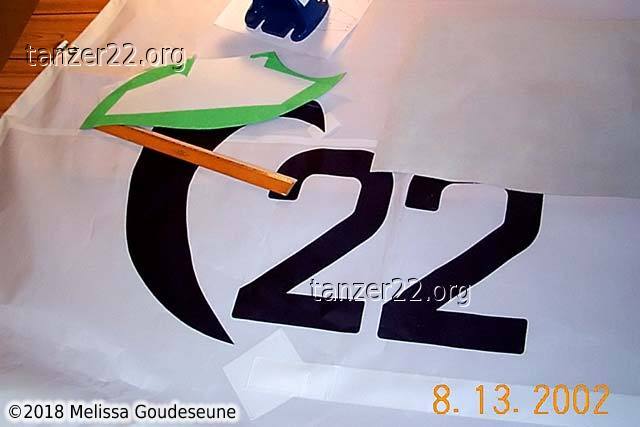
We were probably fussier than necessary about logo placement.
However, I wanted the numbers and logos to cross as few panel edges as
possible, in case of sail repairs or adjustments in future. With this
layout, only one of the T's spans two panels.
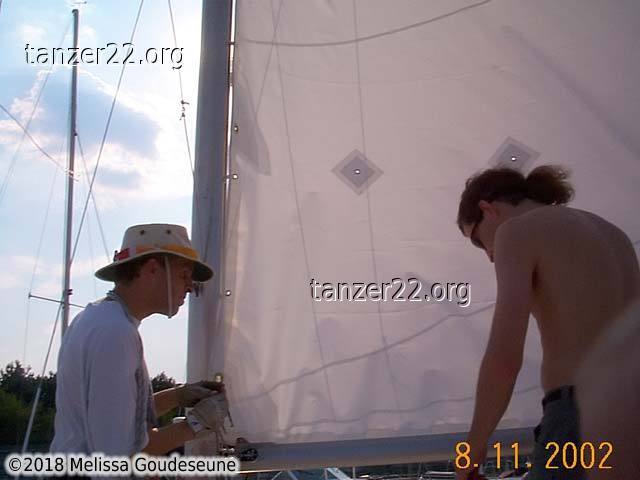
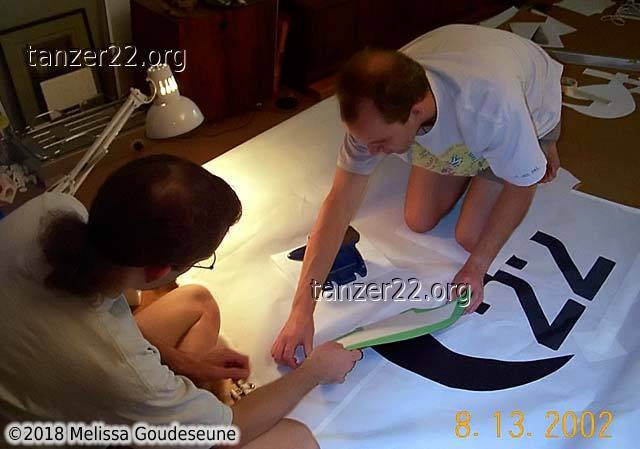
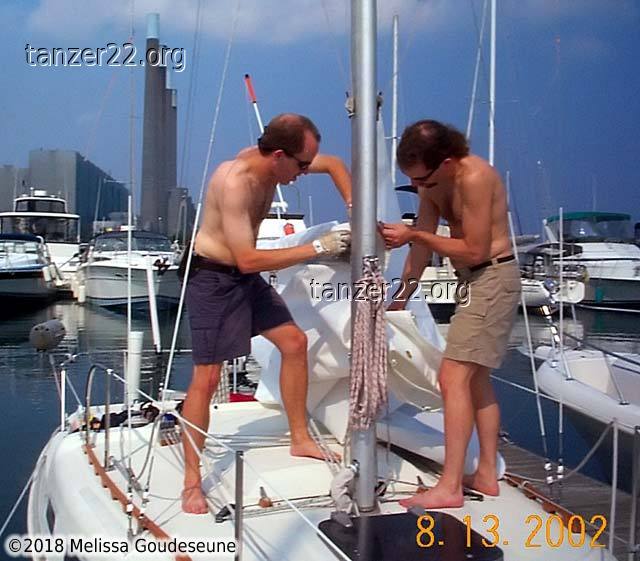
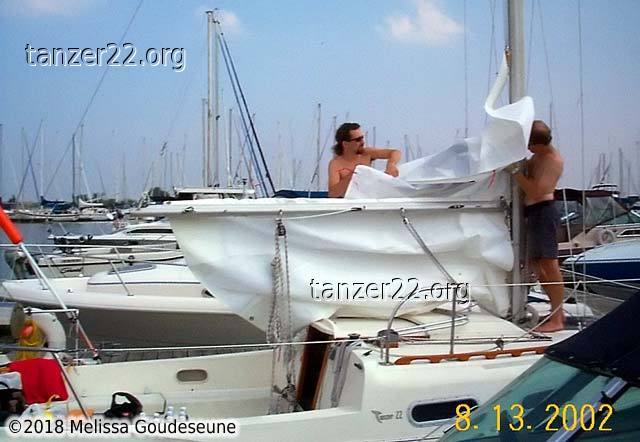
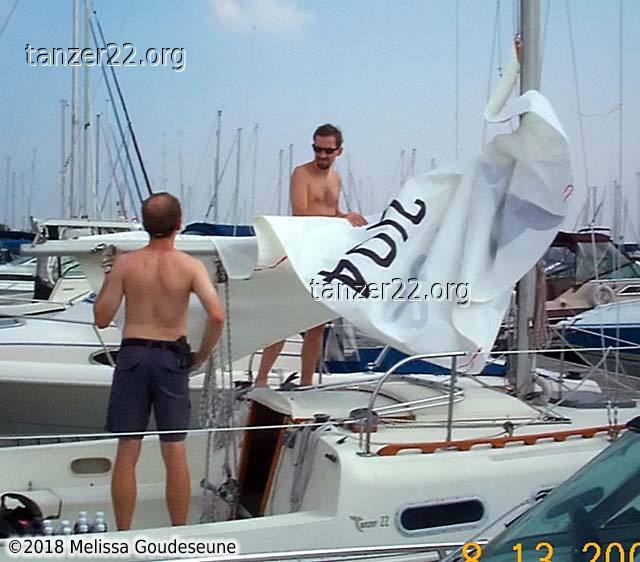
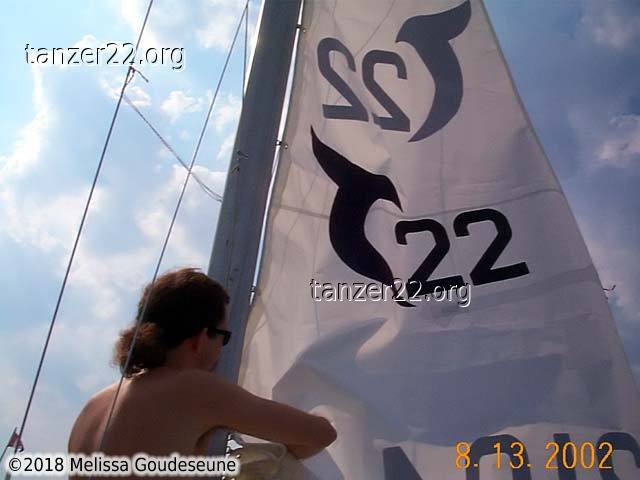
The large T was notoriously difficult to apply. Two people are
virtually required to ensure that the letter goes down flat and
doesn't touch before it's allowed to. The adhesive is tenaciously
sticky, and it's very difficult to re-position a letter after
it has been attached.
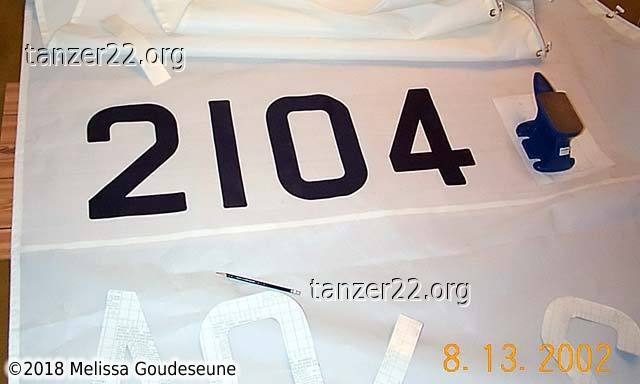
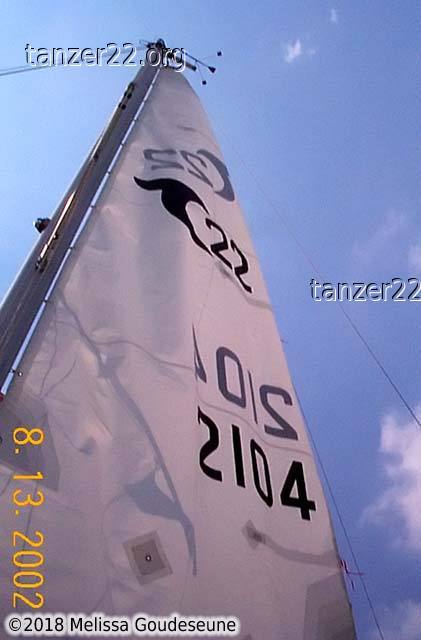
Sail numbers installed on the starboard side:
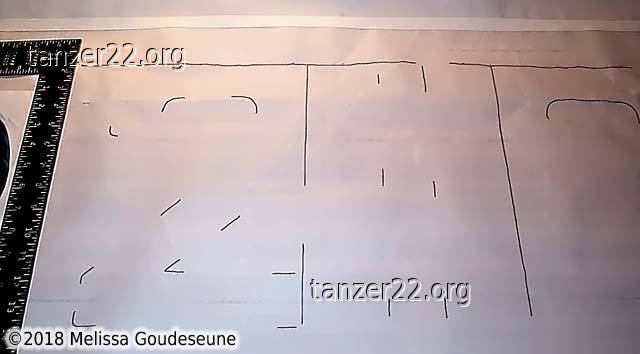
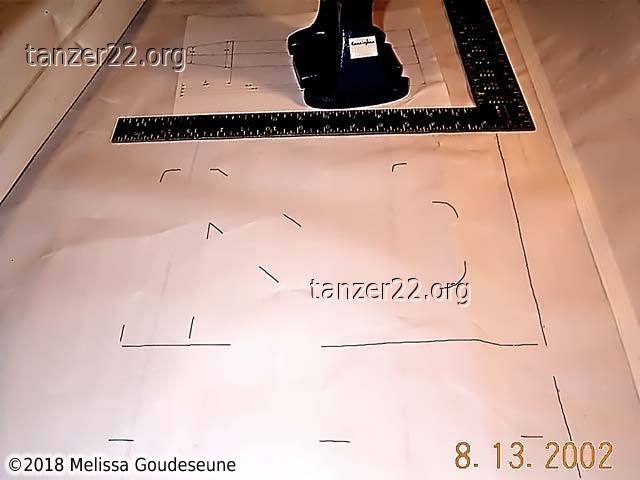
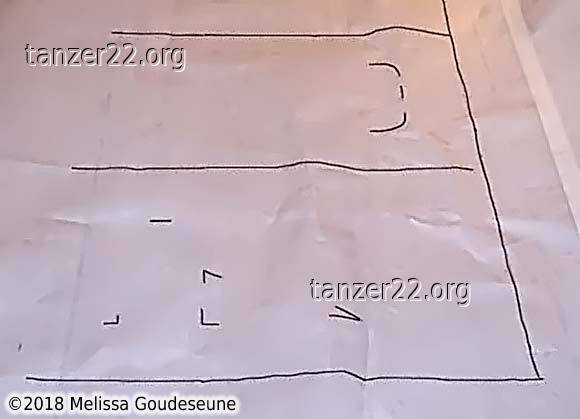
These photos show the pencil alignment marks for the port-side sail numbers.
The marks were used to align the numbers during installation.
Please note that these pictures were significantly enhanced to show
the pencil marks. In real life, they're barely visible. They may look
like permanent marker, but they're not!
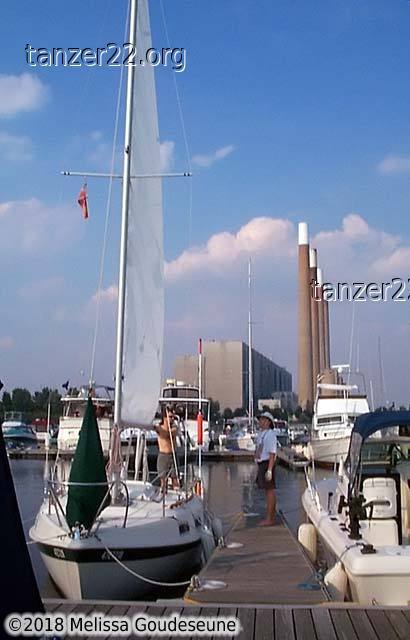
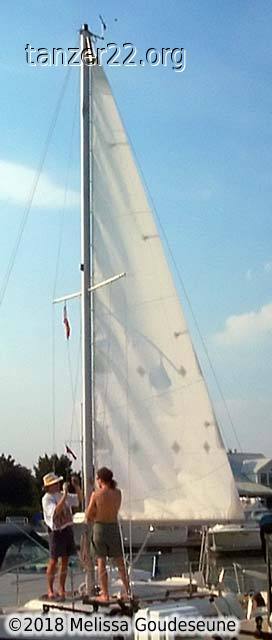
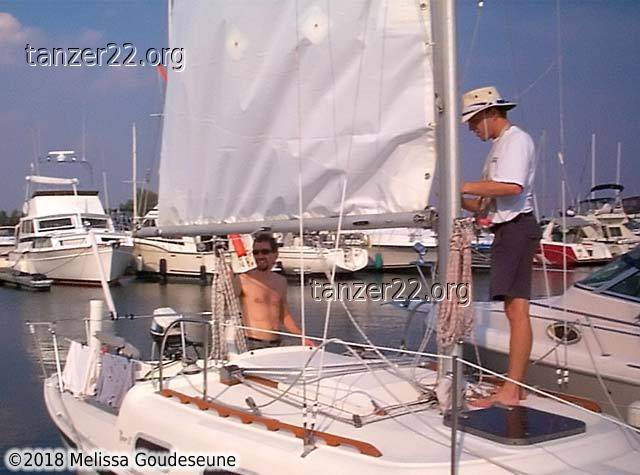
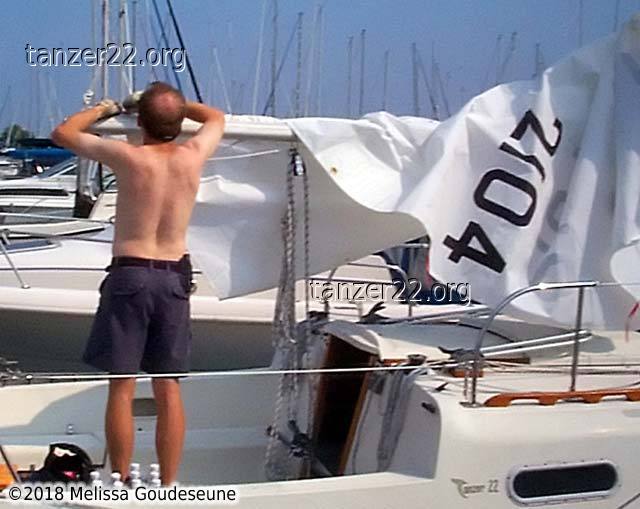
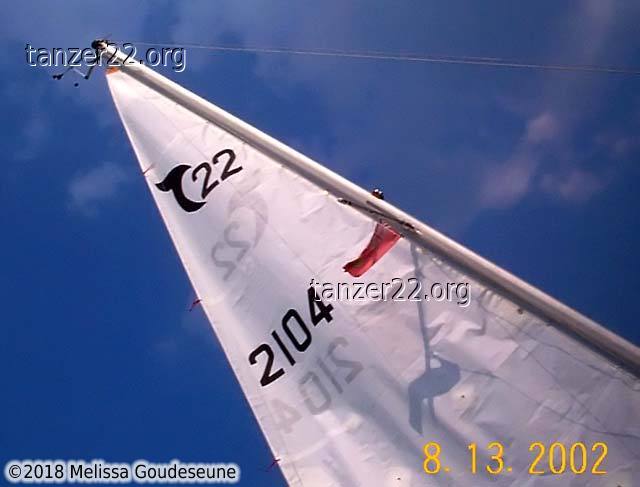
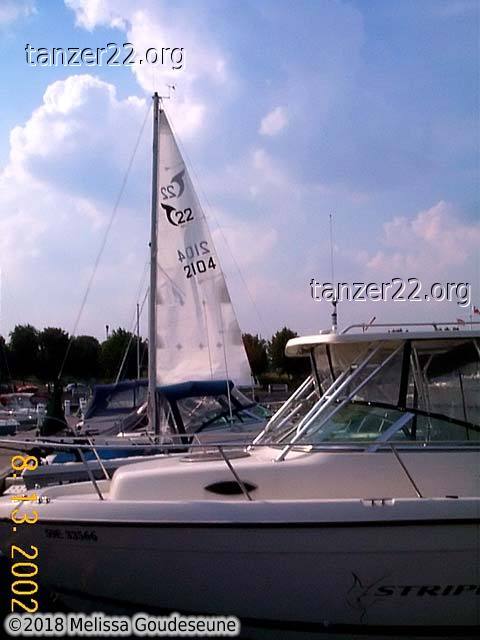
Once we applied the numbers and logos, it was time for a second
test-fitting. At this point, the sail is completed. All that remains
is to insert the battens and thread the reefing lines (which you can
see in the last photo).
© 2018 Melissa Goudeseune