
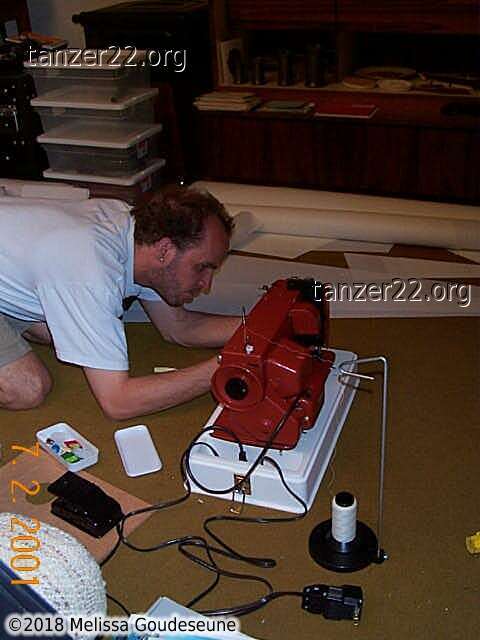
Storm Jib
The first step is to "baste" the panels together. Basically, what you're
doing is taping the panels together using double-sided tape, so that they
won't shift around while you're sewing in the stitches.
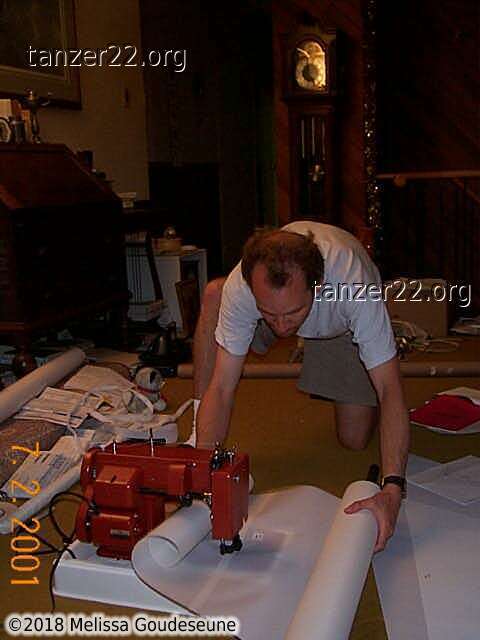
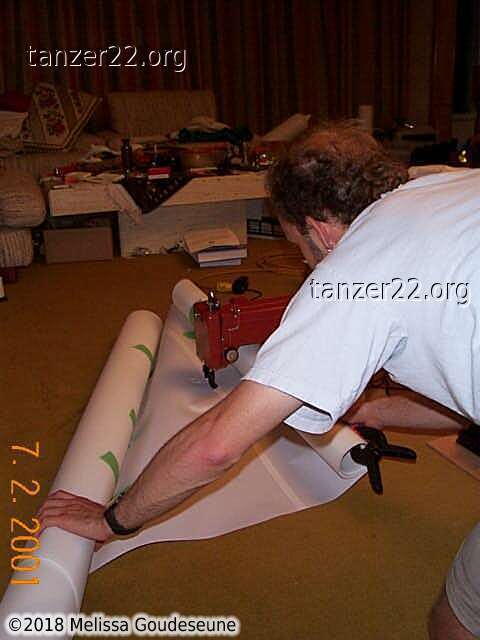
As the panels are sewn together, it becomes more difficult to feed the
cloth through the opening of the machine. Rolling both parts of the sail
makes this easier. I tried using large spring clamps, but found that 2"
green masking tape works well to keep the sail rolled.


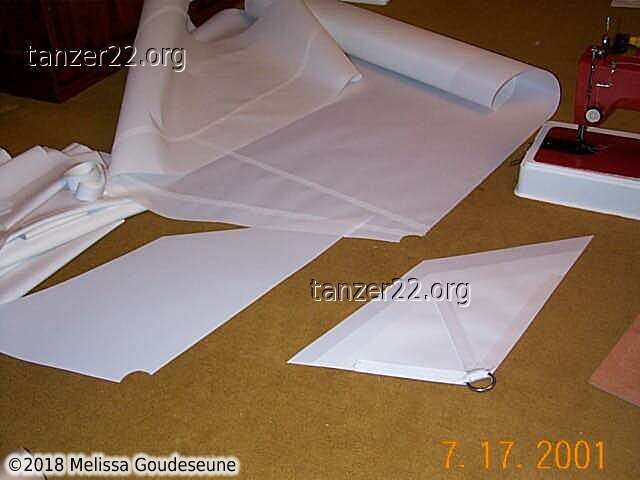
The clew ring is held in place with 1" webbing. The webbing is led through
the ring, and then sewn to the three panels of sailcloth. Once complete,
this whole assembly is then attached to the sail, with stitches running
along the edge of each panel. At the edge of the sail, this means sewing
through 5 layers of sailcloth and 2 layers of webbing -- the heavy-duty
sewing machine certainly helps!
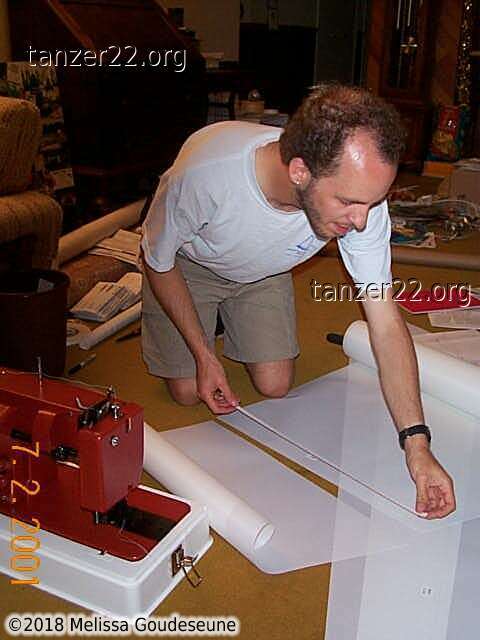
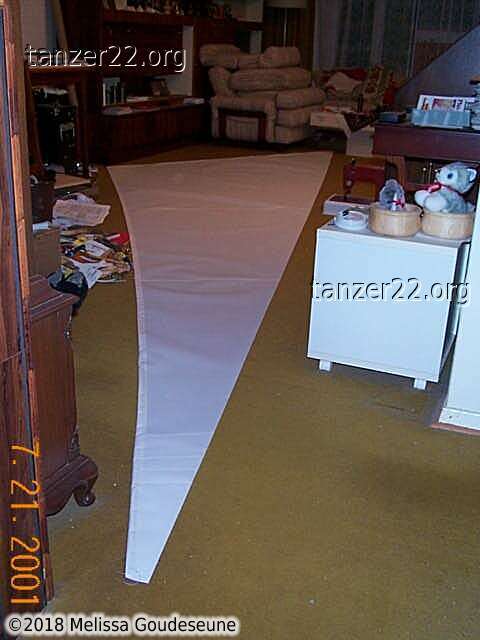
This is the sail completed, except for the grommets and hanks.
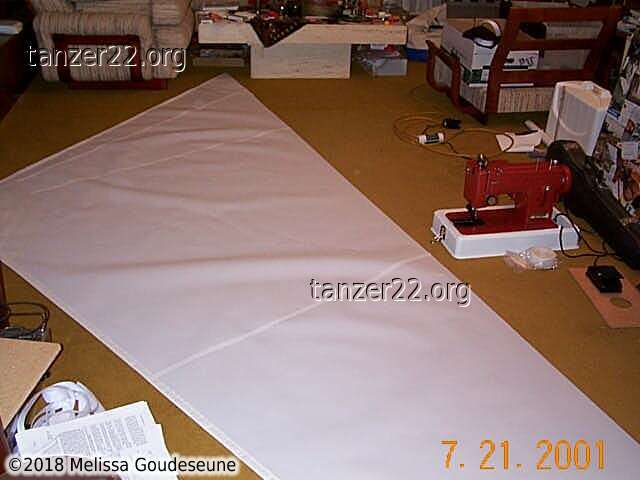
As you can see, it's difficult to find enough space to lay out the sail.
Keep in mind that this is the smallest sail -- the working jib is
significantly larger.


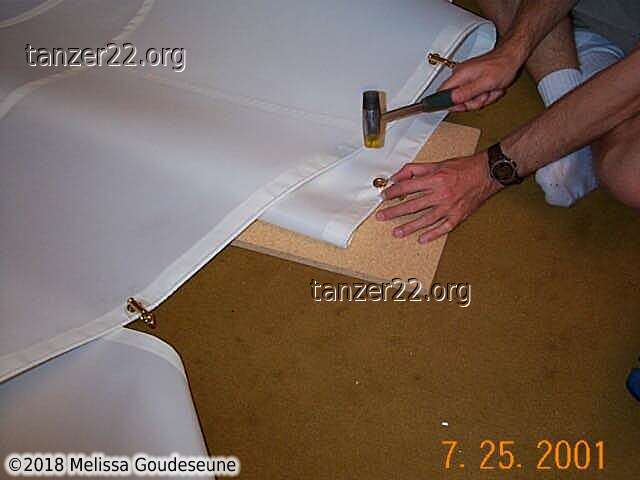
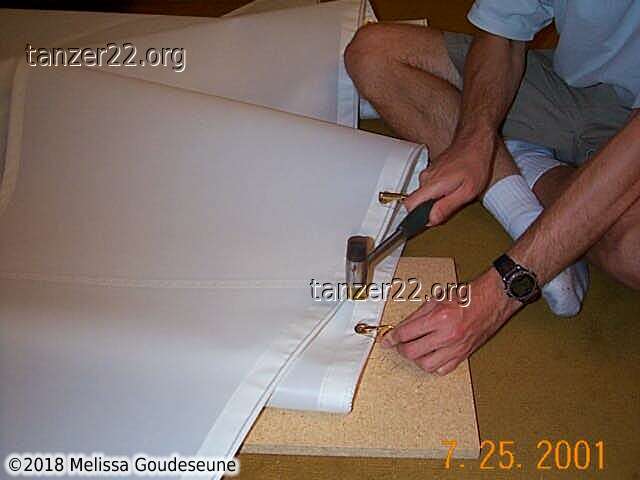
The hanks are installed using a mallet. They are inserted into the #1 spur
grommets, and then the opening is gently hammered closed. This is much
less work than sewing hanks in place.
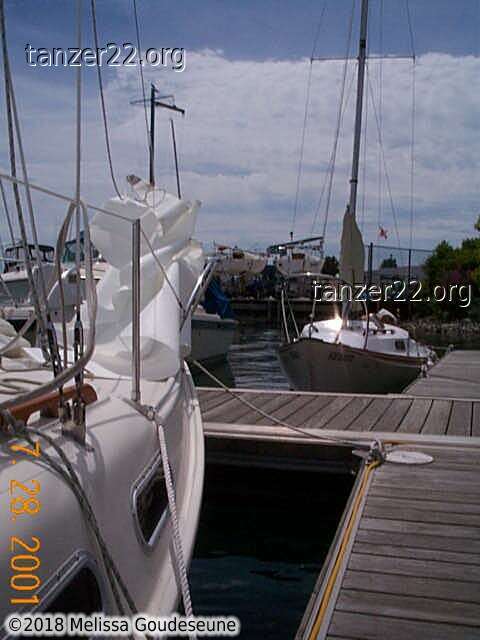
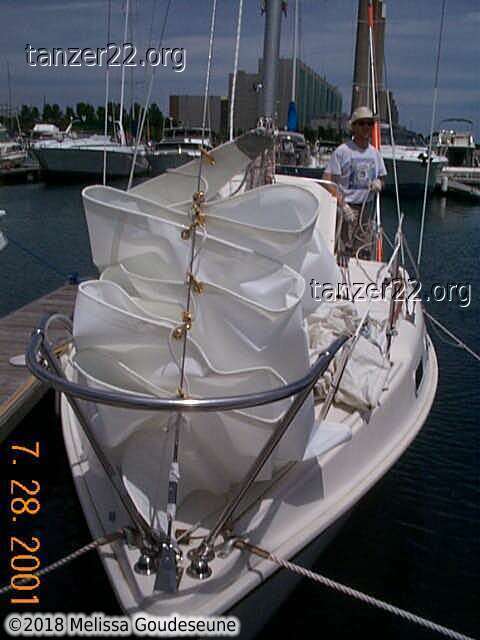
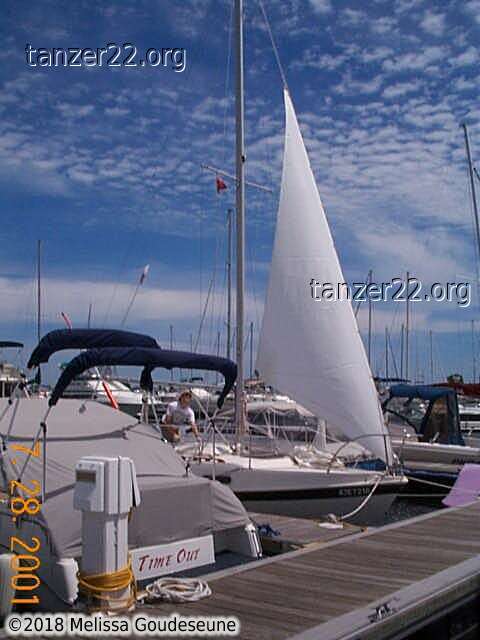
Bending on the sail, prior to test fitting.


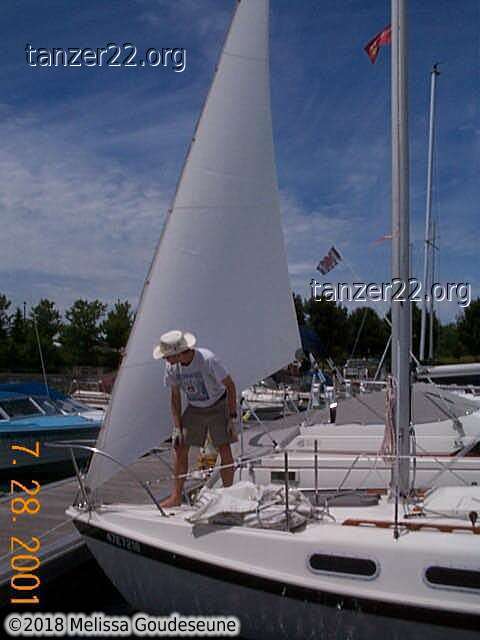
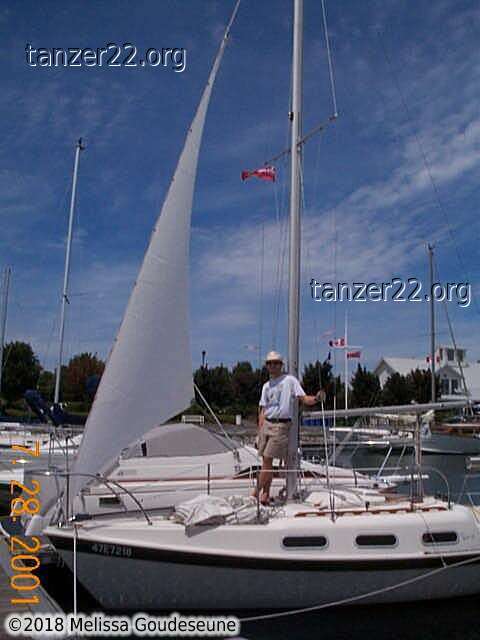
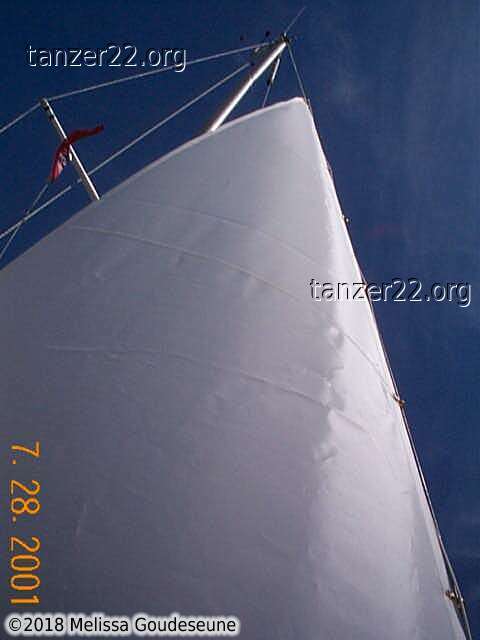
Hoisting the sail, and checking the fit. Looks good!

Final step -- applying the Sailrite logo.
© 2018 Melissa Goudeseune