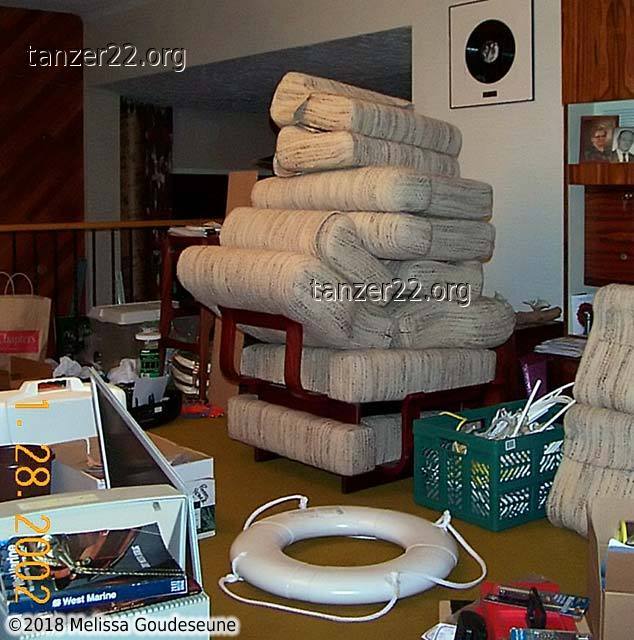
As this sail is significantly larger than the storm jib,
I started with some furniture modifications to create more open floor
space.
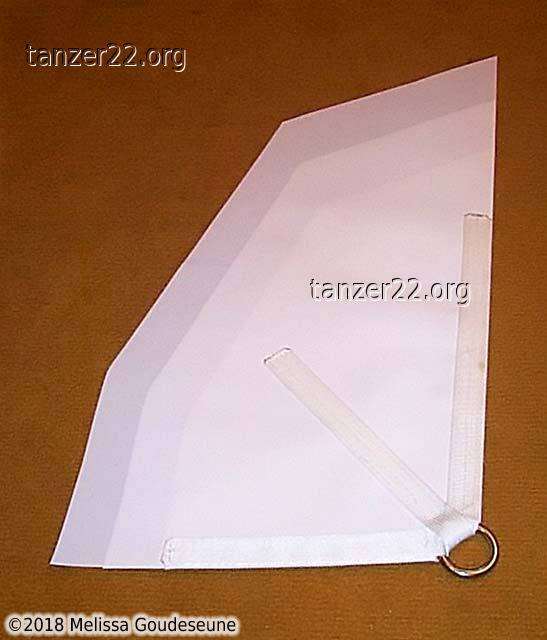
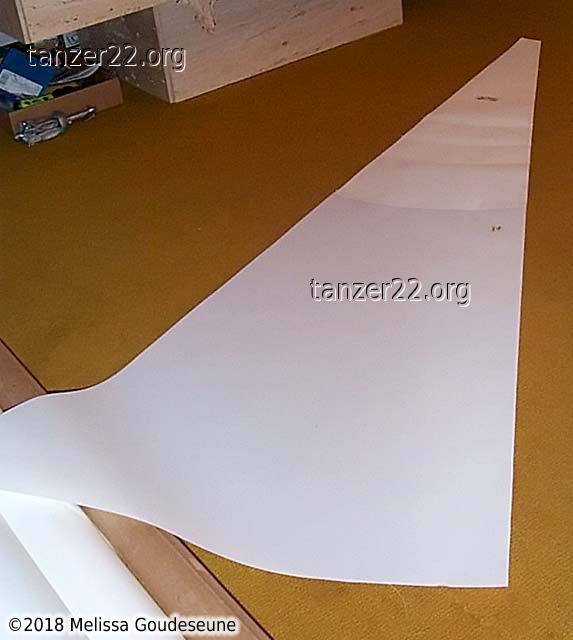
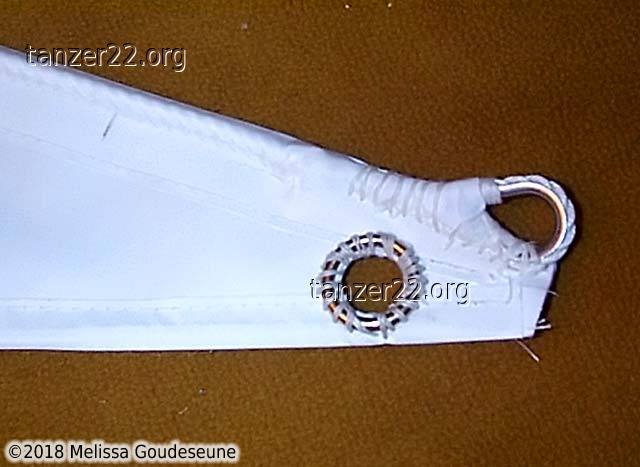
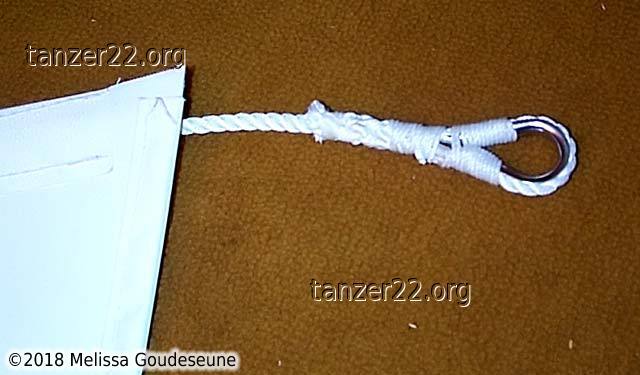
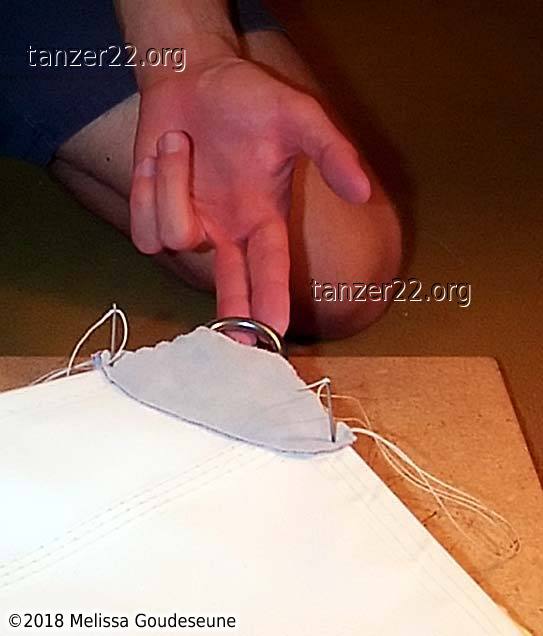
All three corners of the sail are reinforced with multiple-layer
patches to distribute the loads. The clew ring (first three photos) is
sewn to the patch with three pieces of webbing, and the patch is then
sewn to the main part of the sail.
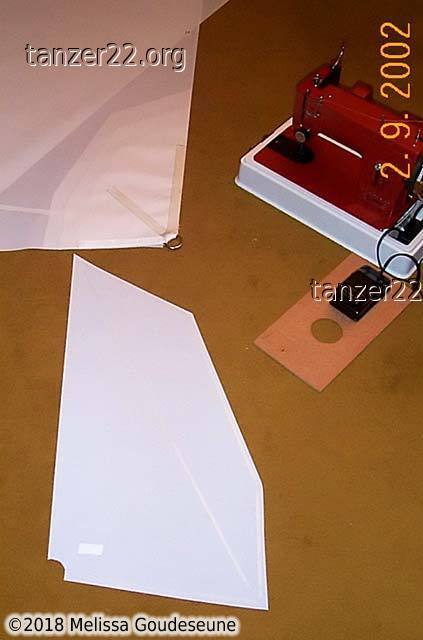
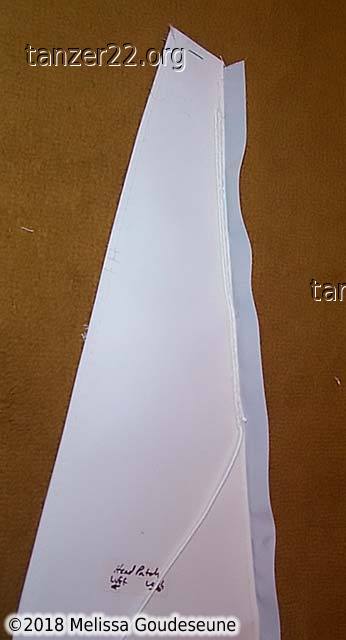
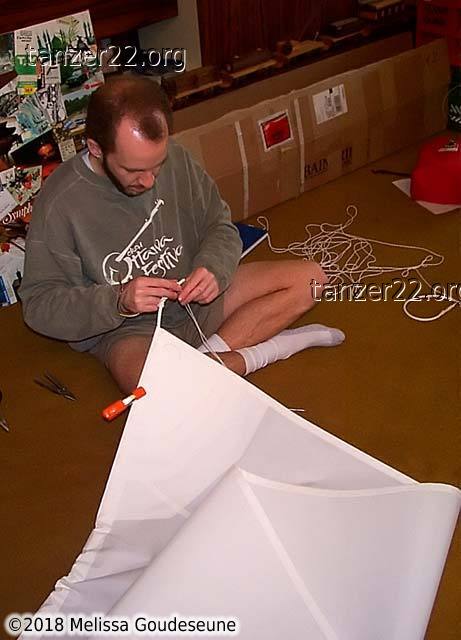
The head patch is simpler. I opted to sew it to the top panel first,
to minimize handling issues later. Lacking a proper sail loft, the
logistics of such a large sail can be interesting.
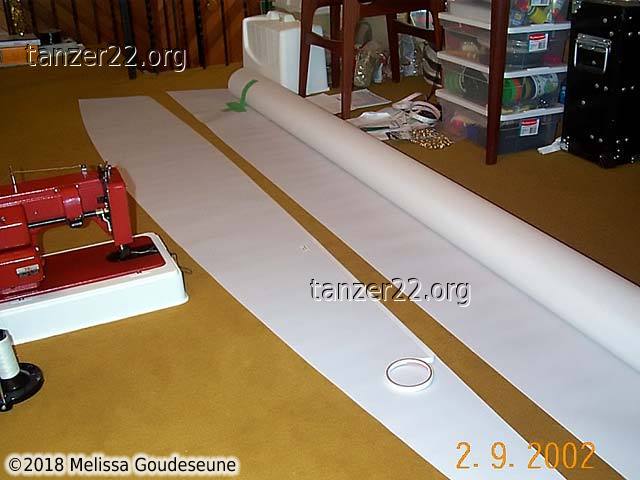
The next step was to start sewing the main panels together. Adjacent
panels are first taped together with double-sided tape, using the
alignment marks printed on the cloth by Sailrite. This keeps the
panels from shifting during sewing.
Normal practice would be to install two rows of zigzag stitching. My
machine only does straight stitches, so I opted for three rows of
stitching instead. Once again, green tape is used to hold the sail
rolled up.
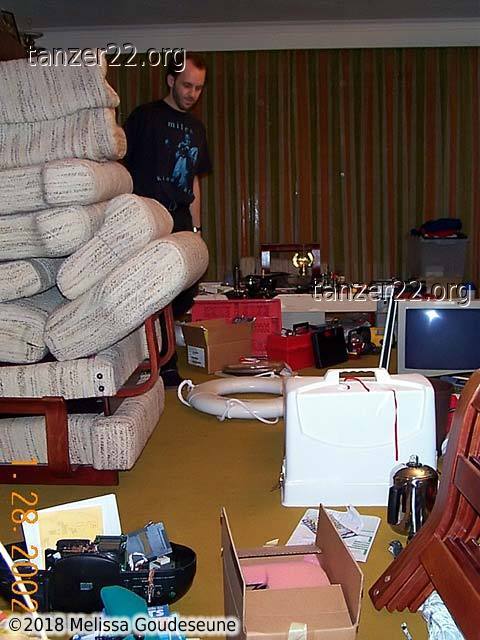
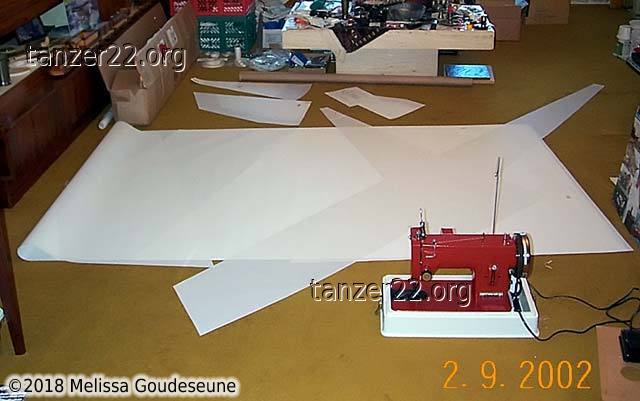
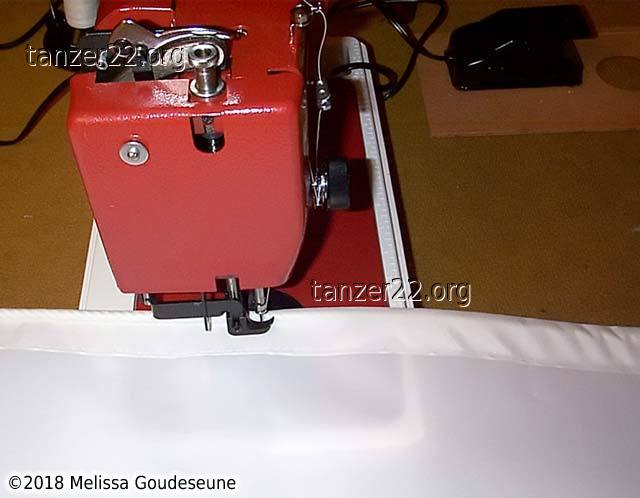
The last photo shows me partway through sewing one of the edge tapes. I
didn't have enough space to lay out the sail completely, so I flaked
it on one side of the sewing machine. Then, I led the sail through
the machine to sew the edge, and re-flaked it on the other side. A
helper can be invaluable here, to move the far edge of the sail during
this process.
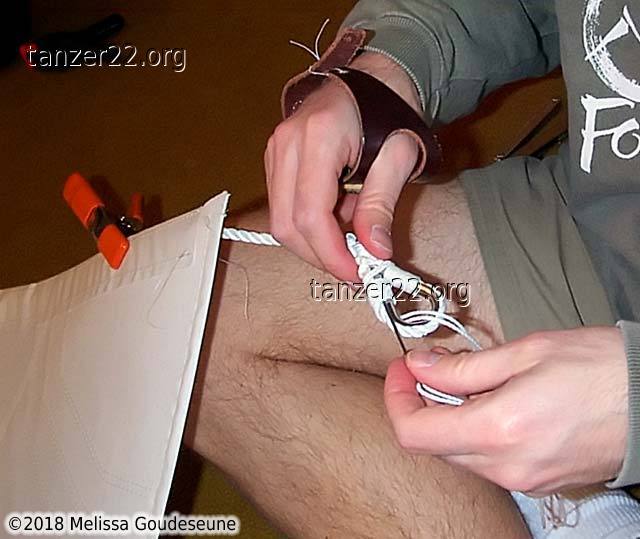
These next photos show some of the detail. First, sewing the leechline
to the head of the sail before closing the edge tape on the leech.
Second and third, the ring at the head of the sail, to transmit the
load from the thimble to the rest of the sail. Fourth, preparing to
install the luff rope.
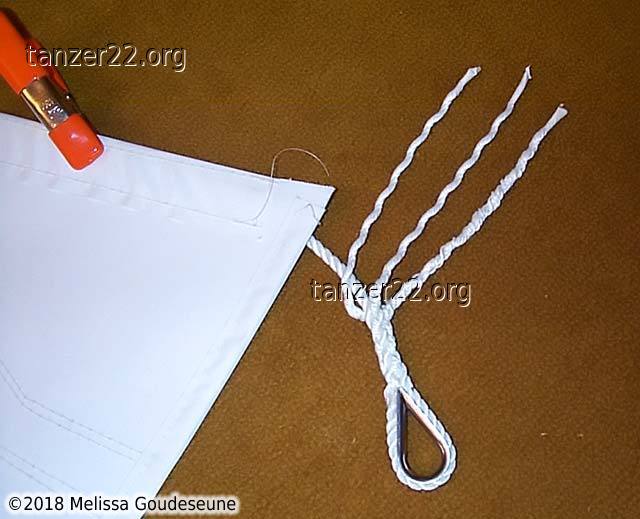
With the head of the sail complete, I moved on to the tack. I
over-tensioned the luff rope to give me some working room for the tack
thimble, and held the rope in place with a spring clamp.
Then, I could fairly easily make an eyesplice around a thimble, and
lash it in place with whipping twine. I used the "pro splice" as
described by Brion Toss, instead of the more typical eyesplice
instructions included with the sail kit.
With the clamp released, the tack thimble pulled back to its normal
location. Next, I installed a zipper foot in the sewing machine, and
put a row of stitches right beside the luff rope, to keep the rope in
position.
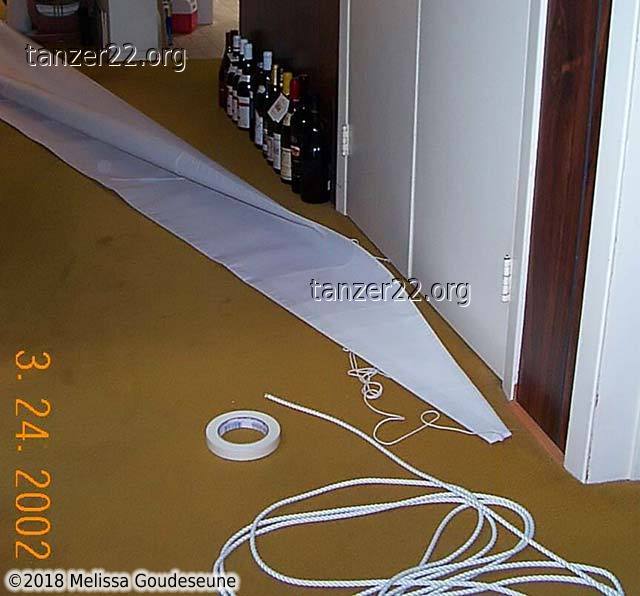
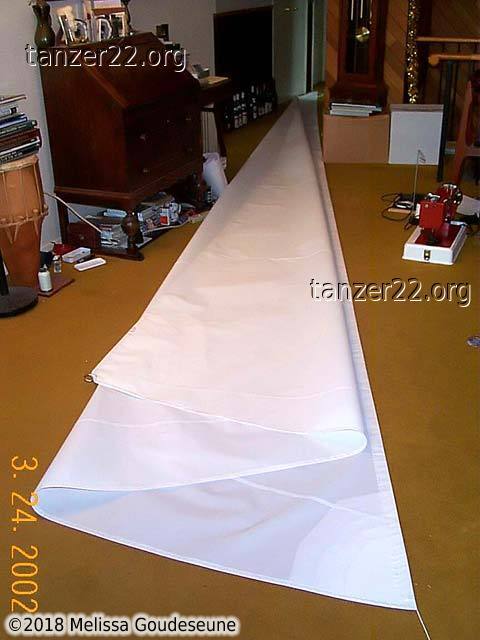
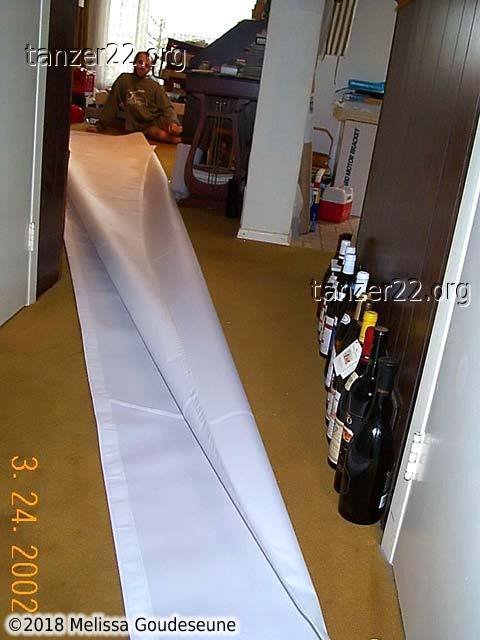
The second and third photos show the sail unfolded along the length of
my living room and hallway.
The final touch, fourth photo: attaching the protective leather to the
clew. I used two needles simultaneously to stitch the leather in
place.
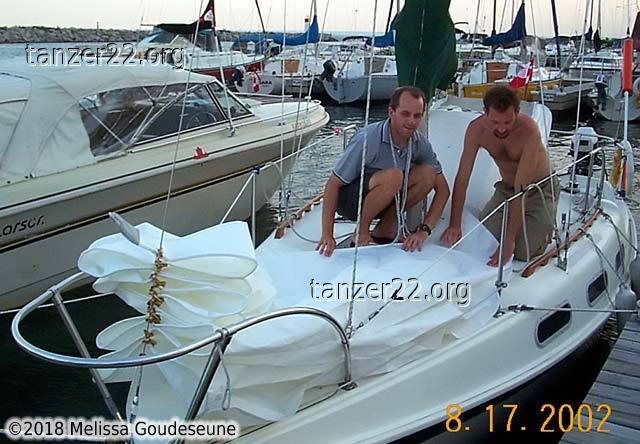
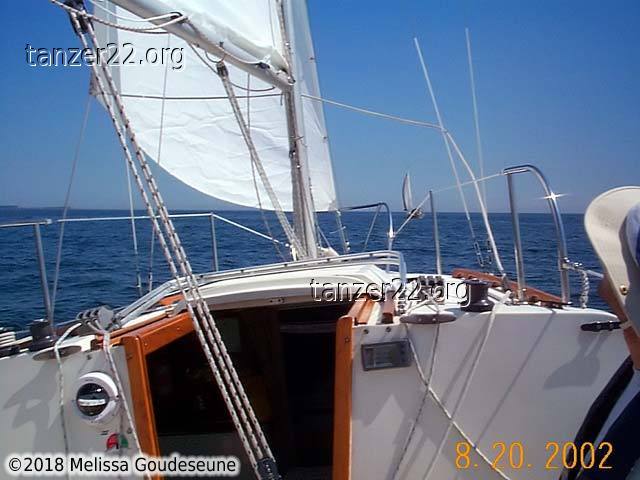
Finally, three pictures of the completed sail: on deck, and flying.
© 2018 Melissa Goudeseune