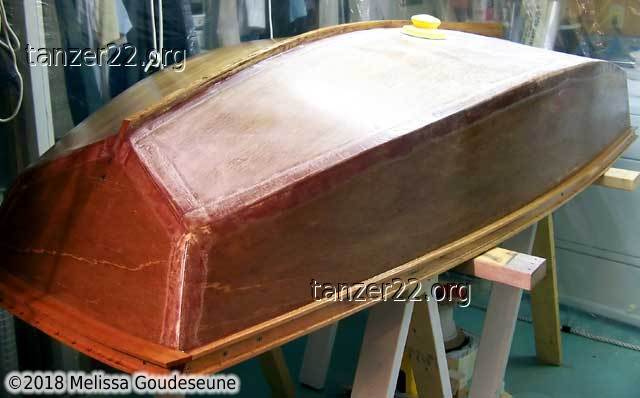
In lieu of fiberglassing the entire boat, I opted for two coats of sealing
epoxy before painting. I used S1 Sealer, which is the Canadian functional
equivalent of Clear Penetrating Epoxy Sealer (CPES) in the USA.
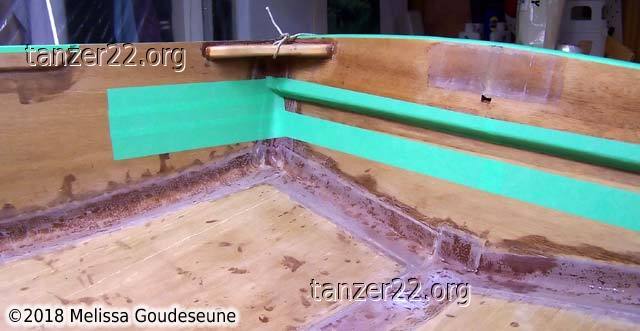
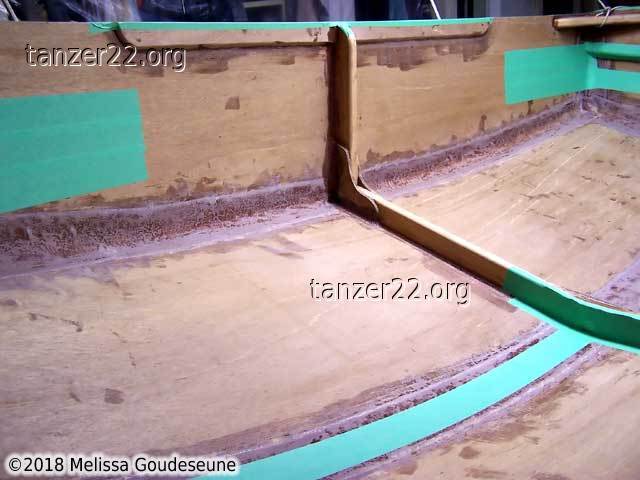
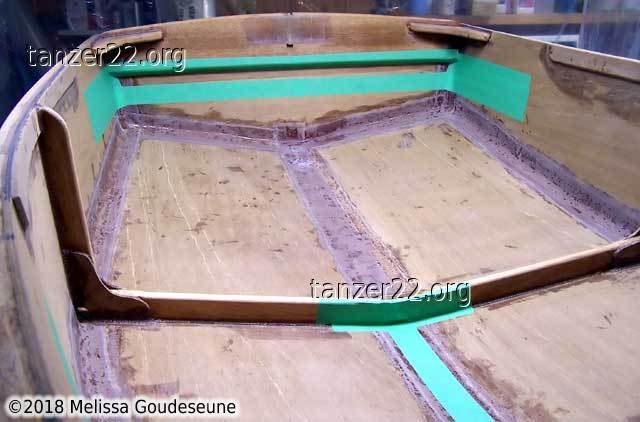
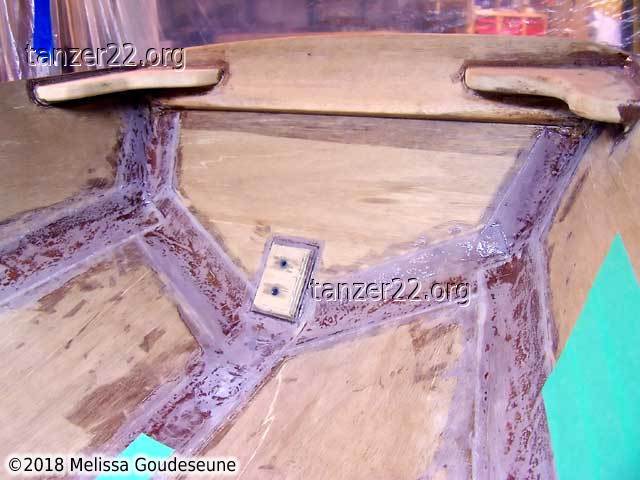
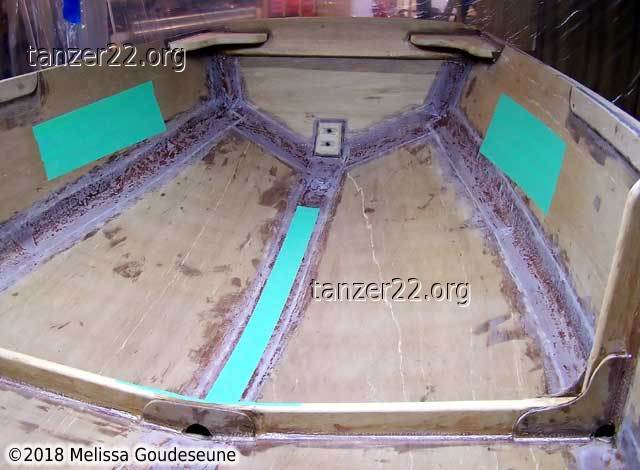
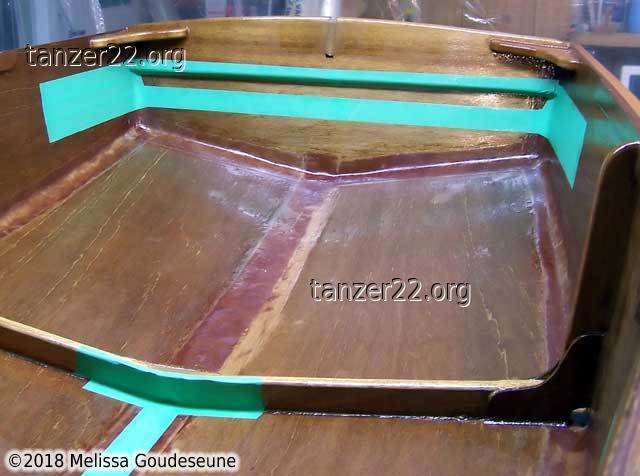
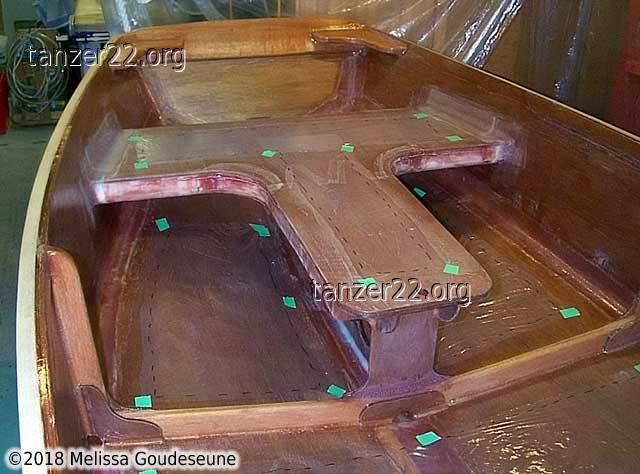
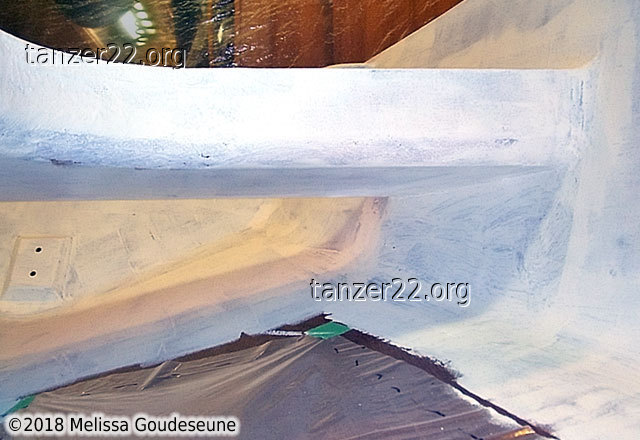
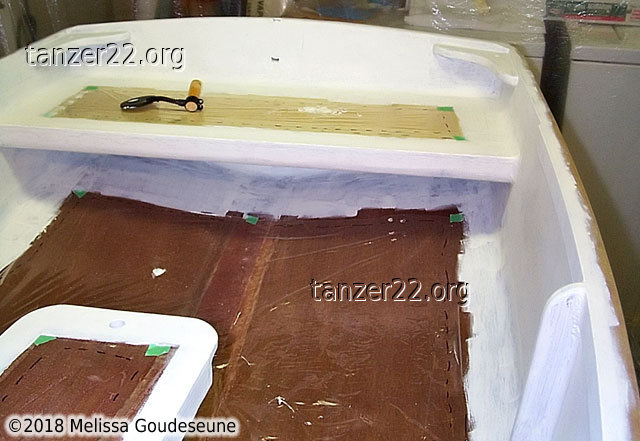
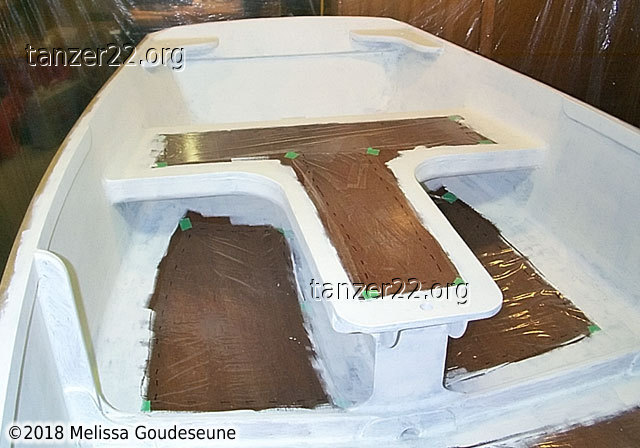
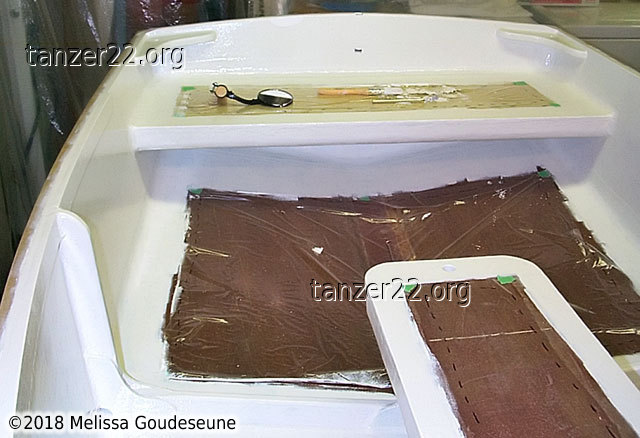
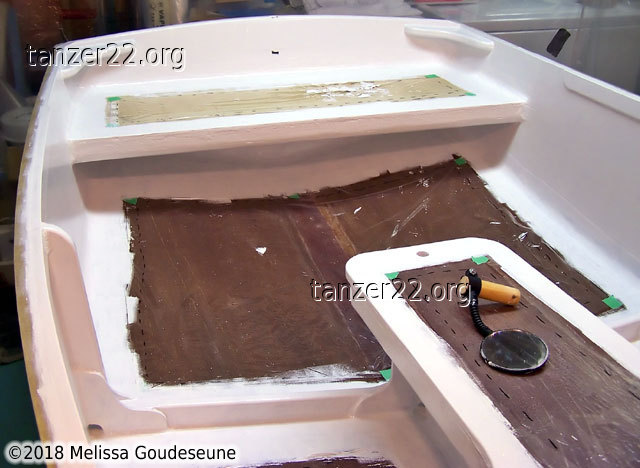
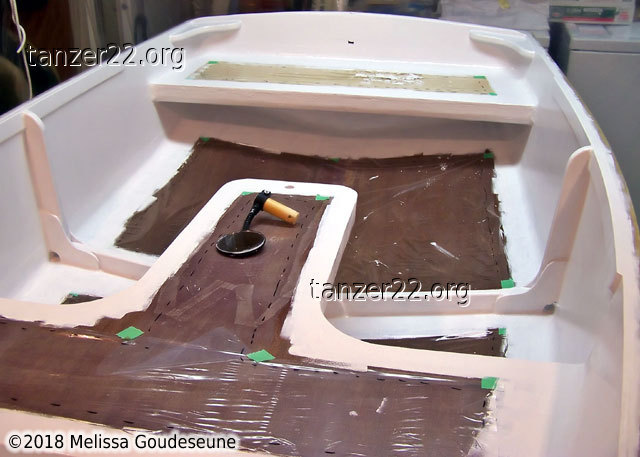
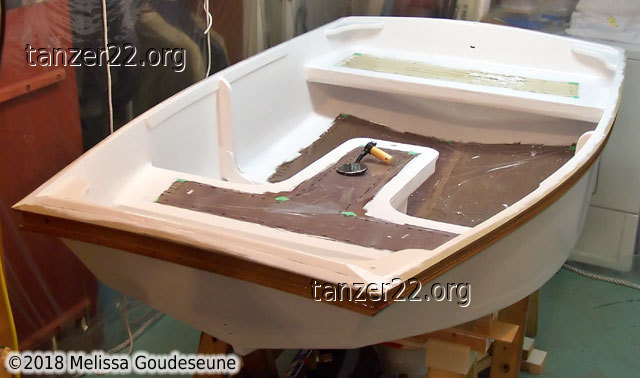
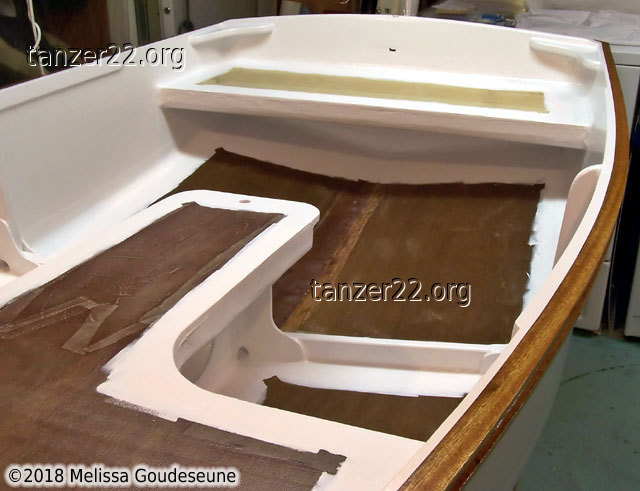
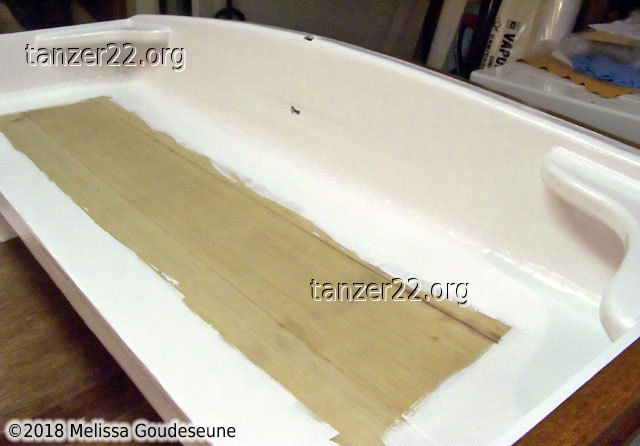
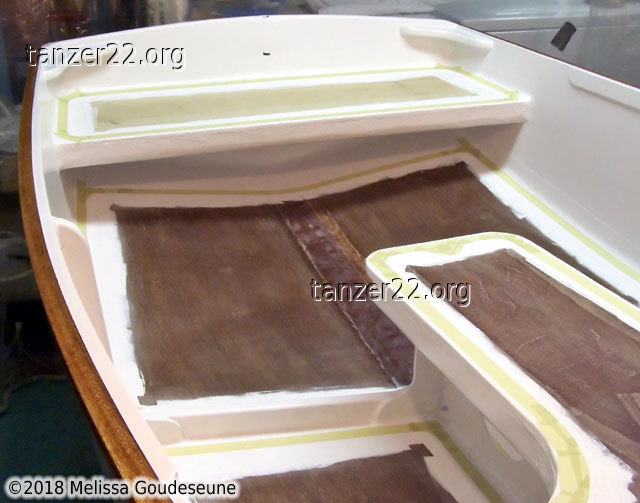
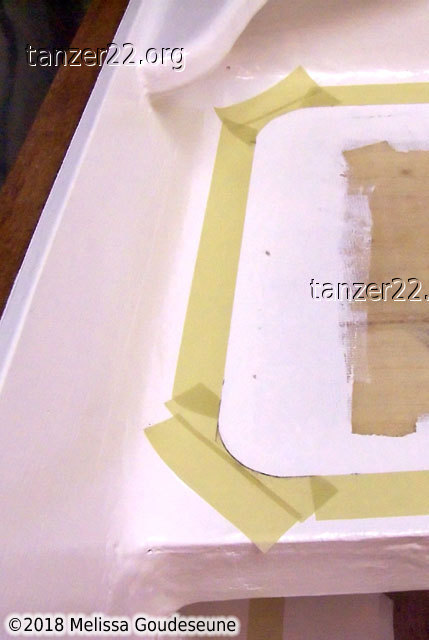
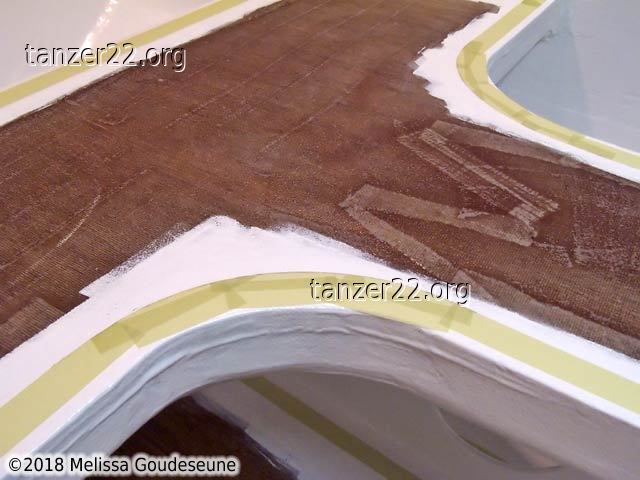
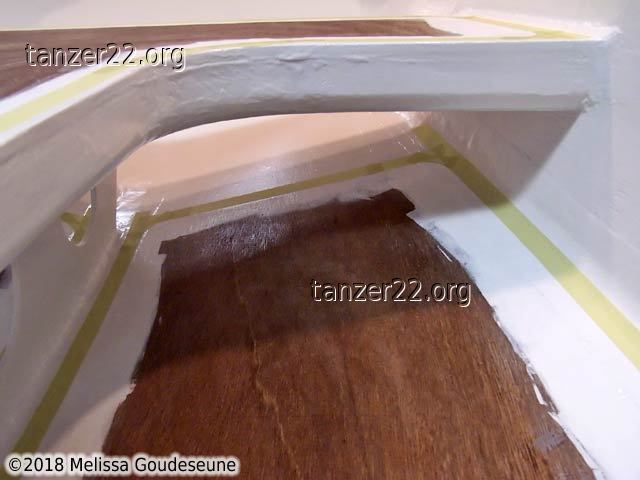
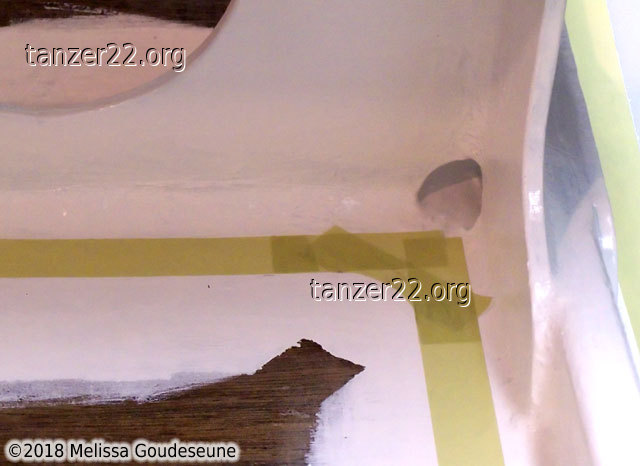
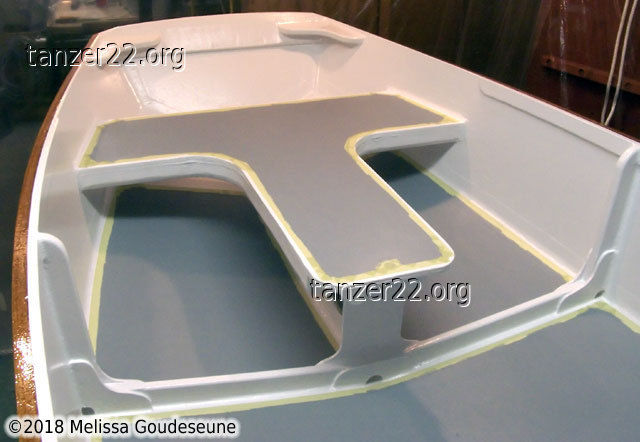
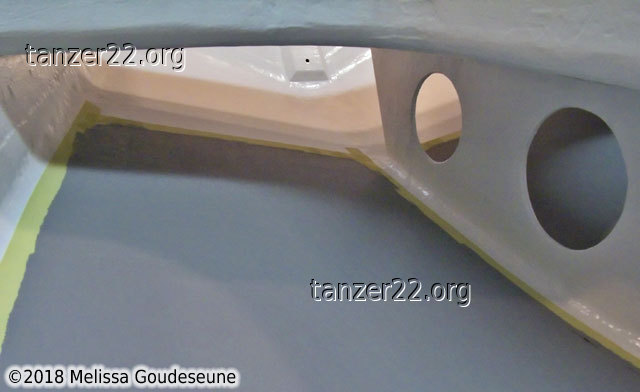
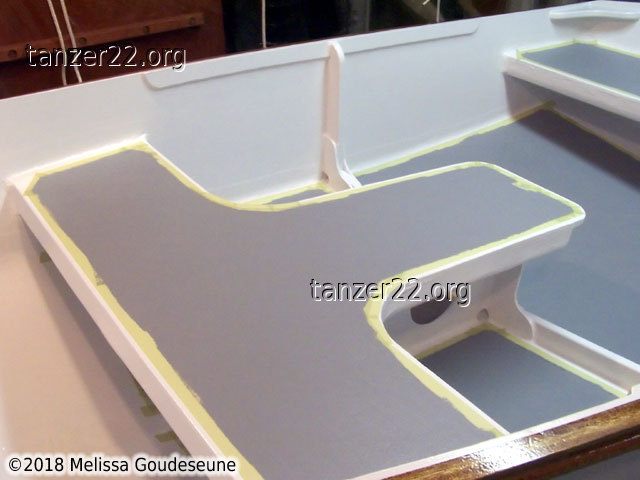
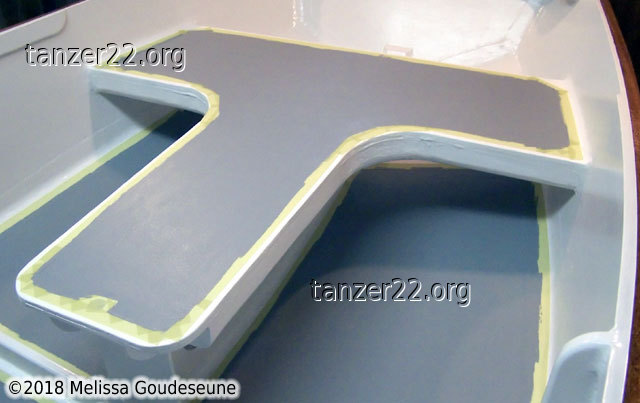
To ensure a primary bond when installing the seats, I first masked off all
parts of the dinghy where the seats would attach.
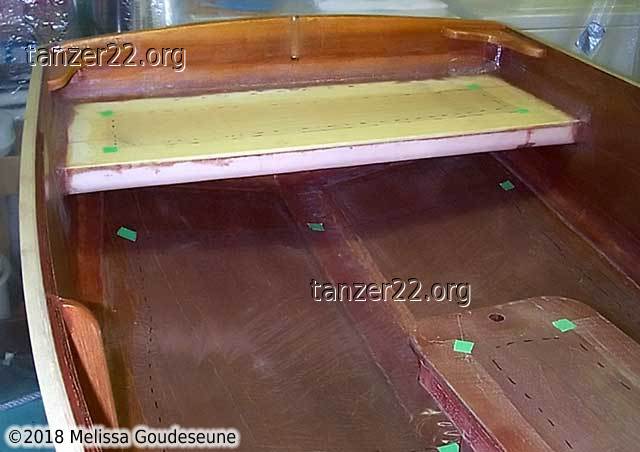
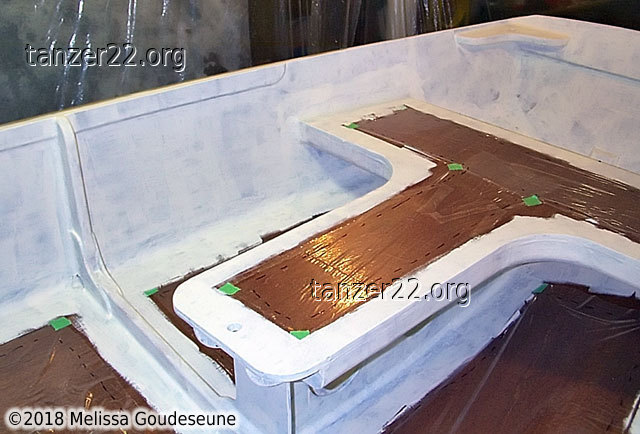
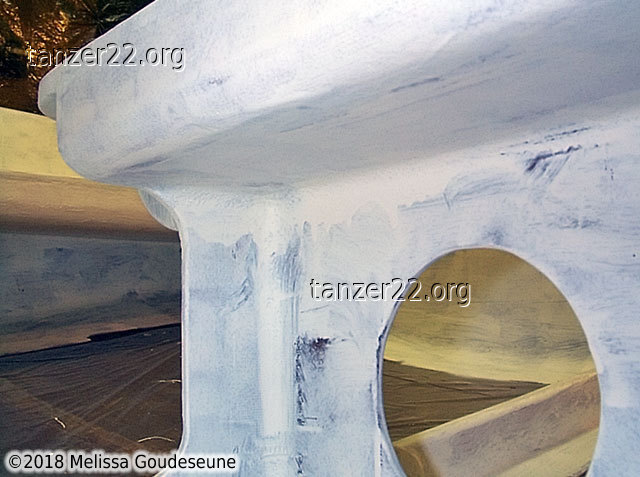
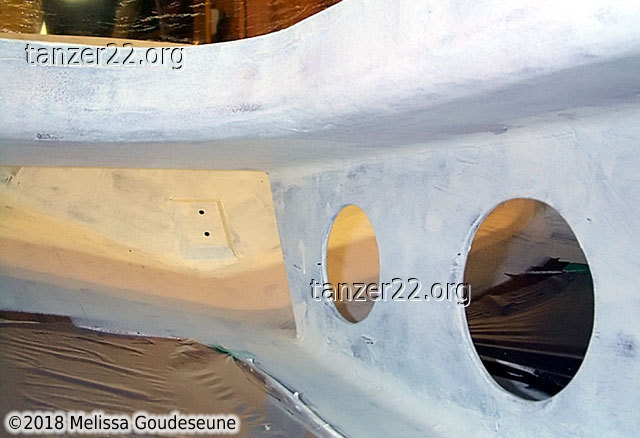
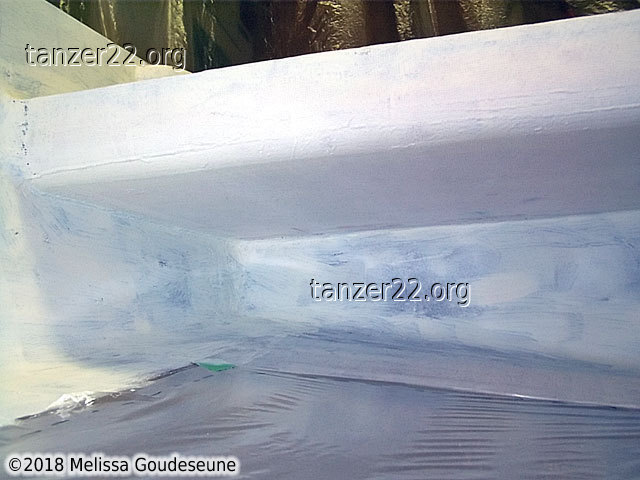
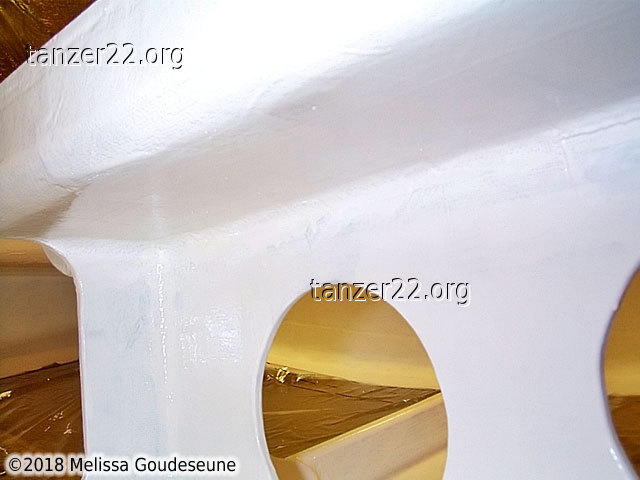
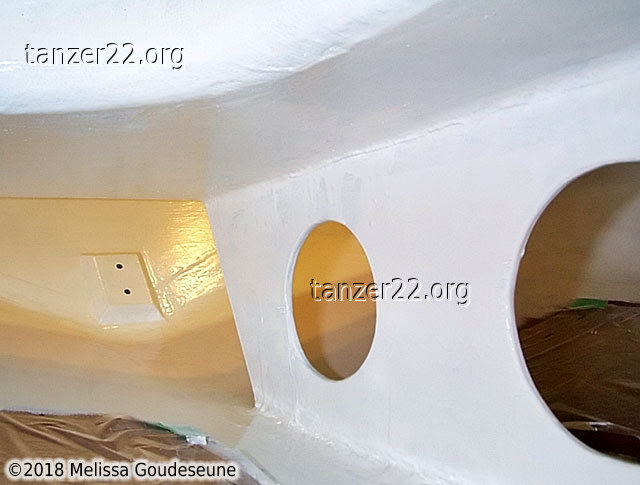
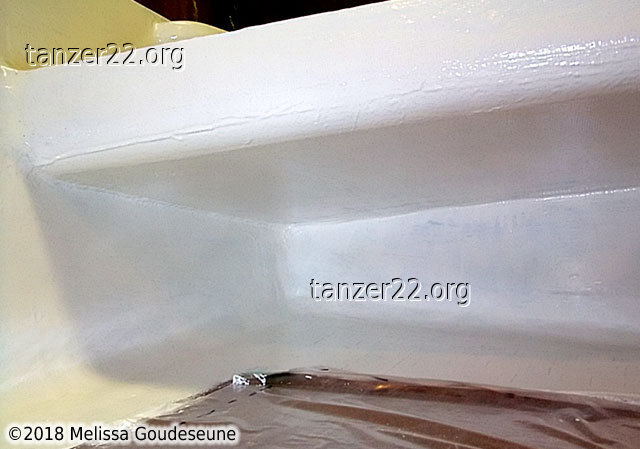
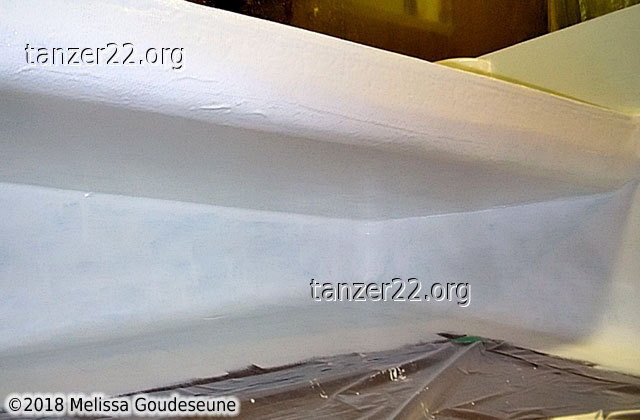
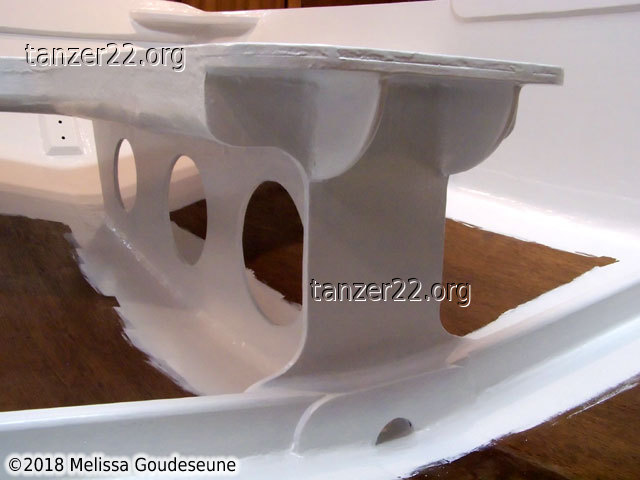
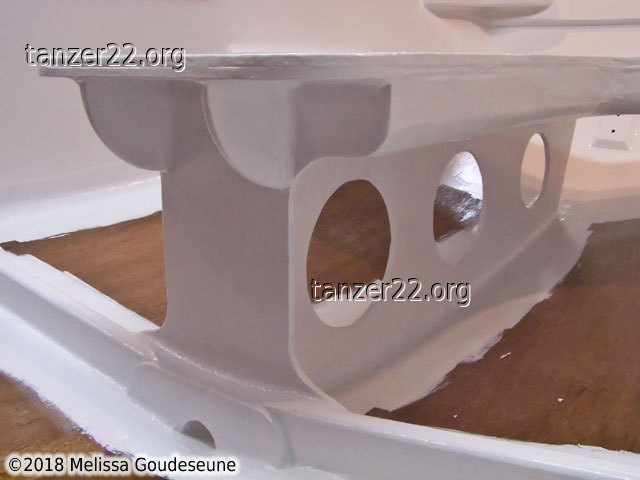
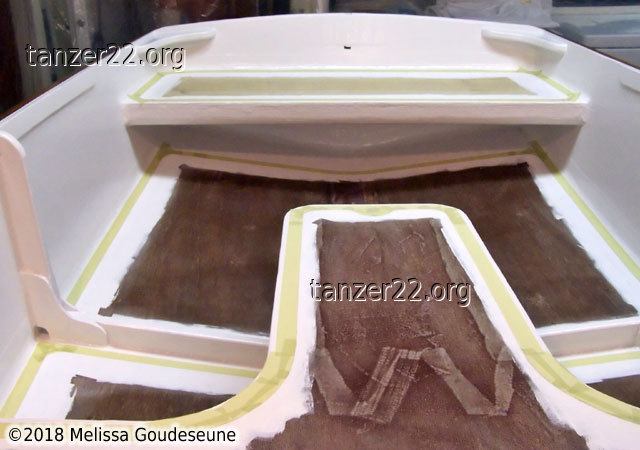
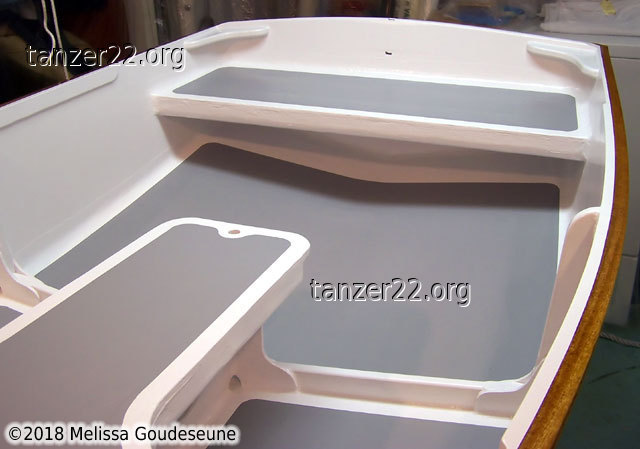
These photos show the inside of the dinghy after two coats of S1 Sealer.
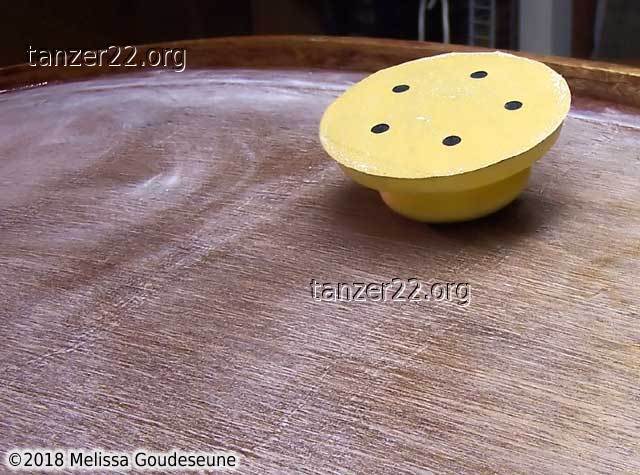
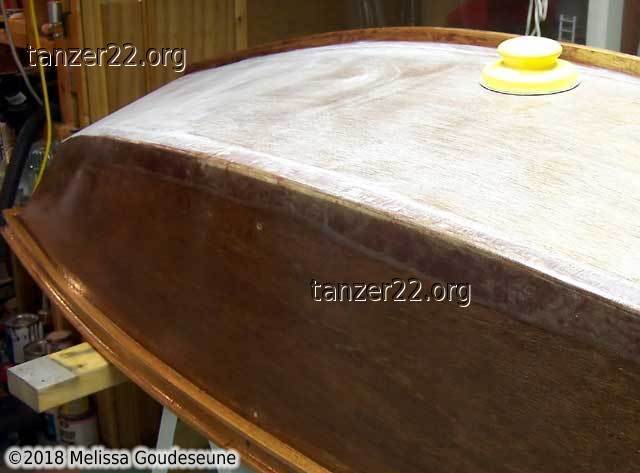
Once the epoxy had cured for a week, it was necessary to sand it lightly to
give the surface some "teeth" for the paint to adhere to. I used a 5" 3M
hook-and-loop sanding pad. I've found the 3M sandpaper to be much higher
quality than other brands, with less tendency to load up with sanding dust.
For an operation this small, it's also better than using a power sander,
which would have the tendency to work too quickly.
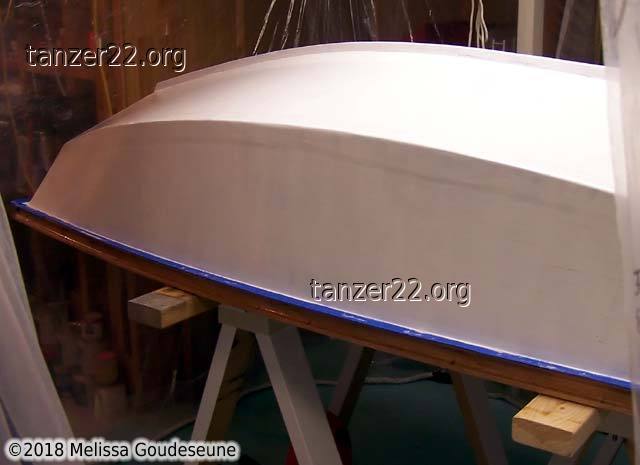
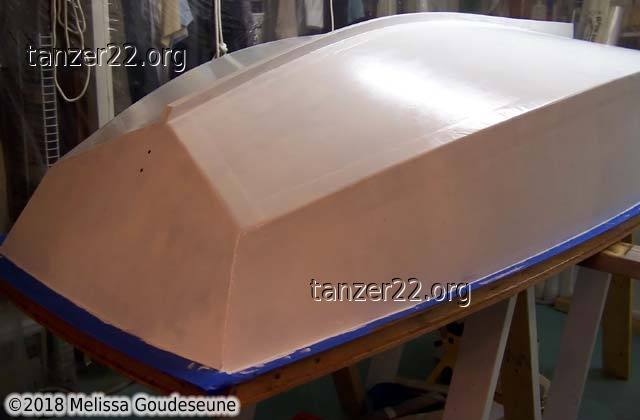
The epoxy was followed by two coats of Pettit 6149 White Undercoater.
The dinghy then received two coats of Pettit 3106 Semigloss White. I chose
semigloss on purpose, due to its ability to hide small flaws.
Once the outside paint had fully cured, the dinghy was placed on its cradle
again, to paint the inside.
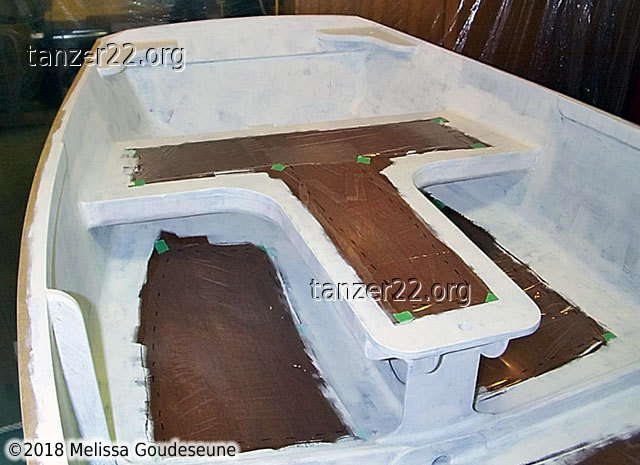
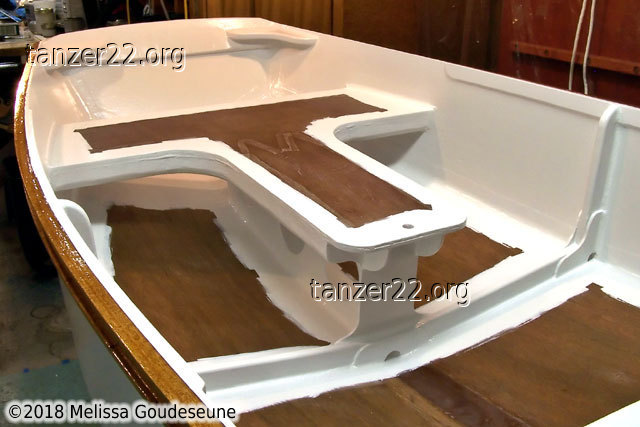
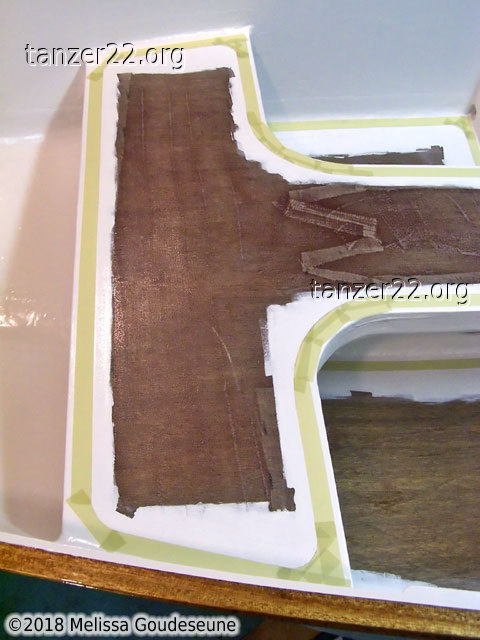
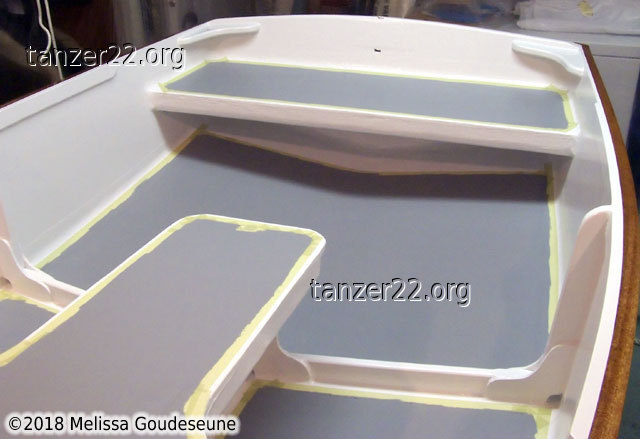
To avoid double-coating many parts of the inside, I masked off all parts of
the inside that would later be painted with nonskid paint. Plastic vapour
barrier was taped in place, and the edges marked with a dotted line to make
them visible when painting.
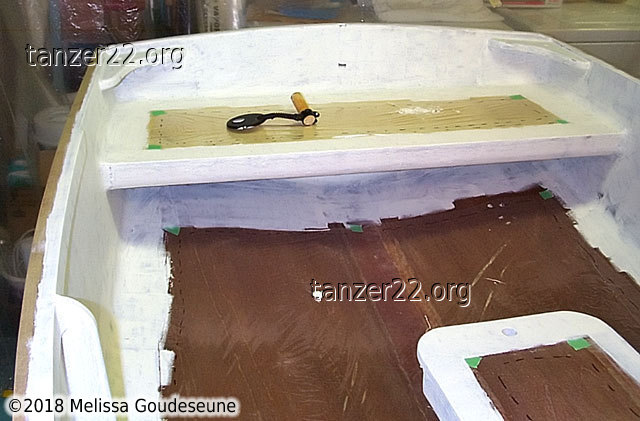
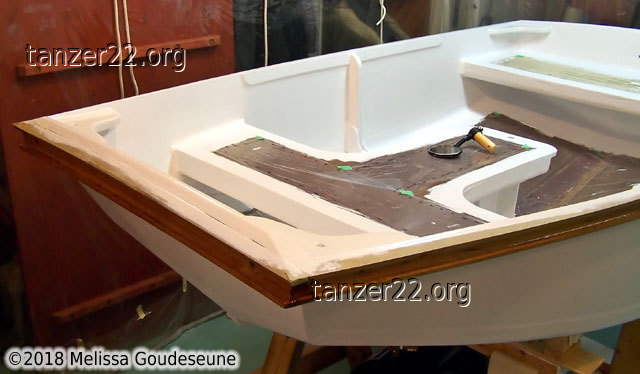
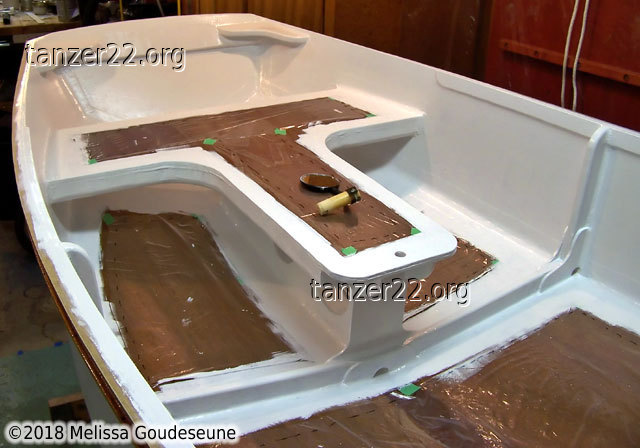
The inside was now given its initial coat of 6149 White Undercoater.
Coverage is lacking in places, but this is what multiple coats are for.
I did most of the painting with a roller, only using a brush when absolutely
necessary.
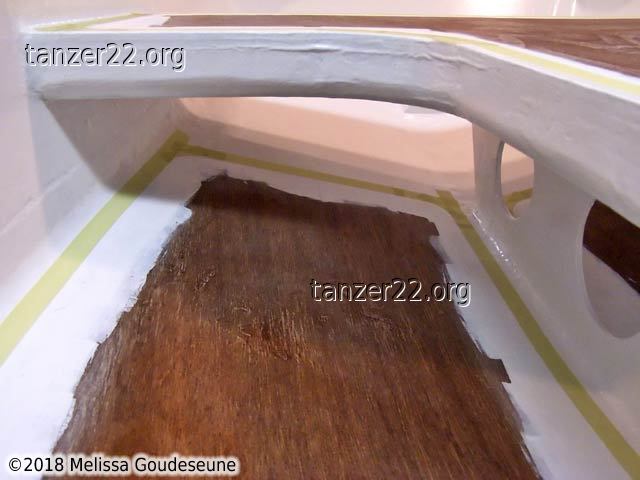
The most difficult part to paint was the bottom of the seats. I had to use
a small mirror (shown on the seat, photo 1 above) to see what I was painting.
Even then, I was often working mirror-image with my wrong hand.
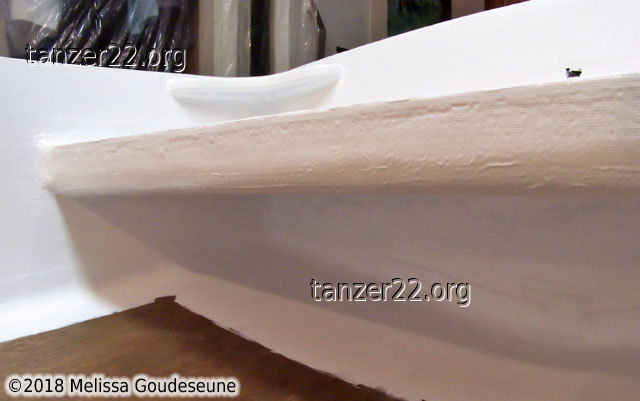
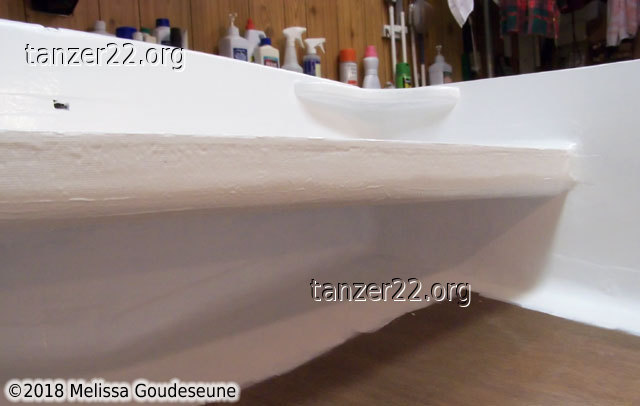
3M fineline masking tape was used on the gunnel to mark the edge between
the plywood and mahogany. The result was better than I've experienced even
when using blue masking tape on other projects -- a very clean line.
Primer, Second Coat
The second coat of primer resulted in much better visual coverage of the
surfaces.
Paint, First Coat
The first coat of 3106 Semigloss White continued to improve the appearance.
The ragged inside edge of the paint is of no consequence, as it will be
overlapped by the nonskid paint.
The under-seat areas are also looking much better by this point.
Paint, Second Coat
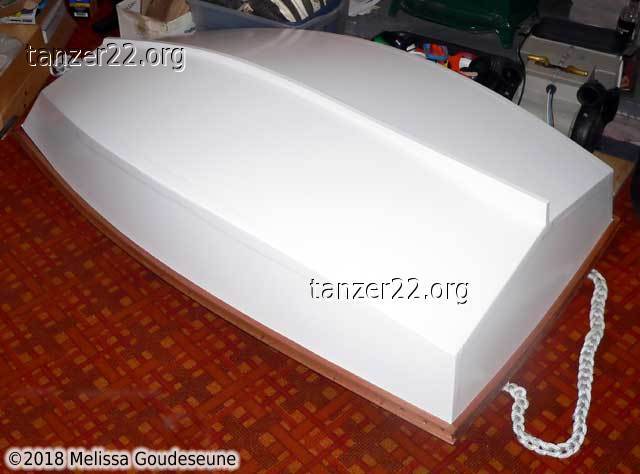
The second coat of white paint completes the white painting of the dinghy.
White Paint Completed
I didn't dare to remove the masking tape and plastic while the paint was
still wet, for fear of messing up what I'd just completed. These photos
were taken the next day, when the paint was dry.
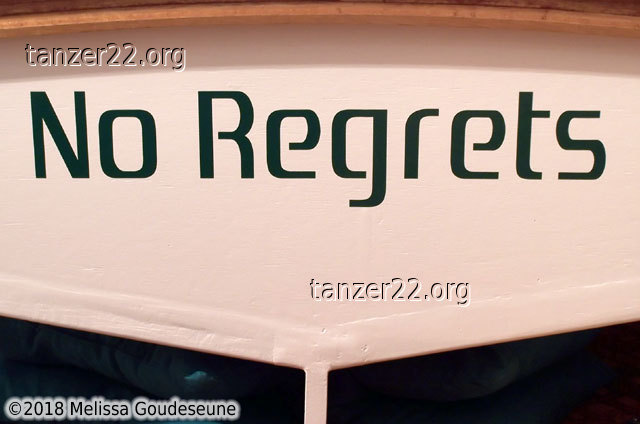
Name Graphics
The time had finally come to apply the name to the dinghy. The font is
a copy of the Sony Playstation font, called
Zrnic. It was
designed by Ray Larabie, of
Larabie
Fonts.
Finally, the important part: the name! "No Regrets" named herself during
the course of construction. Yes, the name is taken from another song by
Tom Cochrane, who was also the inspiration for the name of my Tanzer 22
"Brave and Crazy". As construction of the dinghy dragged on over three
years, getting more complicated all the time, I resolved to do the best job
I could, and also to have no regrets about any design or building
decisions.
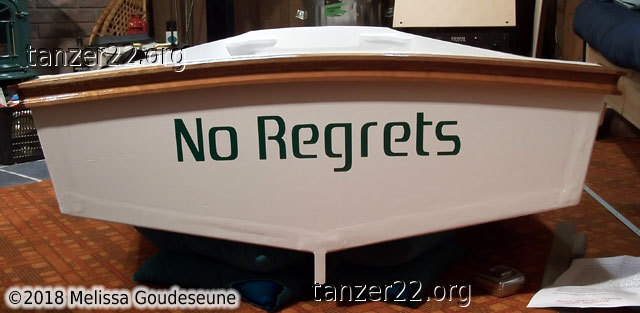
To apply the name, I made several alignment marks on the dinghy using
masking tape. These gave me the centerline and an offset down from the
gunnel. With the name positioned correctly, a strip of masking tape was
applied across the top edge (not shown), and then the backing was gradually
removed as the name was smoothed down to the surface.
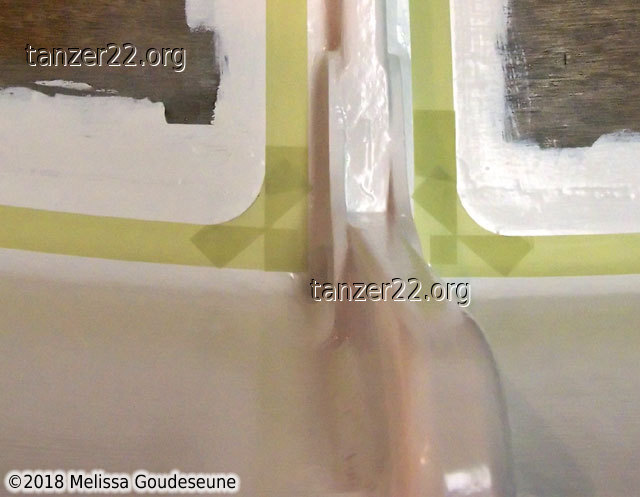
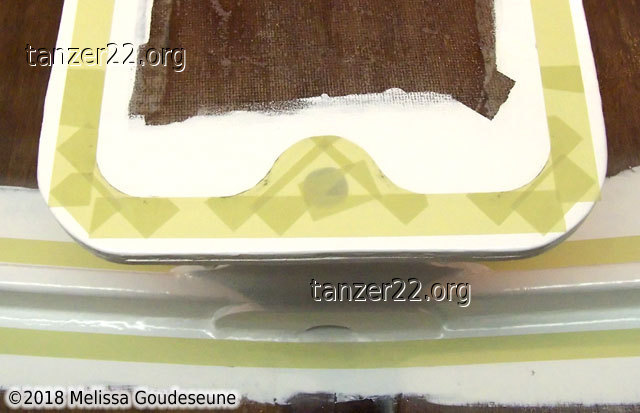
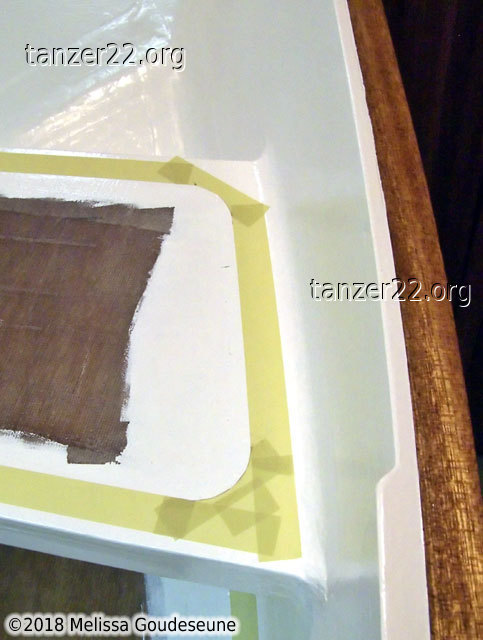
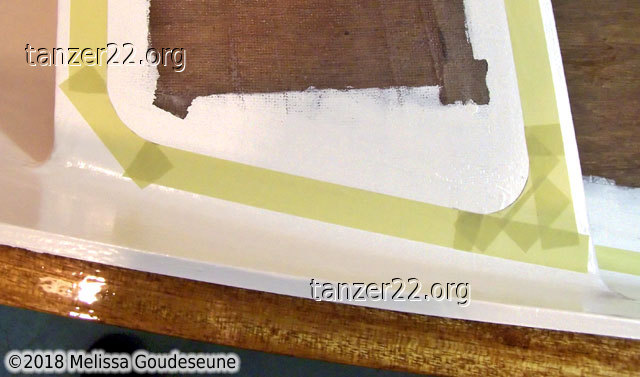
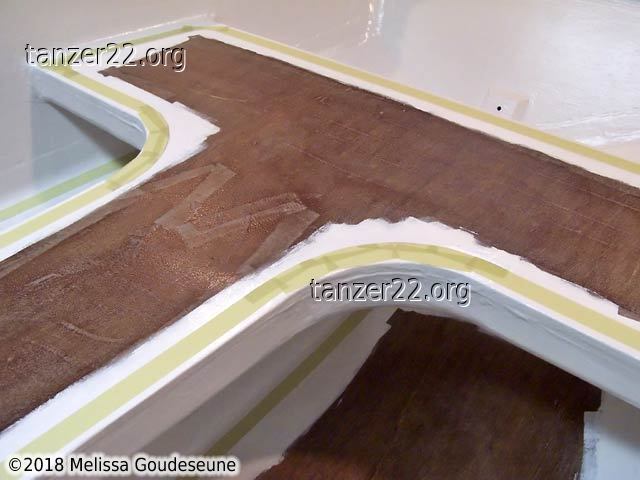
Masking for Nonskid
When purchasing the fineline masking tape, I had been assured that it would
conform to a small radius quite easily. I must have misinterpreted one of
those words: conform, small, easily. All my initial tests with the 3/4"
tape resulted in a crumpled mess when rounding a corner.
I finally resolved to tape the corners straight, mark a radius using a
small plastic cup of the correct size, and then use an x-acto knife to
cut out the radius. Any cut into the white paint didn't matter, as the
nonskid paint would fill the cut.
Details of the various corners on the boat:
Nonskid Paint
The first coat of nonskid paint completely changed the appearance of the
dinghy. I used Interlux Interdeck, on the recommendation of several people
on the
Trailer Sailor Message
Board. As they had found, this paint is rough enough to provide
traction, without being so rough as to wear through your shorts!
All the nonskid painting was done using a short-nap mohair roller. It
simply isn't possible, or at least it's VERY difficult, to get the proper
texture when using a brush. I found that two coats were sufficient for
very good coverage. A third coat in some places didn't improve the
appearance noticeably.
All Painting Done!
With the masking tape removed, the dinghy is now complete! I used a small
dental pick for lifting the tape. This allowed me to get under the edge of
the tape without risk of damaging the underlying surface, as compared to
using a knife.
© 2018 Melissa Goudeseune