Oars
The oars I chose to build are from a design by Jim Michalak.
For those not able to find the article online (there doesn't appear to
be a definitive webpage for it), I have included
a
copy of the article on my website.
The text below discusses my process of building the oars, as well as where
I diverged from the original plans.
Marking and Cutting
The oars are 6' long, which is close to appropriate for a dinghy of
this size. They're laminated from 1x6 pine. In contrast to many oar
designs, these ones laminate the loom (shaft) from three pieces. More
common is to have the loom extend into the blade, and then glue other
pieces of wood to the side of the loom to make the blade.
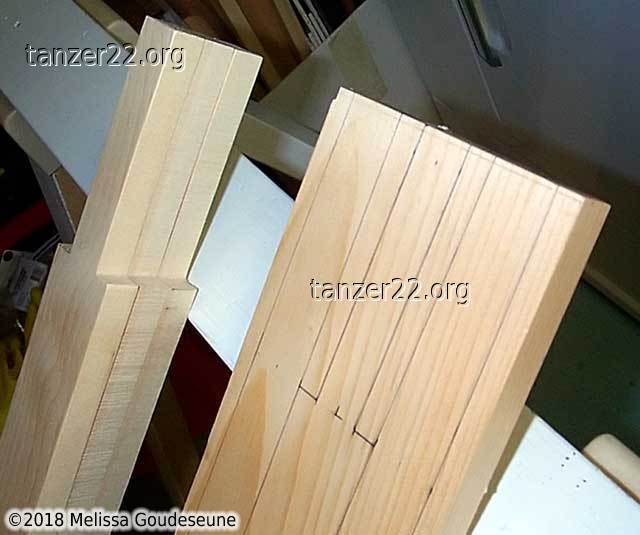
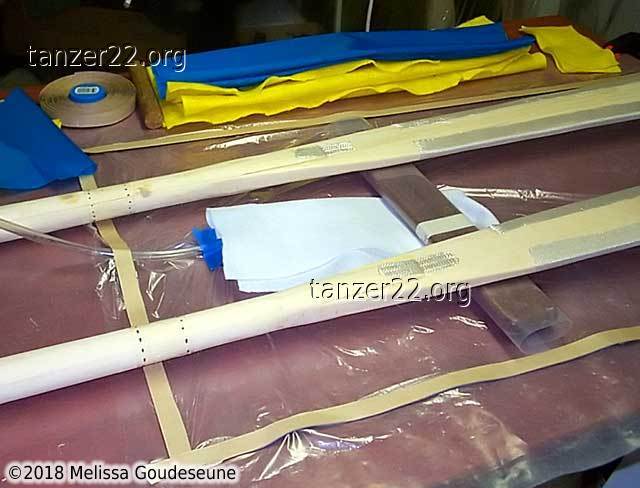
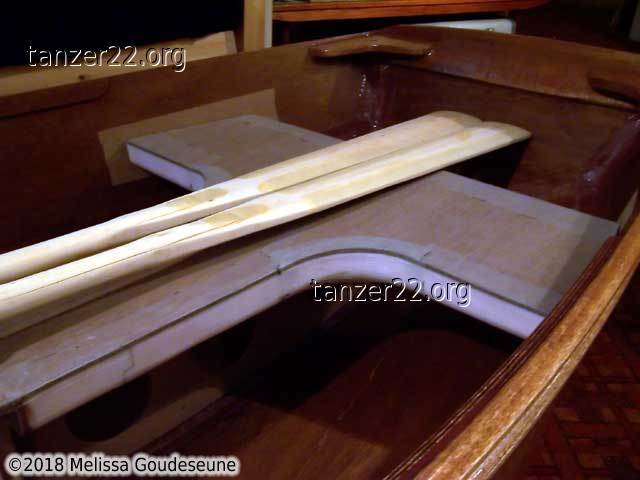
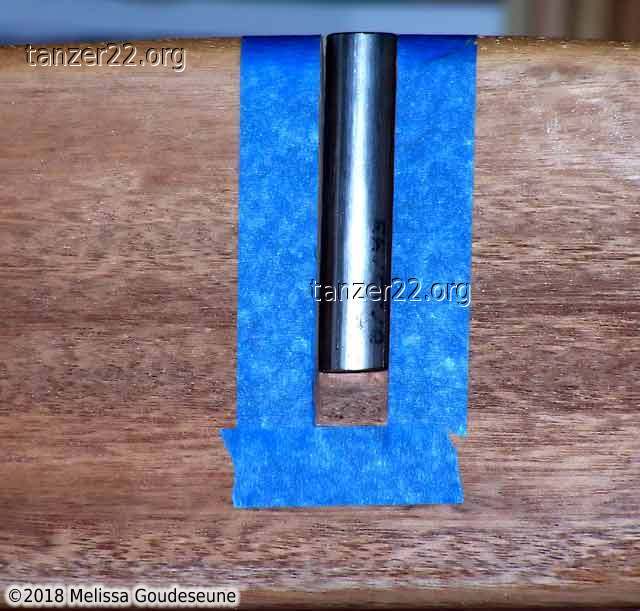
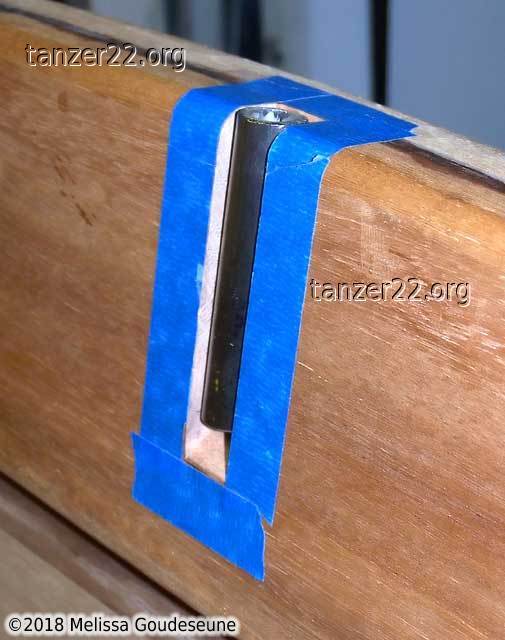
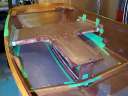
One oar has been cut out and clamped together. The second shows the
cutting lines on the wood. A single cut on the bandsaw along the long
taper cuts each of the loom pieces to shape, matching the taper of the
loom.
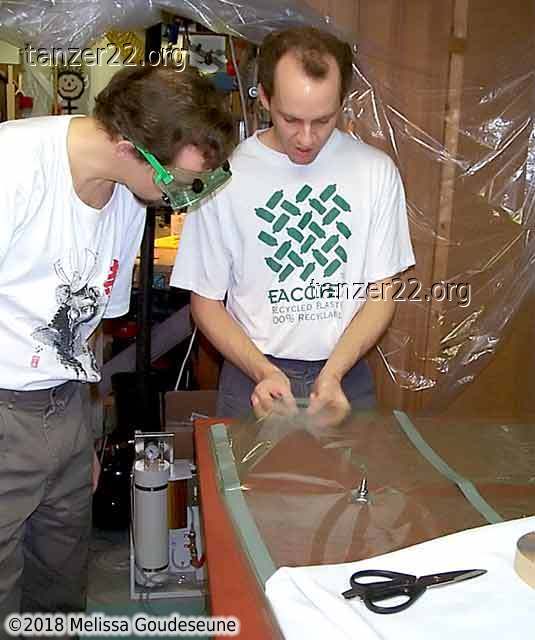
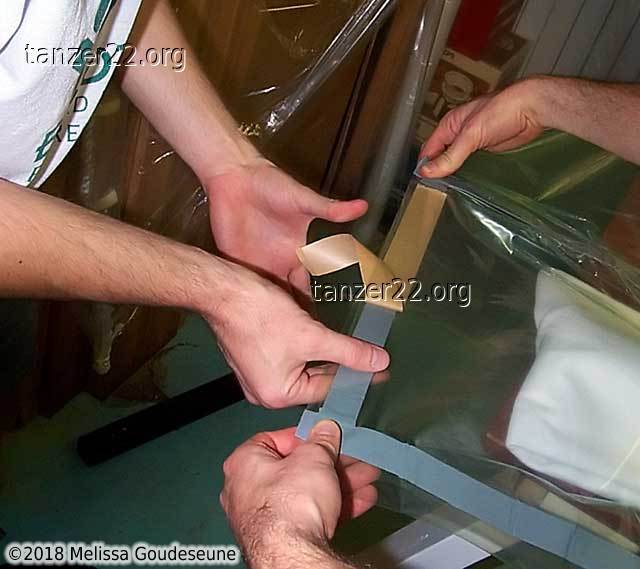
This was my first epoxying operation with my then-new venturi vacuum
system. Here we are preparing the vacuum bag. The long edges have been
pre-sealed, so that when the oar is inserted, we only have a 12" seam to
close off.
Laminating
The loom of the oar is laminated using epoxy. Small dowels protrude
from both sides of the main workpiece to align the three pieces of wood.
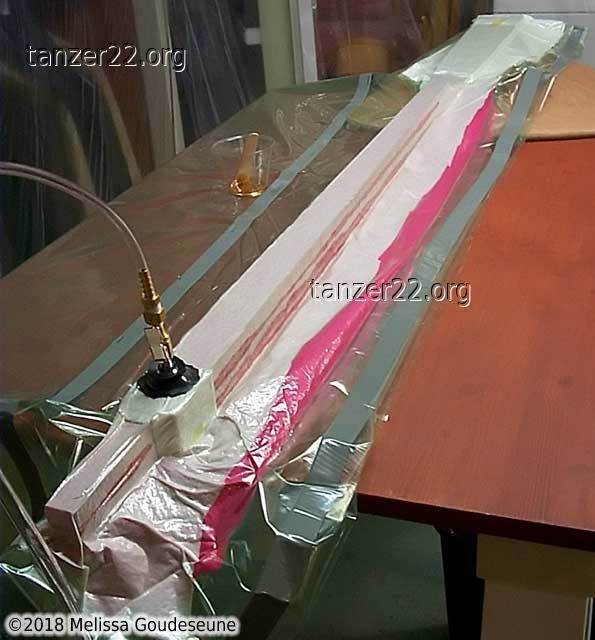
Vacuum Bagging
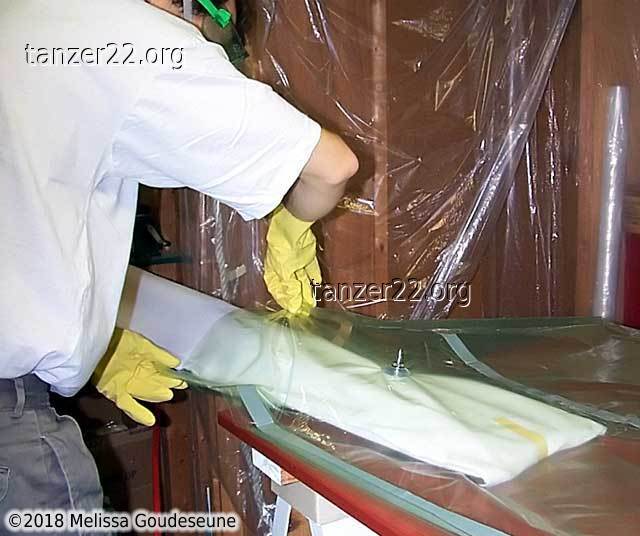
After epoxying, the oar is inserted into the vacuum bag and the bag is
sealed. Note that there is no pink or blue or black nylon fabric visible.
At the time, I didn't know how critical a nylon release fabric was. As a
result, we ended up with a VERY fuzzy oar by the time the epoxy had cured!
Learn from my mistake -- always use nylon release fabric, and remember to
put it closest to the workpiece, with the felt on the outside. I've almost
made that mistake a couple of times too.
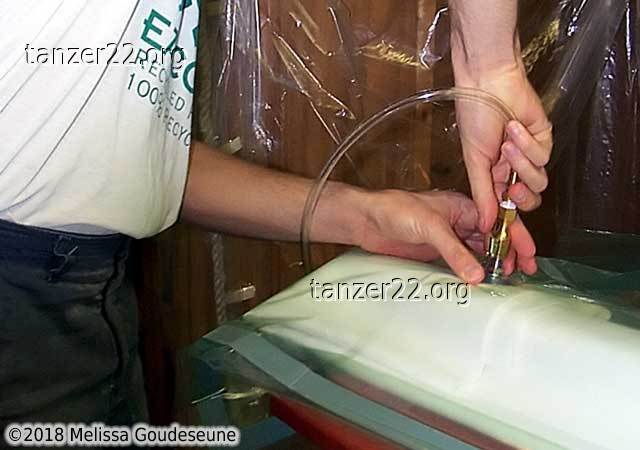
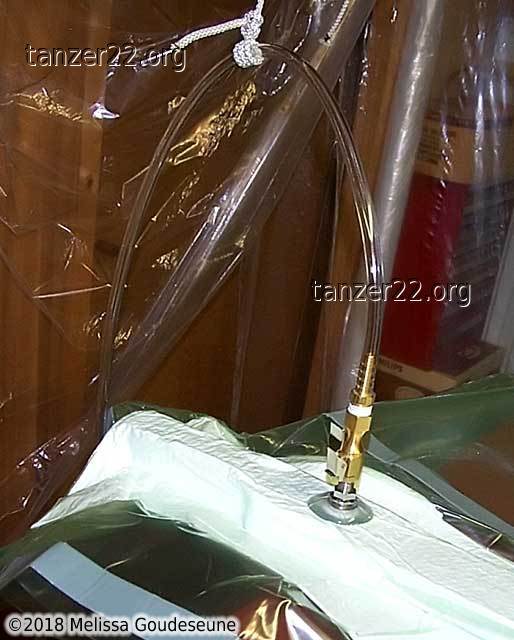
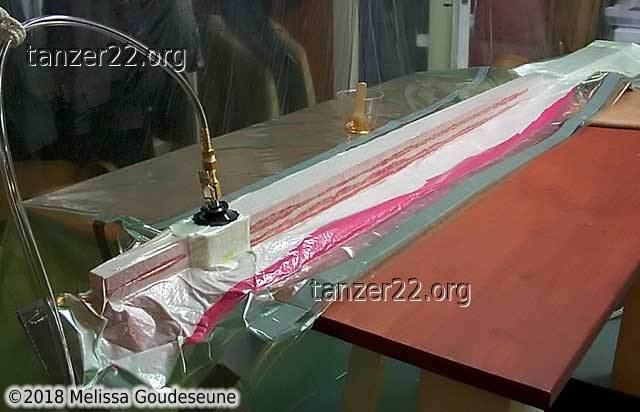
With the bag closed, the vacuum hose is attached and the venturi is turned
on. The principle of the venturi is that it uses compressed air blowing
past a small opening to create a vacuum. This means it is very noisy,
compared to a vacuum pump. In photo 2, I'm opening the valve on
the 5 gallon air tank, here being used as an auxiliary vacuum reservoir.
It greatly improves the cycle time of the vacuum system.
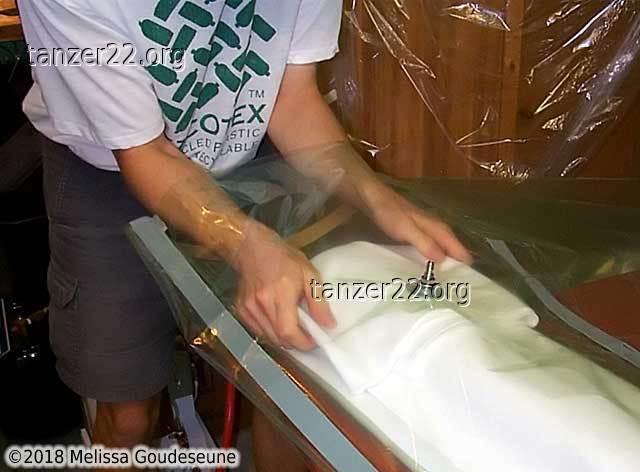
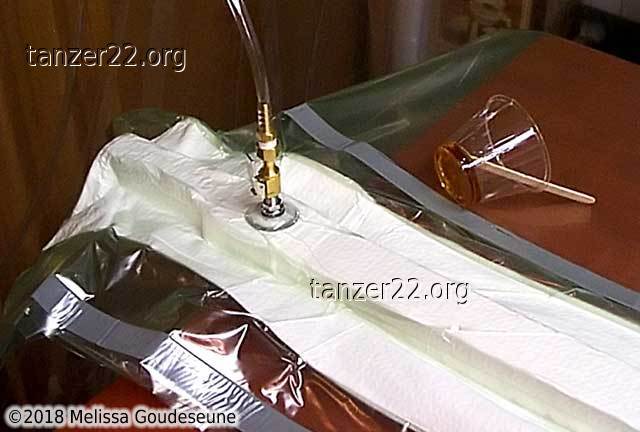
This is the oar in the vacuum bag, with vacuum applied.
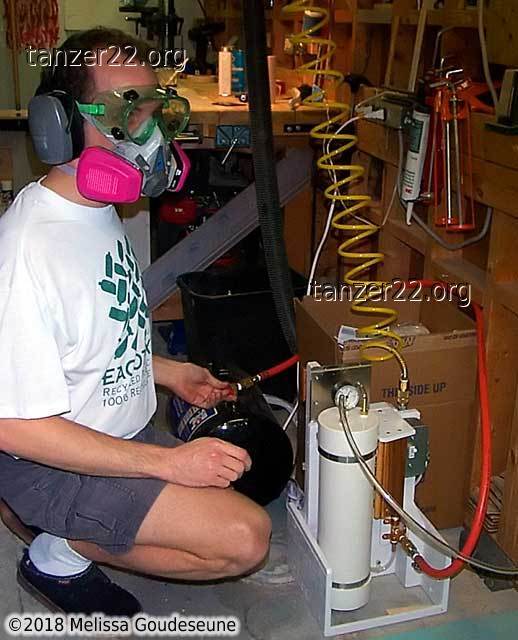
Safety gear that might scare small children.
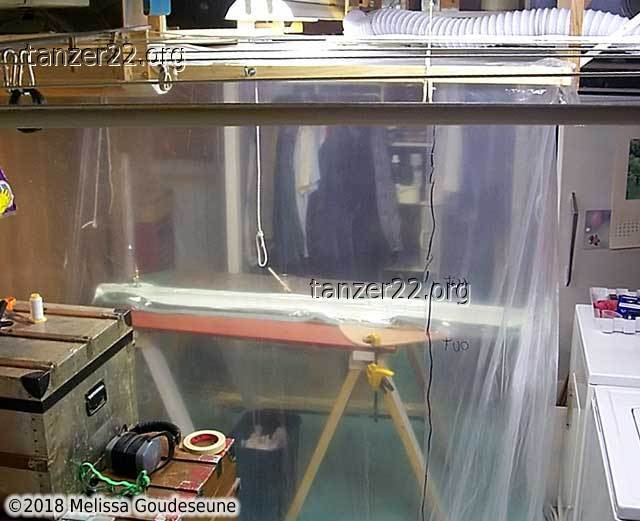
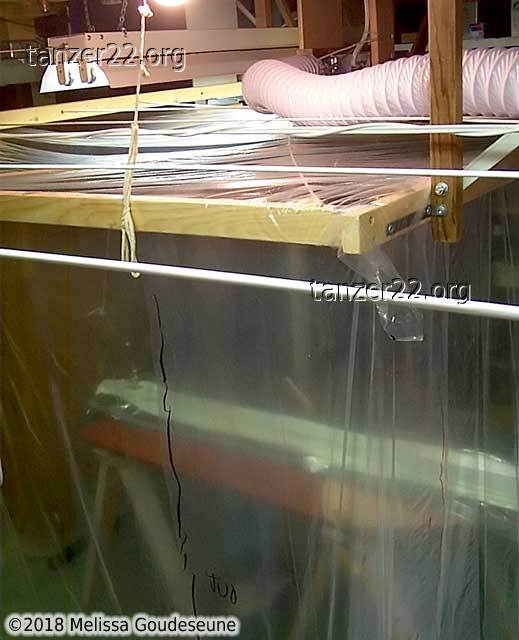
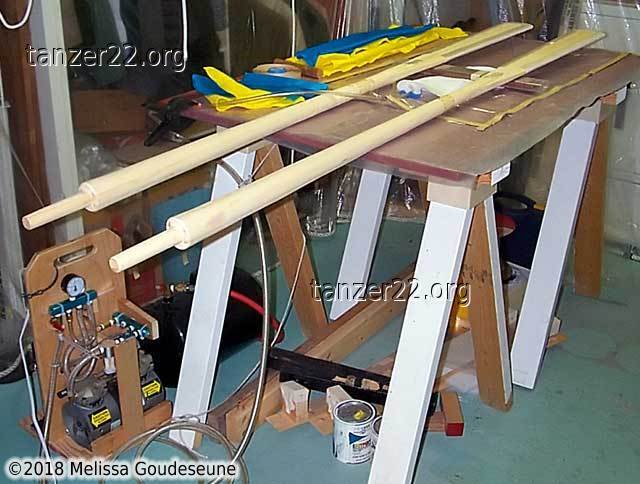
Workspace
My Dad built a fume tent in the basement to enable working with
stinky chemicals, like paint and epoxy, without smelling up the whole house.
It's an 8' x 8' wooden frame
suspended from the rafters, with a bathroom fan exhausting the air when
epoxy is curing, blowing it out a 3" duct outside the house.
The top and sides are made of plastic vapour barrier, with the bottom edges
weighed down by old 1/2" nylon docklines. The sides can be hoisted up for
access to the laundry when there's no open epoxy or paint.
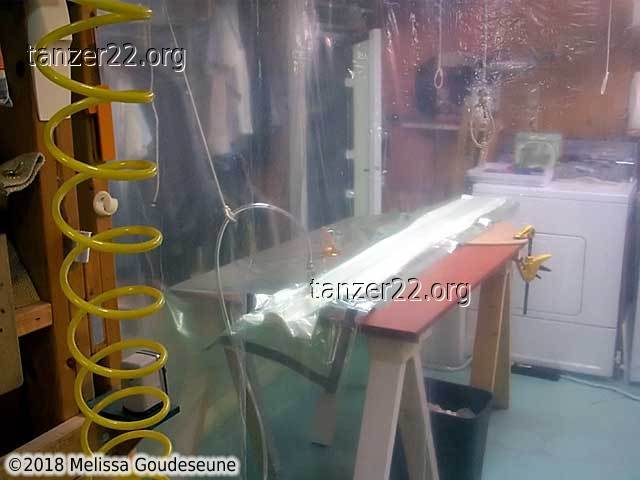
Two other views of the oar inside the tent. The venturi and 5 gallon tank
are visible in the first photo.
Release Fabric
On the second oar, we learned from our lesson and used nylon release
fabric to prevent the felt breather fabric from being permanently
glued to the oar.
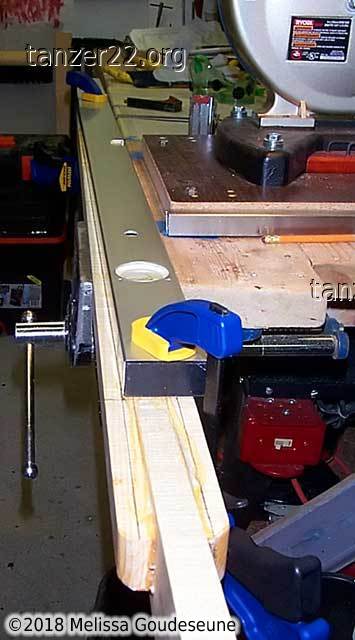
Shaping
With the oar laminated, the next step was to taper the loom in the opposite
dimension. We clamped a long straightedge to the loom to mark the cut,
which was done on the bandsaw.
Steps not pictured here are shaping of the loom and blades. This was
done roughly with the bandsaw, and finer work was done using a drawknife
followed by a 1" bench-mounted belt sander.
I also found that drywall screening was very useful for sanding the looms.
It's long enough to be able to pull back and forth, and the open mesh
prevents it from loading up with sawdust.
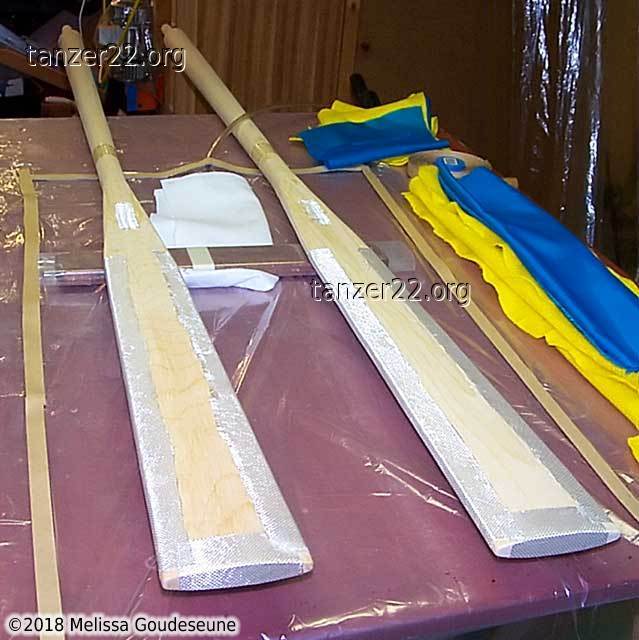
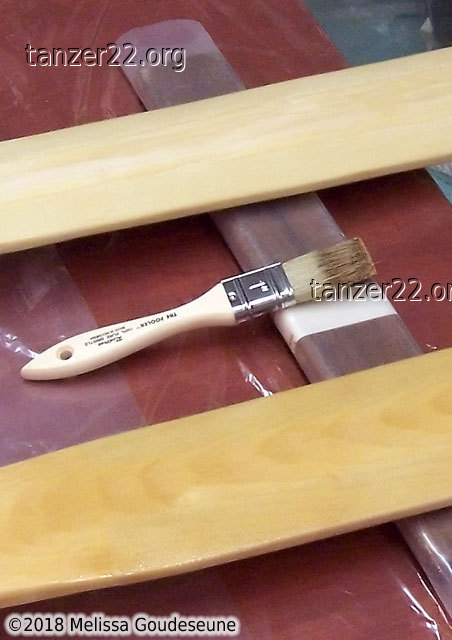
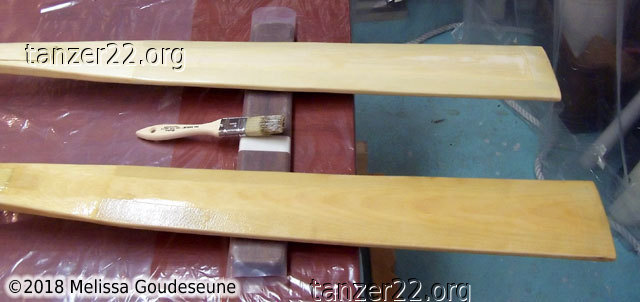
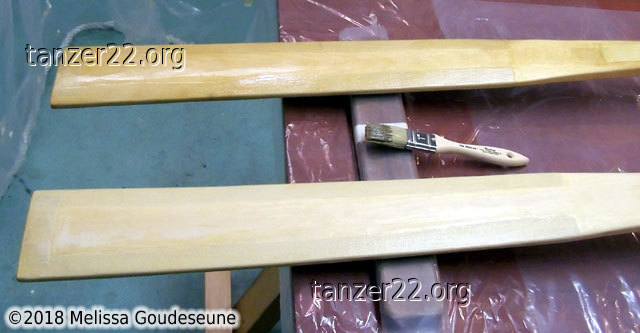
Fiberglassing Blade Edges
With the oar shaped to size, I fiberglassed the edges and tip of the
blades. The oars are made out of pine, which is a fairly soft wood.
I hope that the fiberglass will prevent most dings in the oar blades.
The fiberglass is held in place with 3M 77 spray adhesive. Clear packing
tape is placed around the oar loom, where the vacuum bag will seal around
the loom. This was much easier than making the bag large enough to hold
the entire oar.
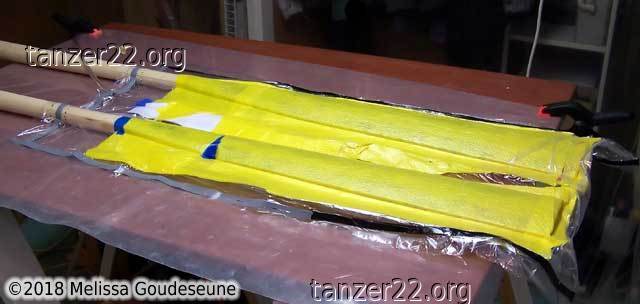
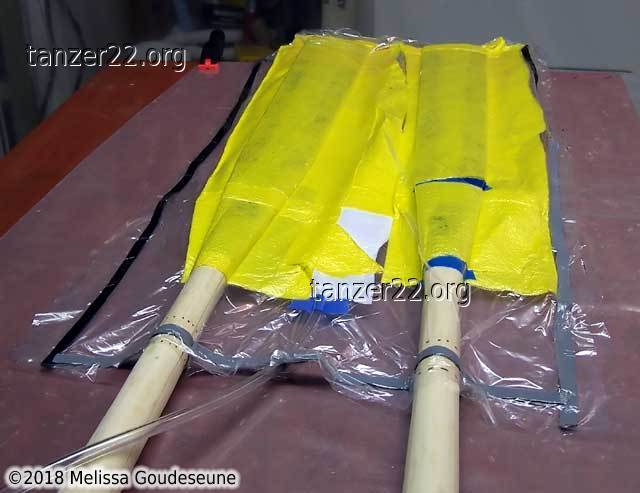
The oar blades inside the vacuum bag. The blue fabric is nylon release
fabric, yellow is felt breather fabric.
Oar "Lock"
Here I have confirmation that the oars are the correct length. I purchased
an M-shaped oar "lock" to keep the oars from growing legs when not in use.
Oar Leathers
One of the drawbacks to living in an age of synthetic fibers is that
natural fibers are very difficult to acquire. The "cotton" braid
available at my local big-box hardware store was cored with "mixed fibers",
whatever that may mean. Well, it does mean that it won't be possible to
epoxy it.
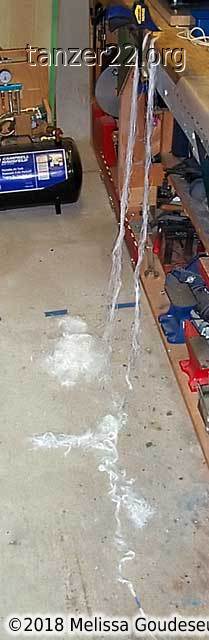
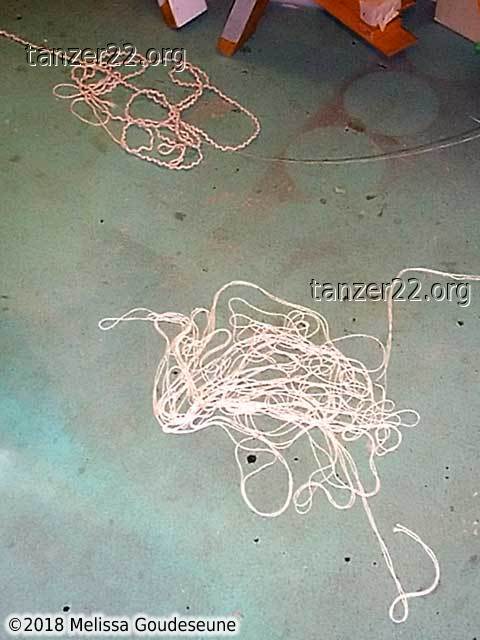
As a result, I ended up re-coring 60' of cotton braid with two strands of
real cotton twine. The angel hair in the first two photos is the core that
I removed from the cotton braid. Photos 3 and 4 show the new
core, and the bunched-up cover ready to accept the new core.
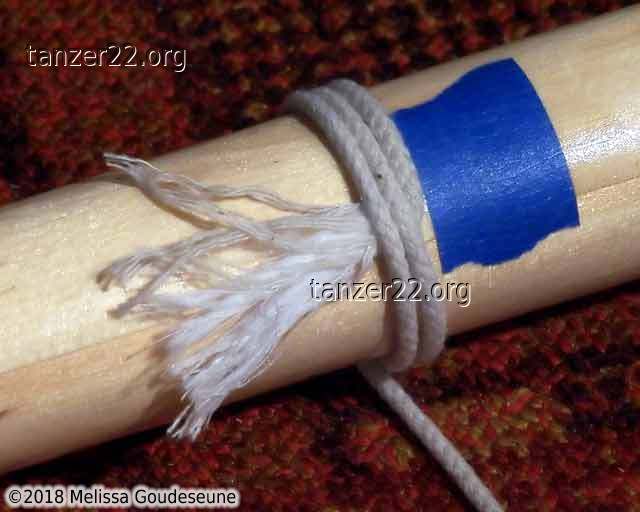
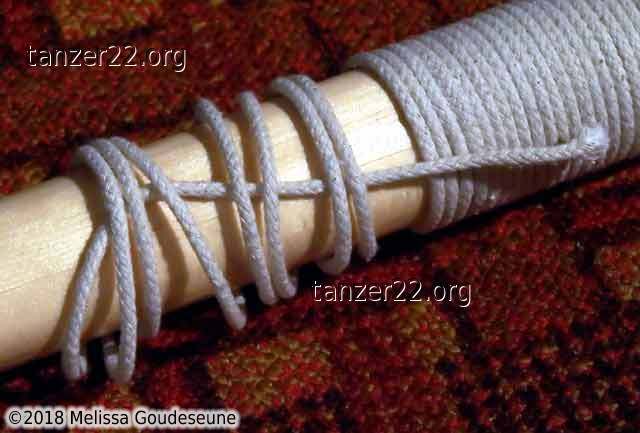
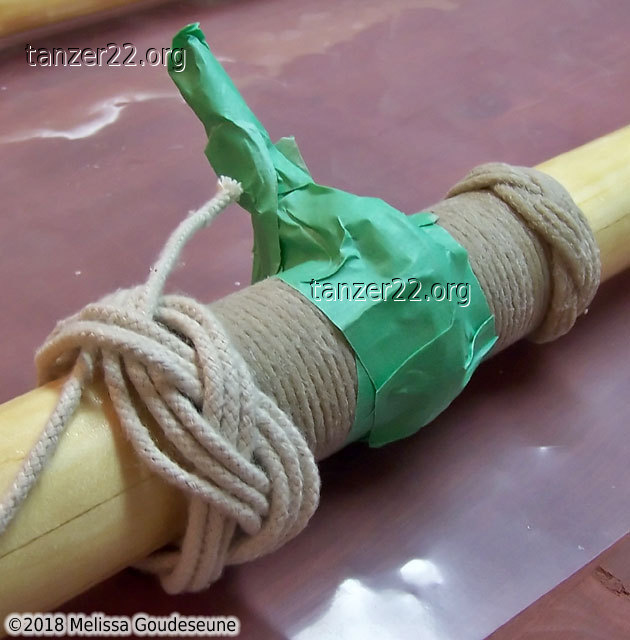
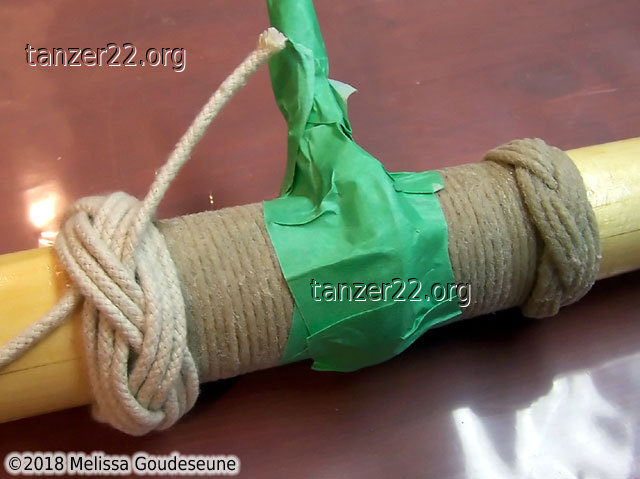
With the cotton braid ready for use, I started application of the leathers.
The edge of the leathers is marked with blue tape. Next, ravel about 2" of
the braid, and start wrapping the oar. The wraps lock the end in place.
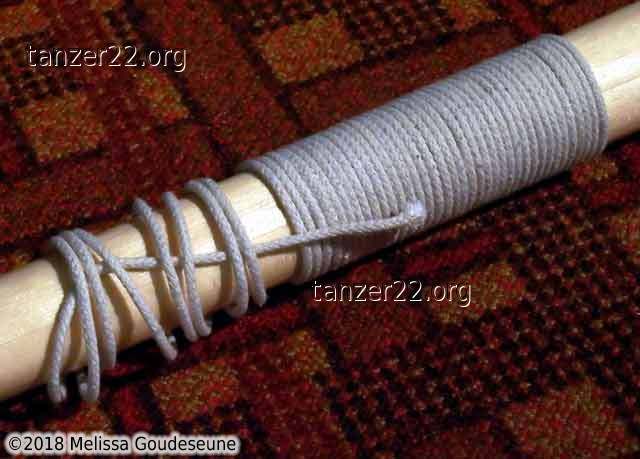
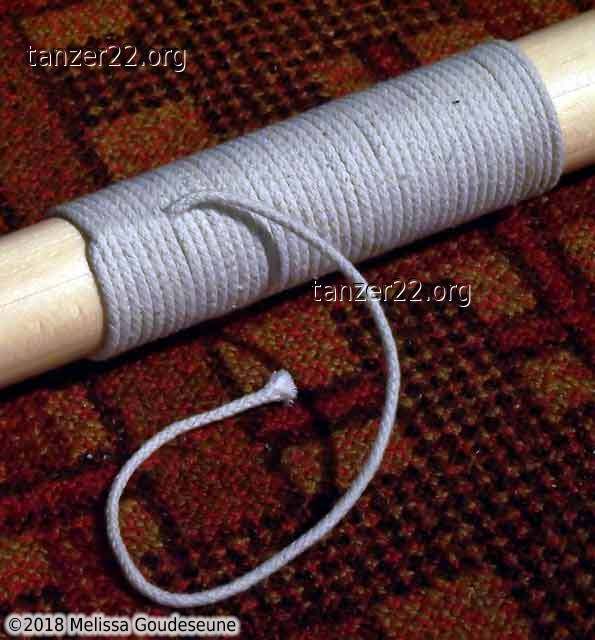
At the end of the leathers, the end is tucked inside the last 5 or 6 wraps.
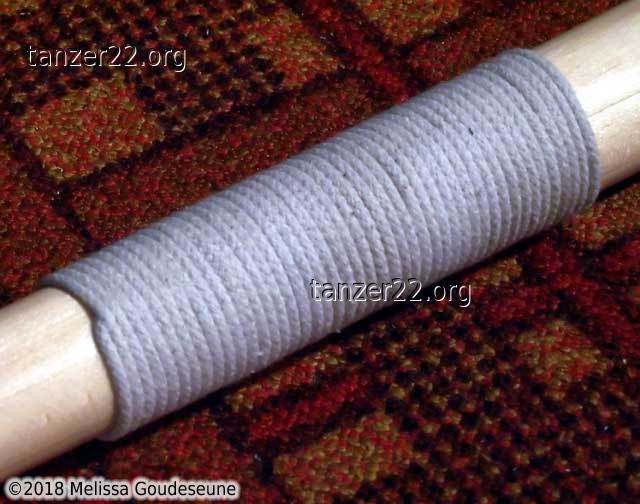
The slack is gradually worked out of the wraps, the end is pulled tight
(with pliers if needed), and then cut off flush.
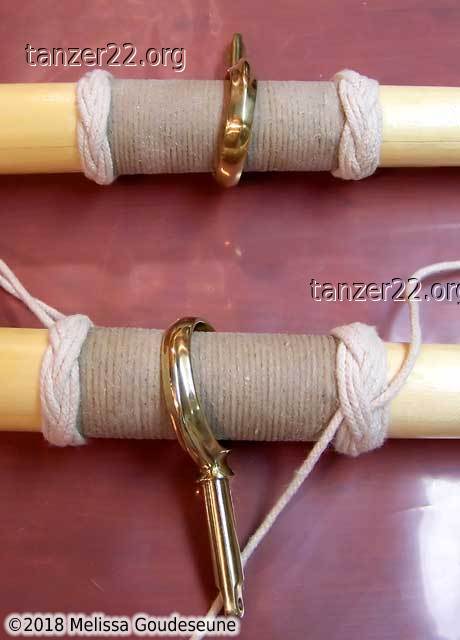
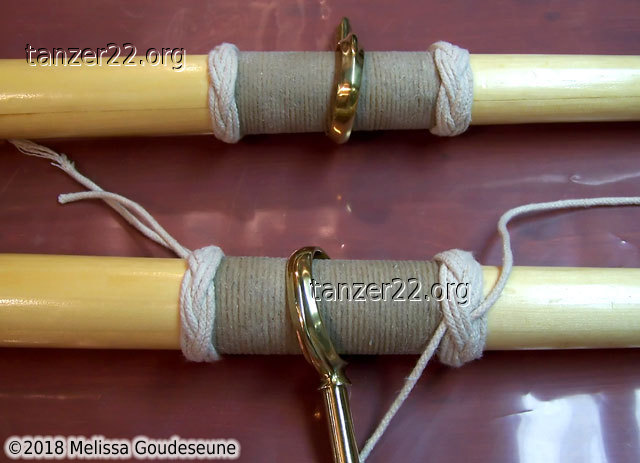
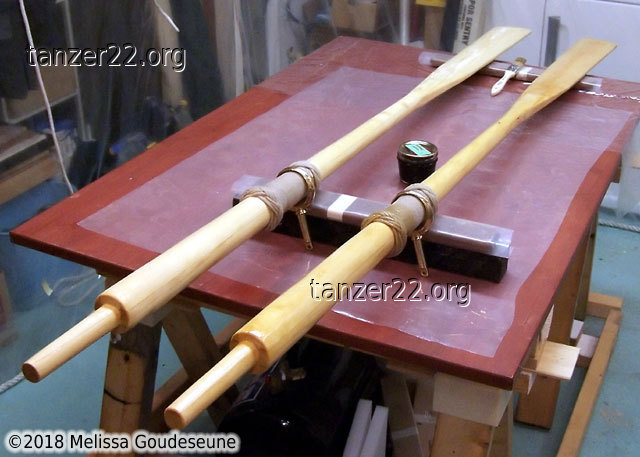
With the leathers in place, the next step is to tie Turk's Head knots at
the ends of the leathers. These serve as an index point when rowing, as
well as to keep the oarlock in position when the oars are stowed.
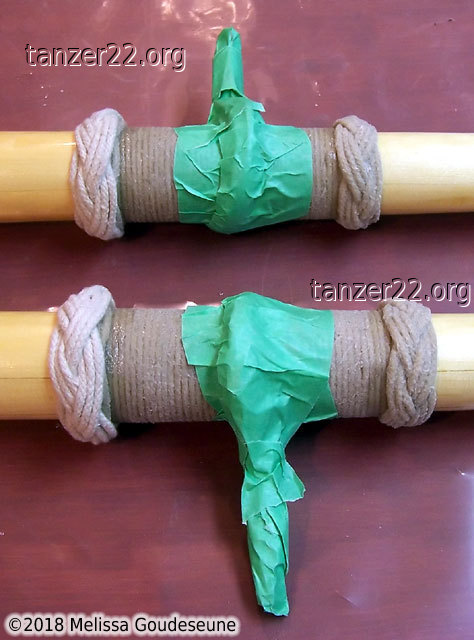
I tied all these knots as 5-lead by 3-bight knots. This is the most common
turk's head knot, and instructions are easily found on the web. The knots
on the right of these two photos are tripled (the end is passed through the
knot a total of three times), and are complete. The knots on the left are
doubled, as a base for a second, larger knot.
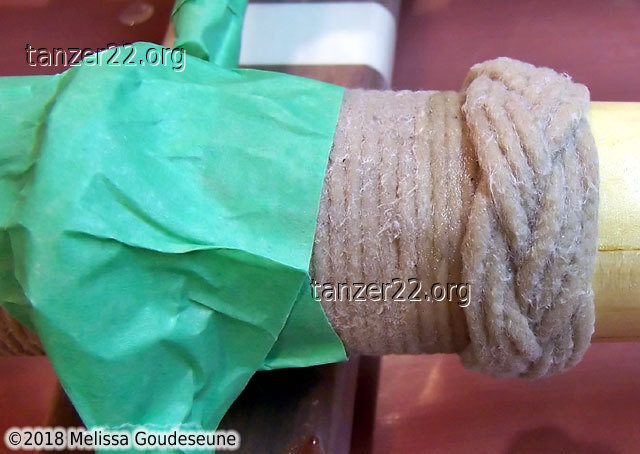
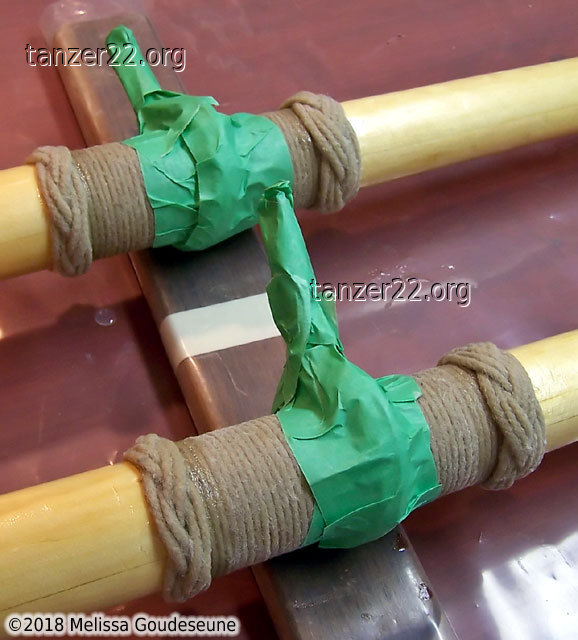
Once the knots have been tied and the ends cut off, the oarlock is covered
with masking tape, and the knots are epoxied to lock them in place.
The next step is to tie another 5x3 turk's head (tripled) on top of the
doubled knot mentioned above.
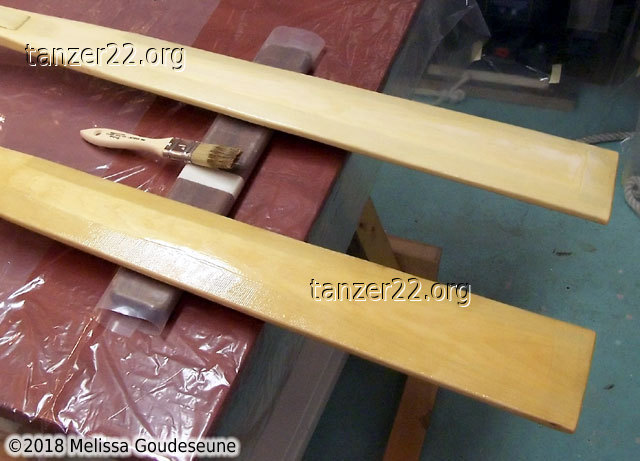
With the knots tied and epoxied, we move on to varnish to protect the epoxy
from ultraviolet degradation due to sunlight.
At the same time as varnishing the leathers, the rest of the oars are
varnished as well. All that remains is to install the handgrips.
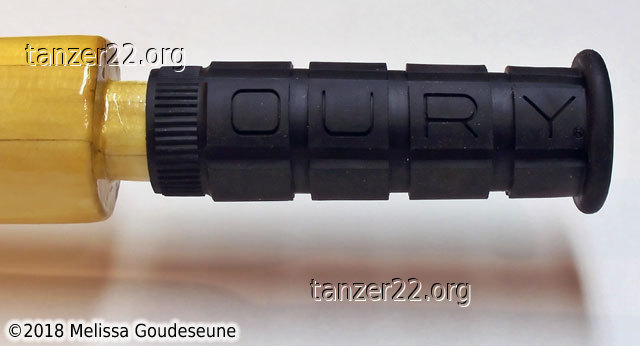
Oury Handgrips
Common wisdom about oar handles says that they should be left unfinished,
to maximize grip on the handle. I figured that if the goal was maximum
grip, I should adapt a product from the industry that has perfected this -
mountain bikes.
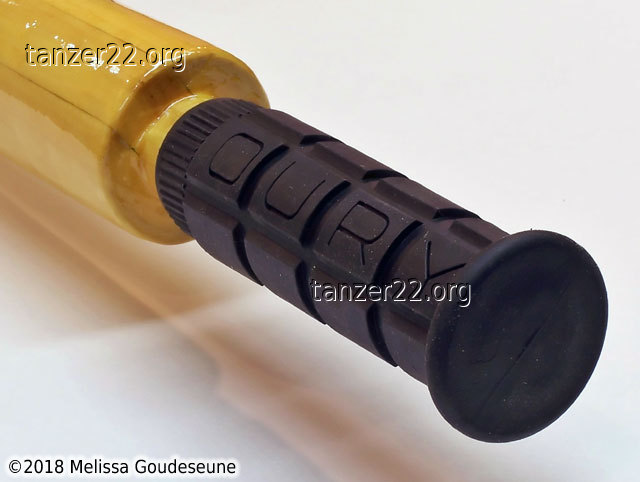
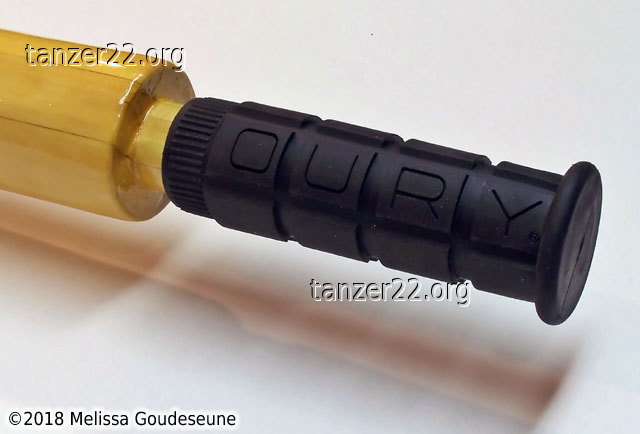
The handgrips I selected are called
Ourys. I installed them using
compressed air, which is much more effective than hair gel. The gel
makes it possible to install the rubber grip, but often doesn't dry,
leaving the grip loose on the oar.
The trick with compressed air is to insert the nozzle of a blow gun at the
open end of the rubber grip. The air expands the grip just enough to make
it loose on the oar, while the air is flowing. Once the nozzle is removed,
the grip is now very securely installed.
Oarlocks
On a boat as small as the Minipaw, one design decision often has a large
effect on another. As a result of routing a cove into the mahogany gunnel,
there was not sufficient wood to properly install the oarlock sockets.
Combined with the fact that I didn't know exactly where I was going
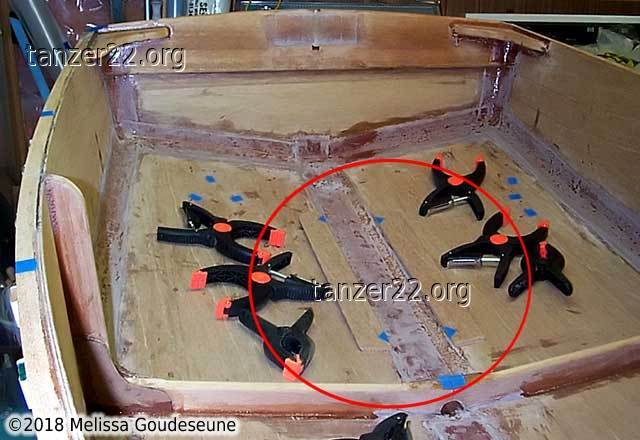
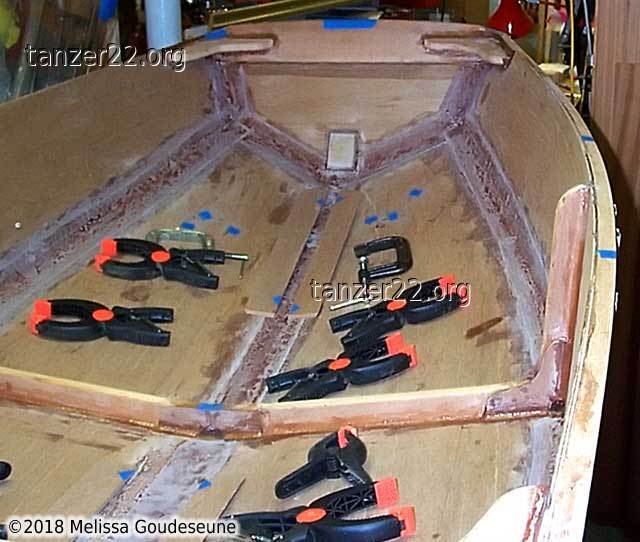
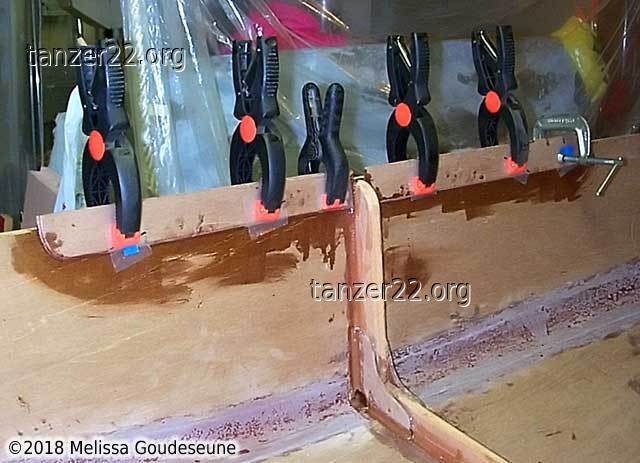
to install the sockets, a creative solution was called for. I installed
four "rowlock doublers" made of 1/4" plywood on the inside of the boat.
These provided additional wood thickness for installing the screws of the
oarlock sockets.
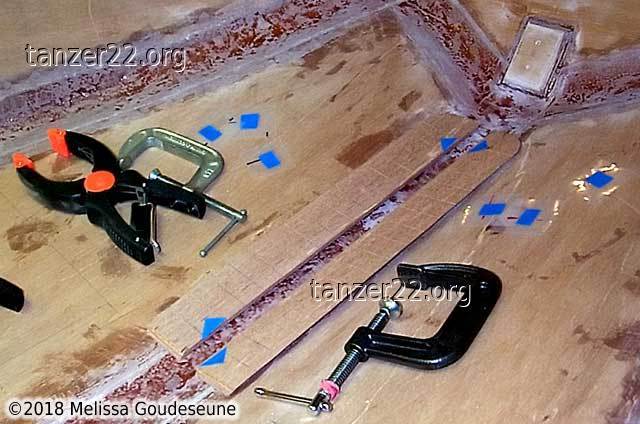
Thin kerfs were cut into the back face of the plywood to enable them to
follow the curve of the hull more easily.
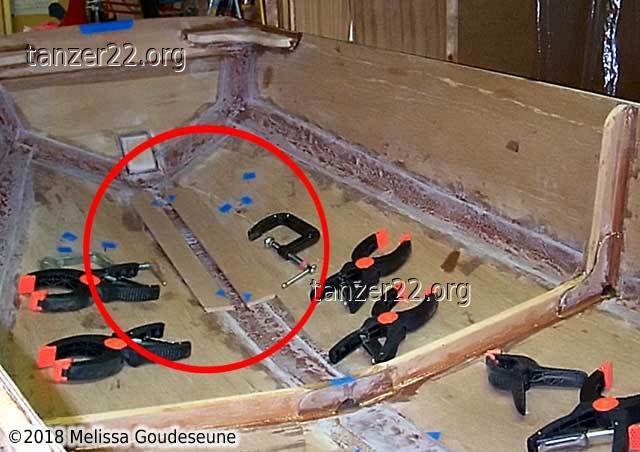
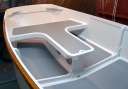
The rowlock doublers installed, viewed from inside the hull.
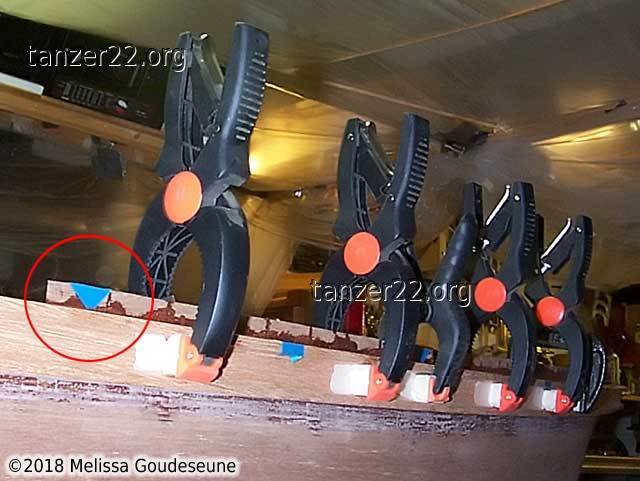
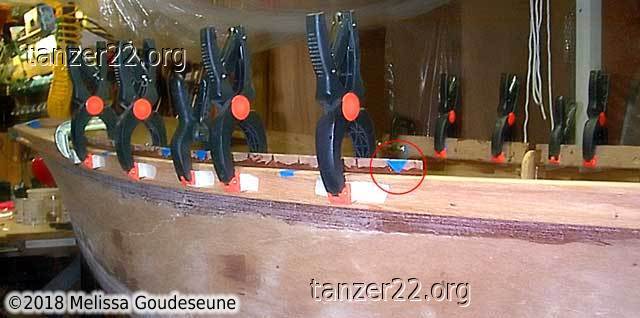
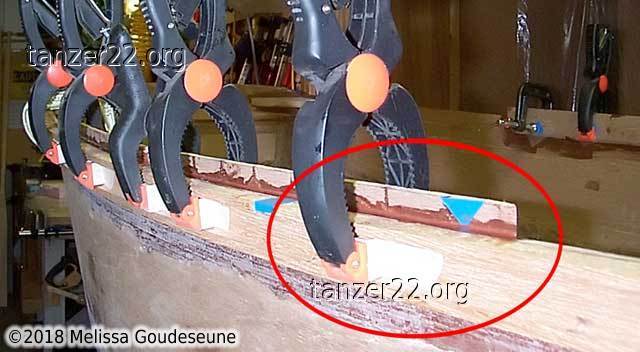
This is the view from outside the hull. The red circles highlight the
alignment triangles I used, as when installing the seats. With the
doublers higher than the gunnel, I was later able to cut them exactly flush
with the top of the gunnel. This was much easier than trying to align them
while epoxying.
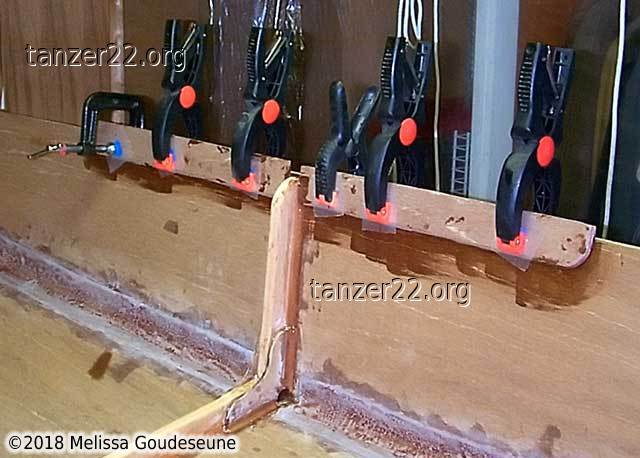
The Minipaw plans specify an optional sculling oarlock, centered on the
stern transom. To keep it out of the way, I cut a groove into the mahogany
transom stiffener, and epoxied a stainless steel tube in place.
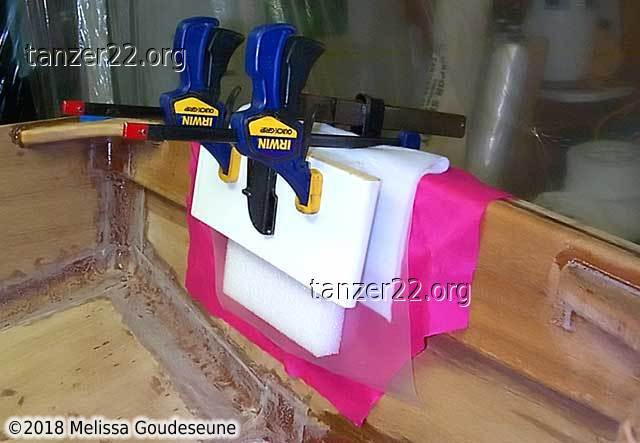
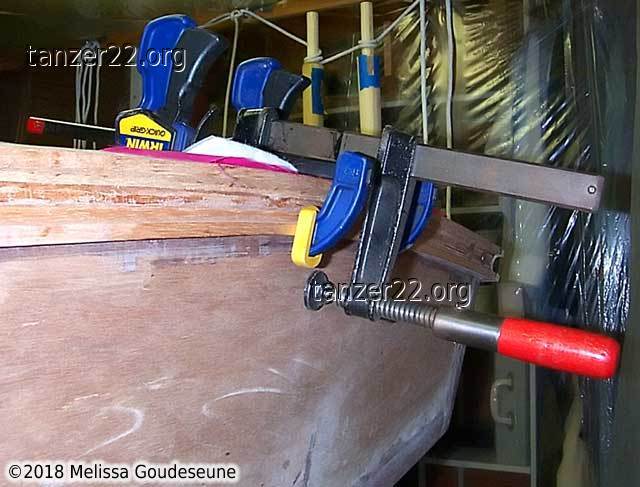
After the tube was in place, I applied three layers of fiberglass across
the opening. This used the same principle as vacuum bagging (hence the
colourful materials), but used closed-cell foam, wood, and clamps to apply
the pressure.
© 2018 Melissa Goudeseune